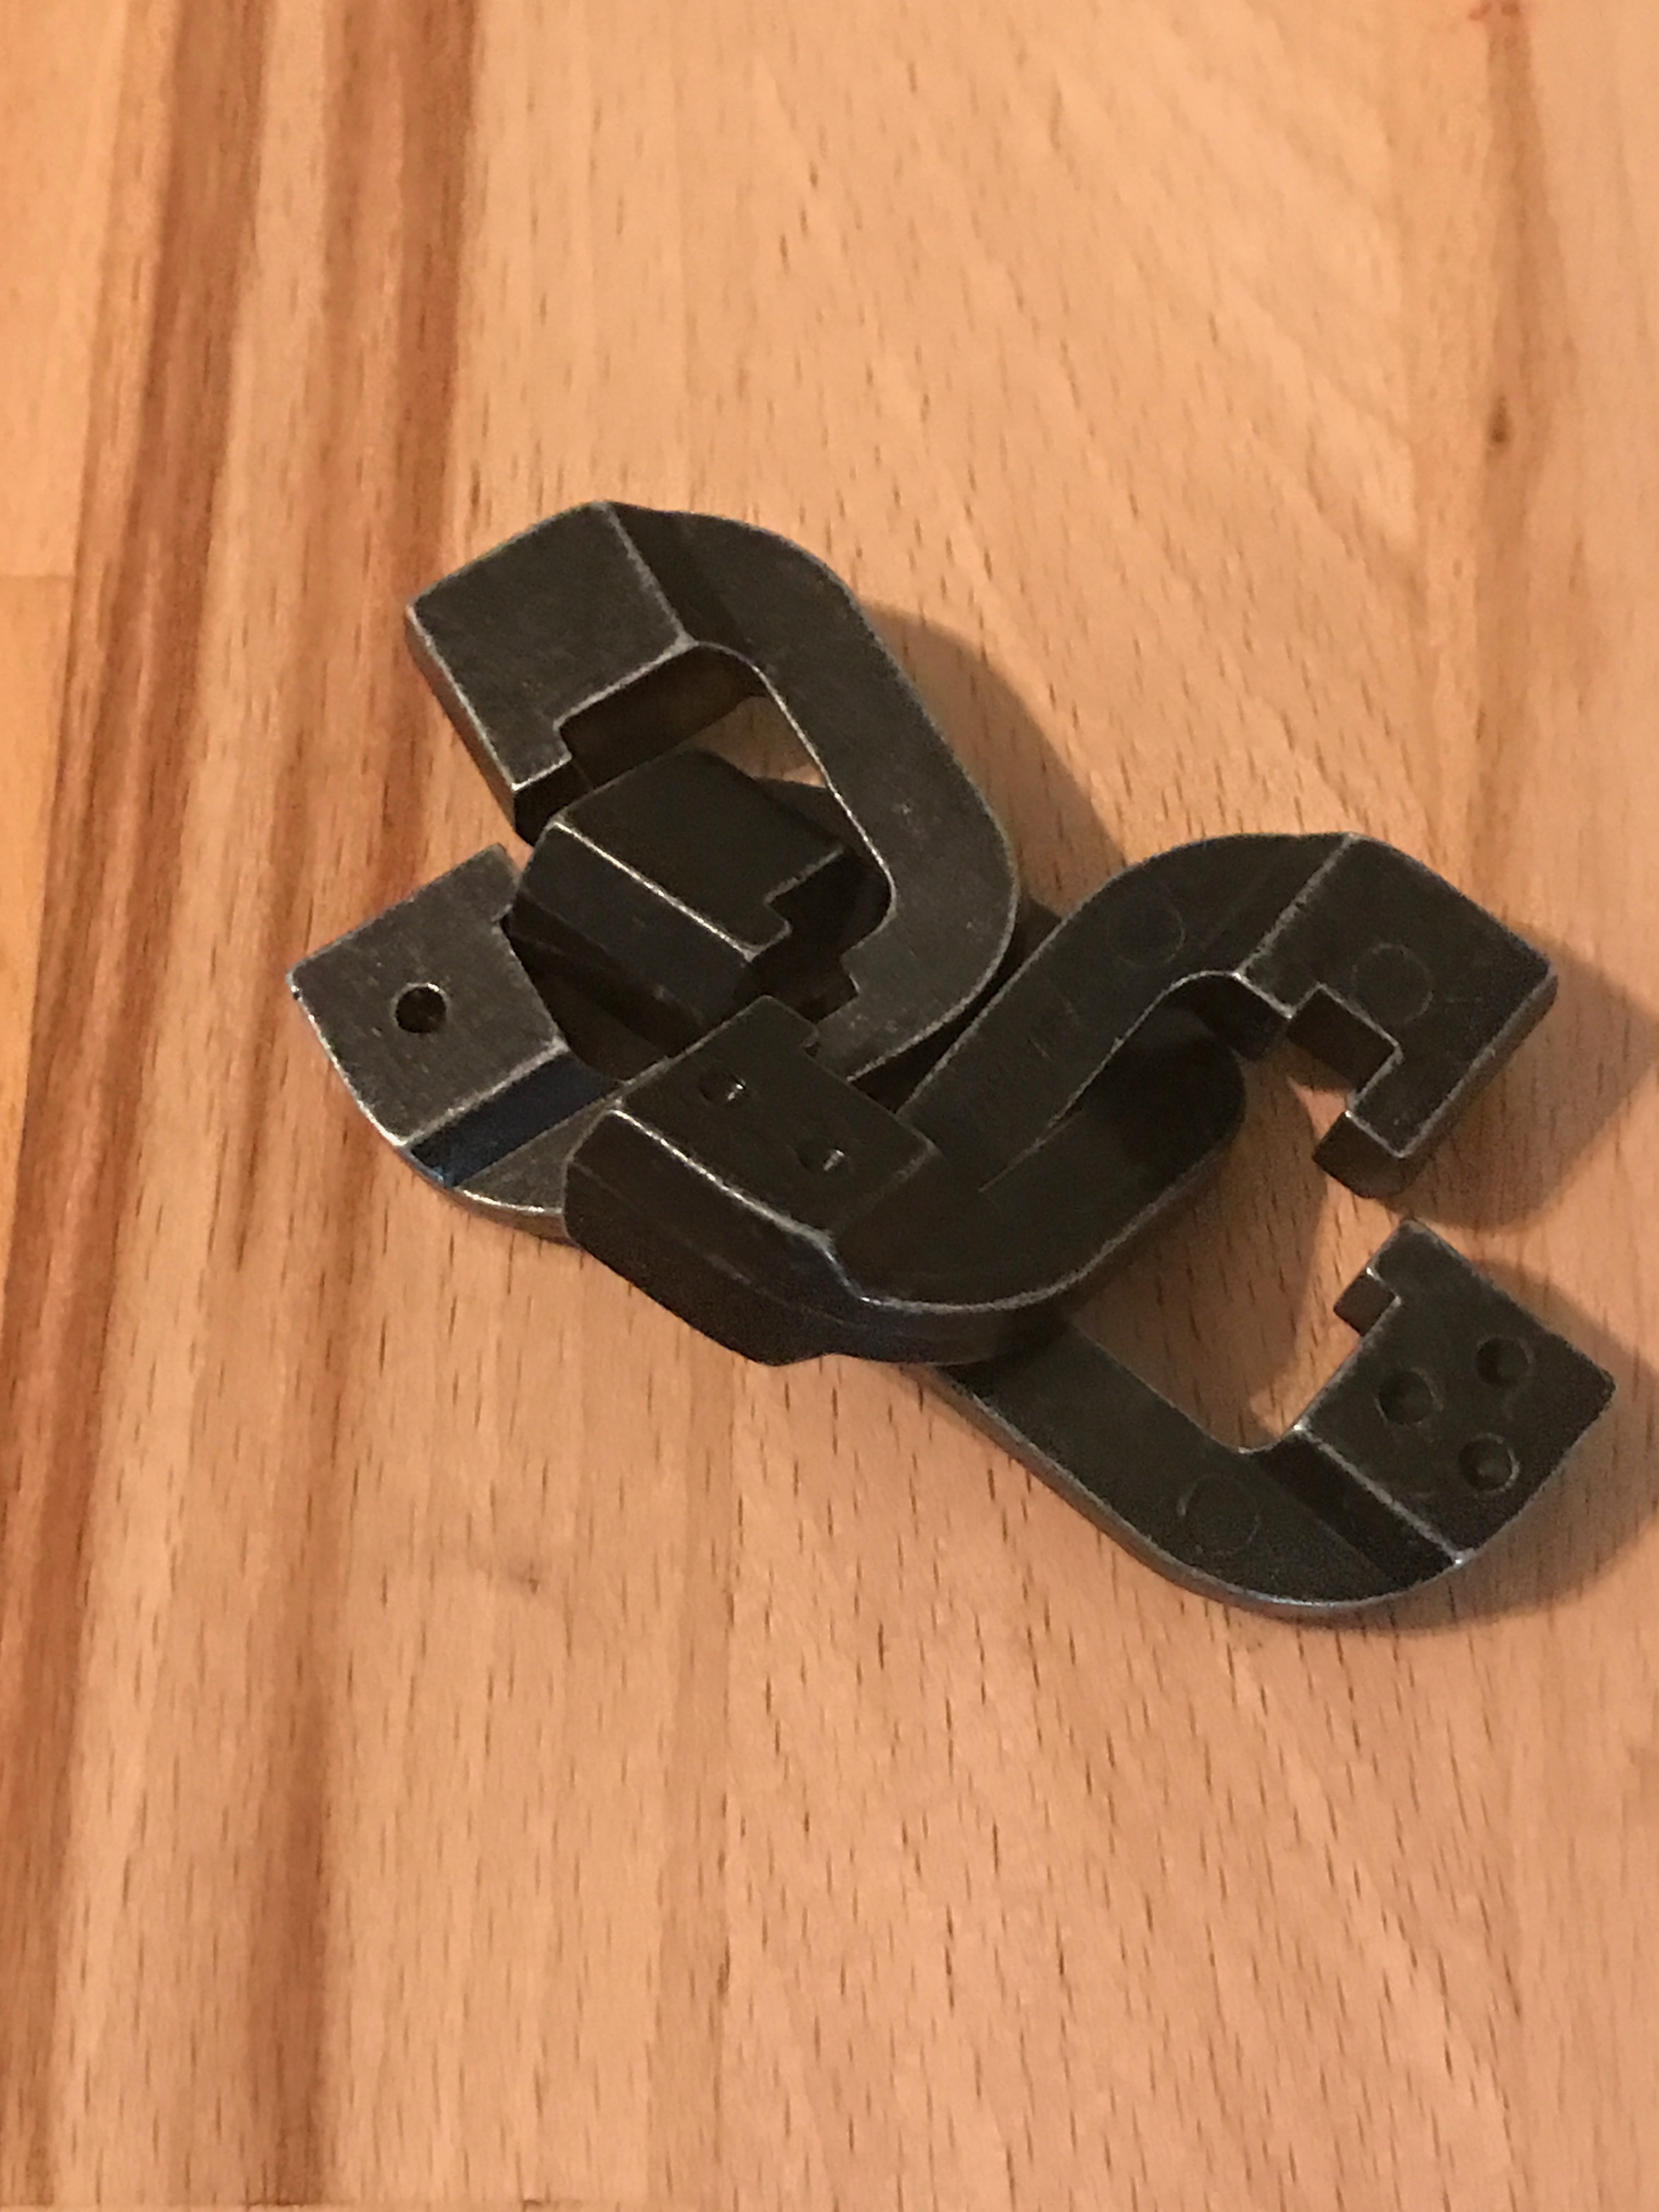
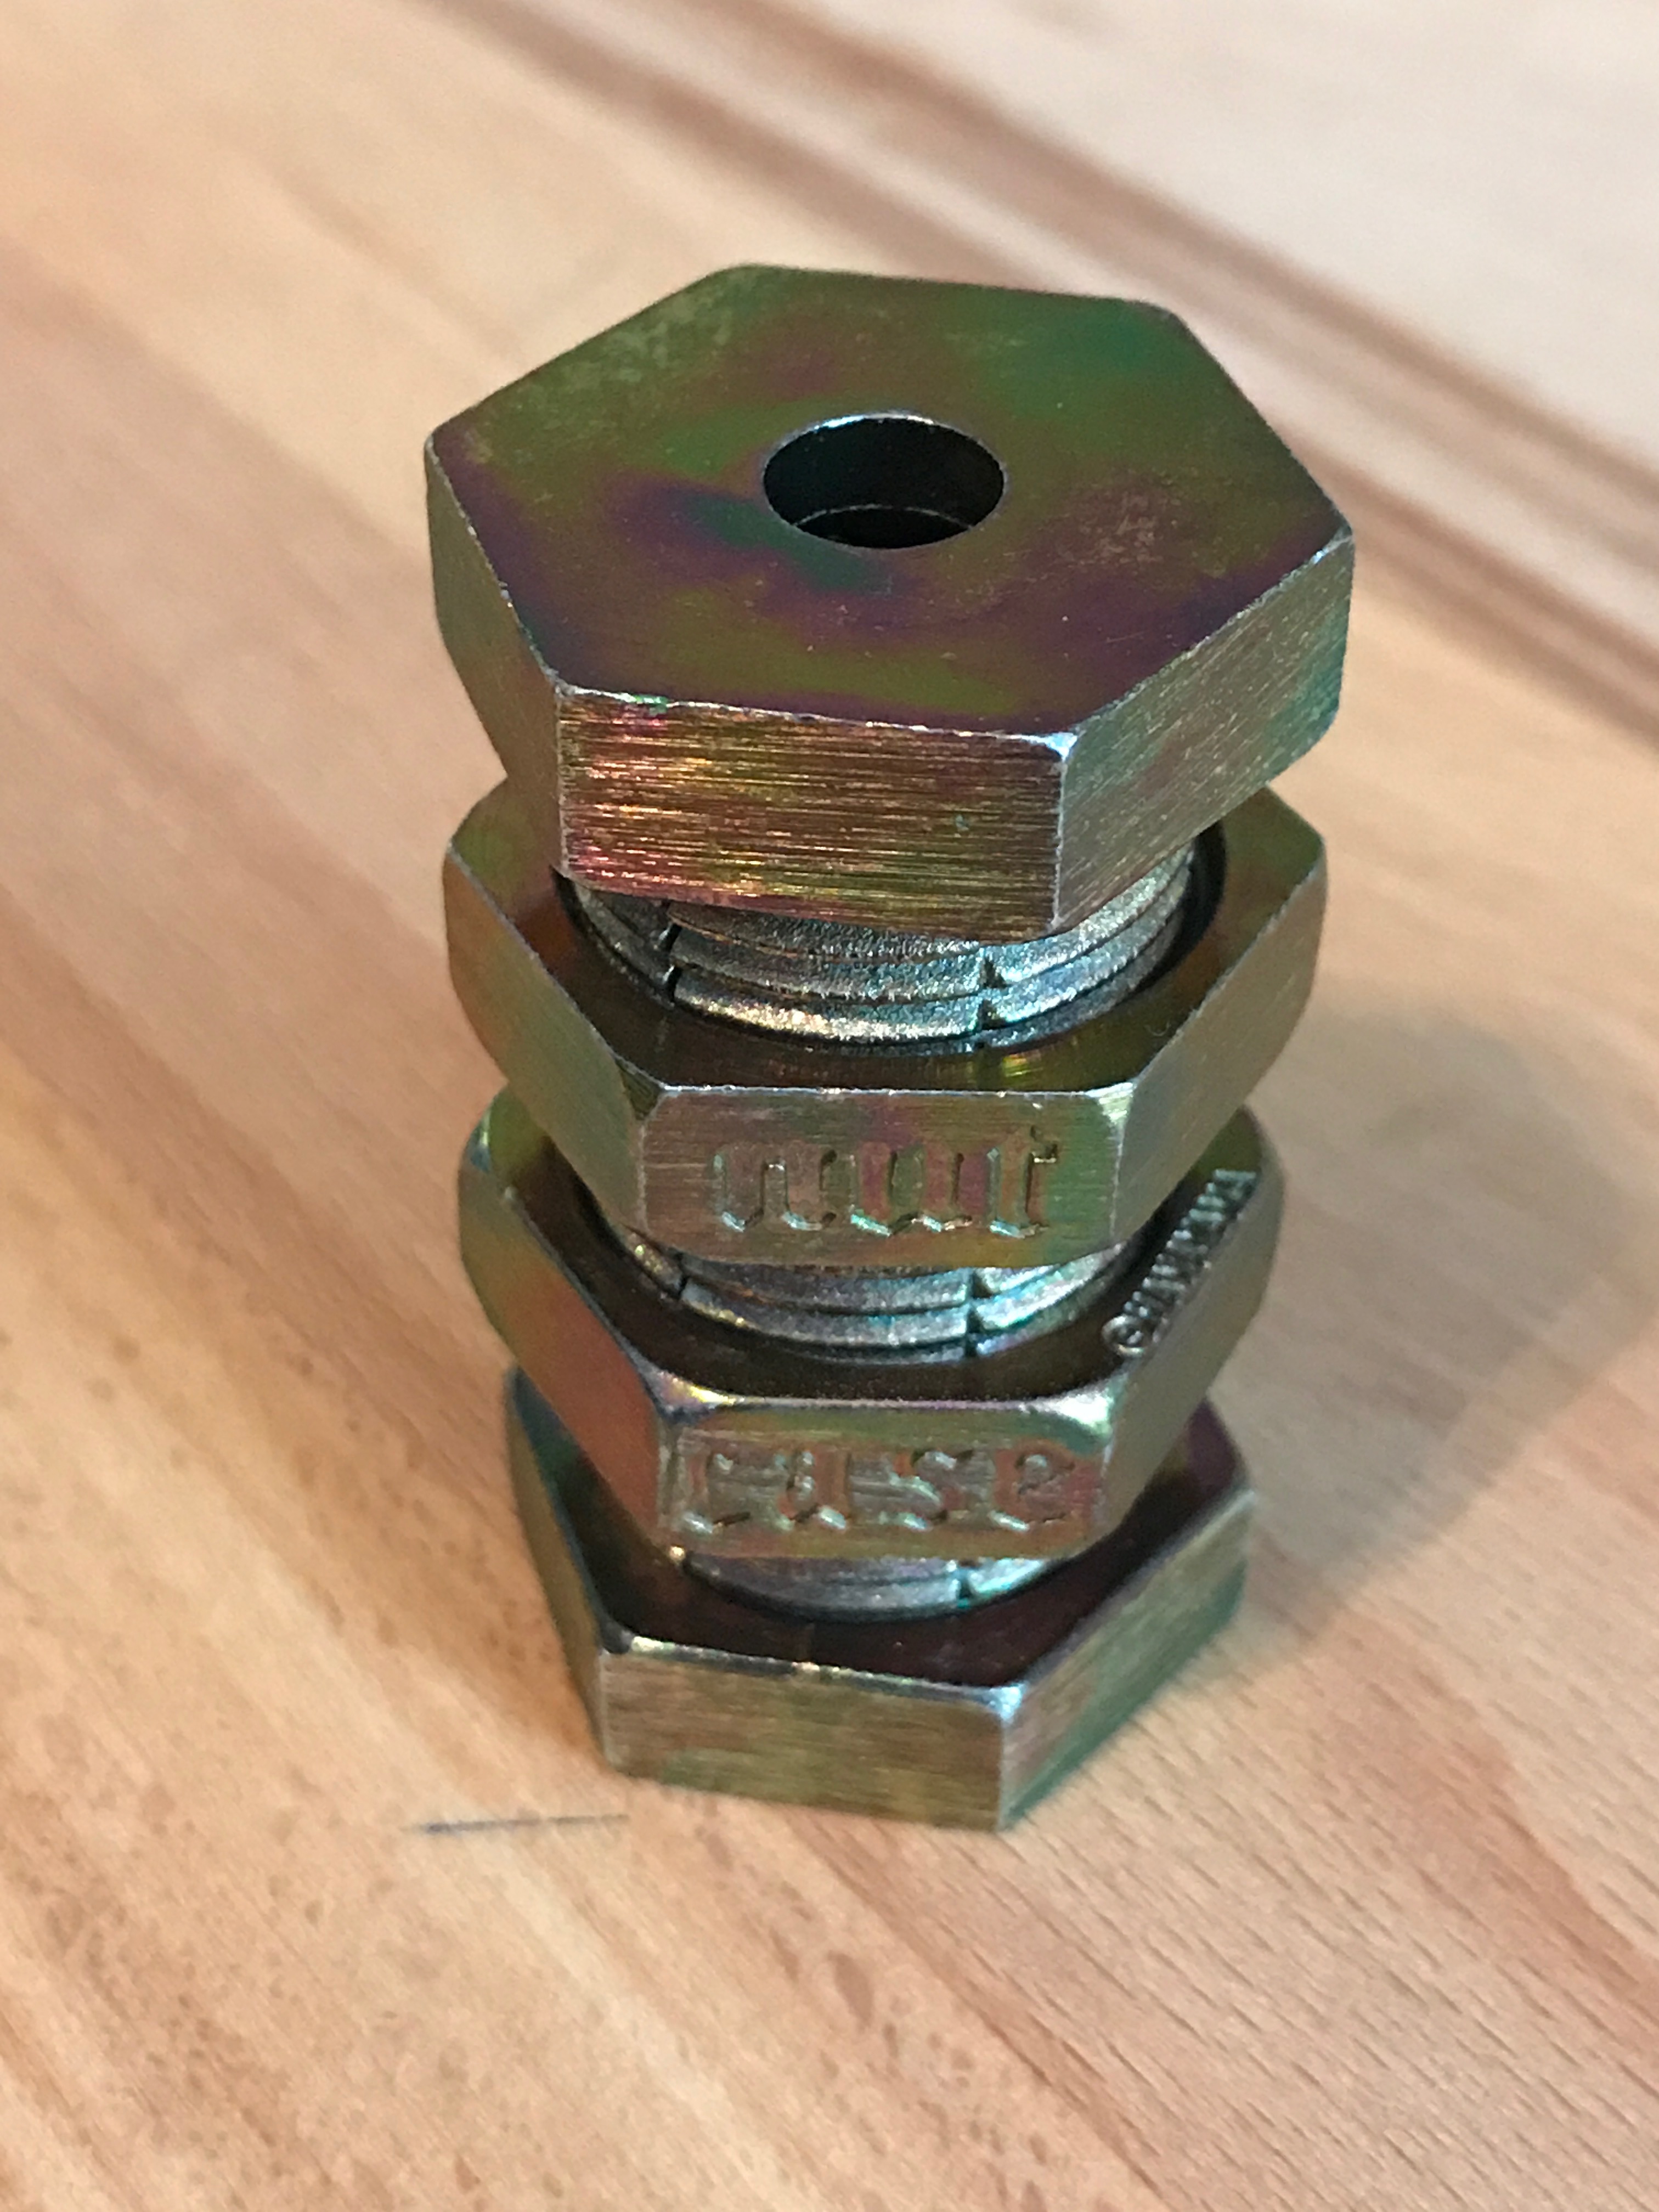
Ok. Gonna do another real time run through with the Hanayama Infinity. I haven’t played with this one before, so this will all be done on the fly. I’ll start on the puzzle and every so often – 5 or 10 minutes, I’ll stop and record my progress and thoughts. Maybe this will reveal something interesting about the process – maybe not. But, its the process of solving these puzzles that I want to capture here. Solving puzzles is about being systematic and exploratory. Lets see if I can get this one solved here tonight.
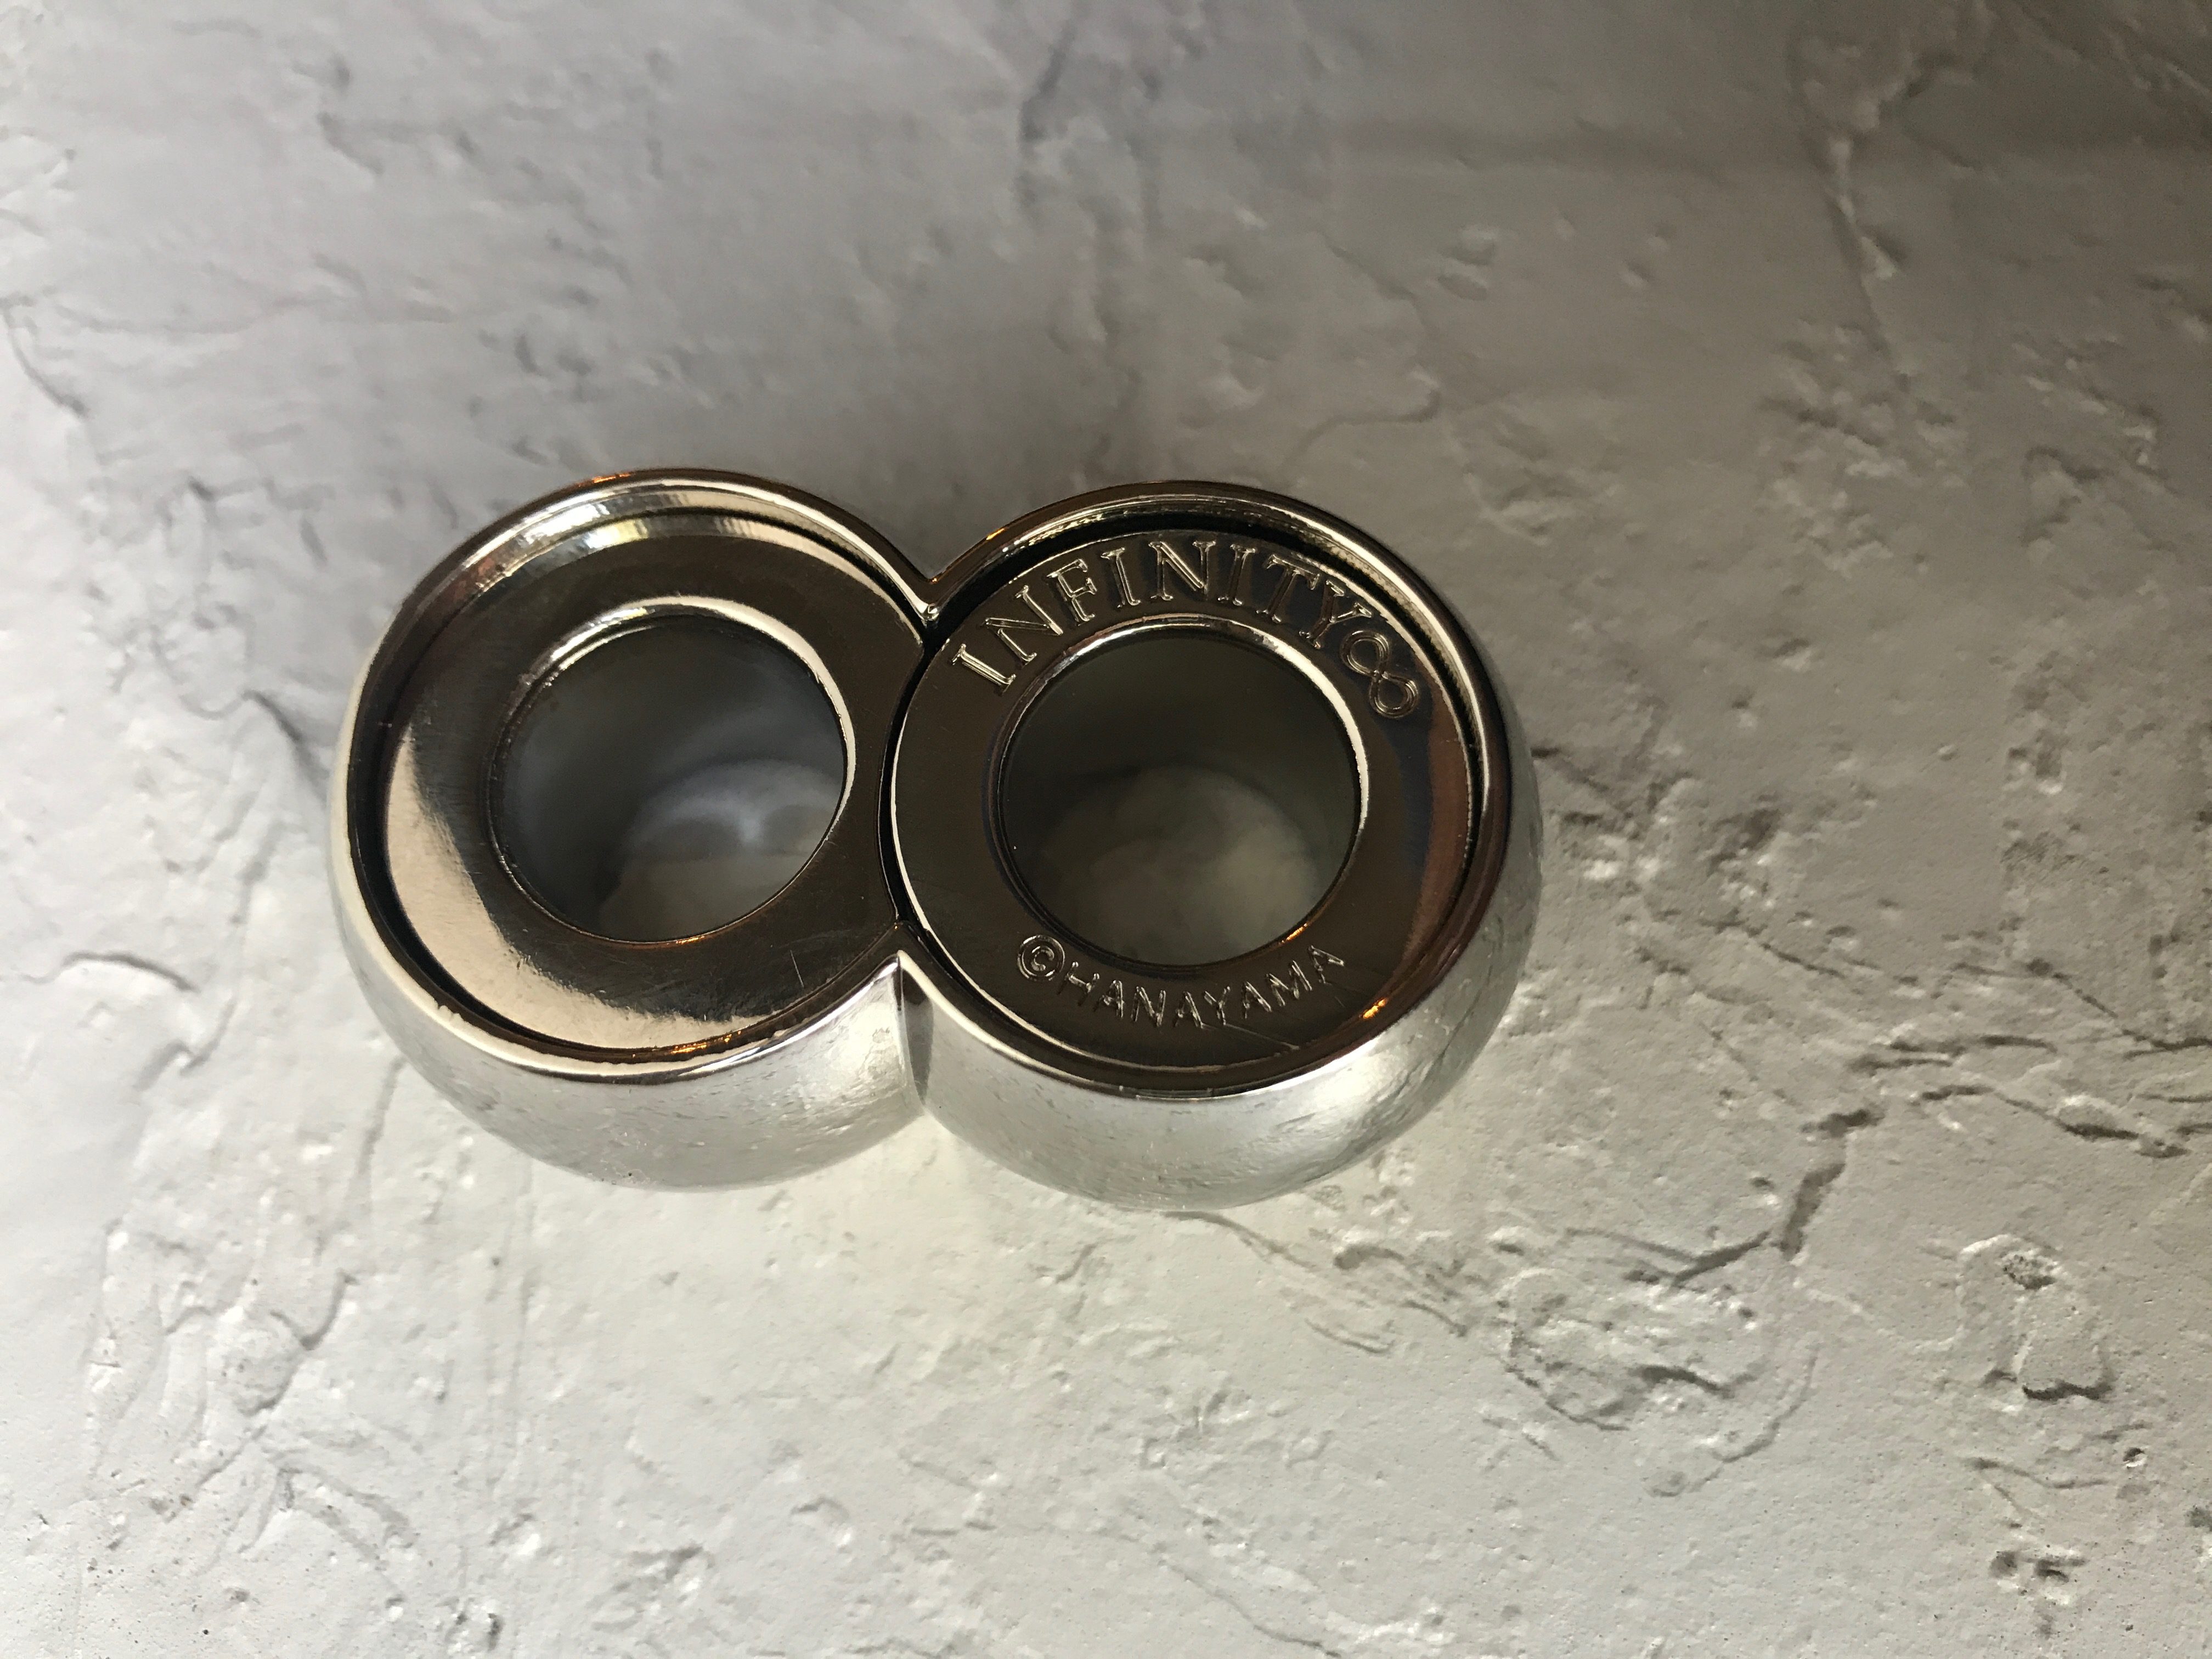
First off, the puzzle is another beauty. Like most Hanayama puzzles, they are usually bigger and heavier than I anticipate from the picture. This one looks like its made of 3 pieces. 2 circular bearings and an outer casing. One thing that I notice right away is that each bearing has a circular cut-out where the other bearing fits. From the picture, I figures only ONE of the bearings had this cutout, but upon flipping the puzzle, I can see that both have this cutout.
Ok, lets see if I can discover anything in 5 minutes.
Five minutes in and I haven’t solved it, but I have learned a few things. I’ve been able to manipulate the two bearings a bit and am starting to understand how the puzzle moves. The two bearings are able to rotate around – i haven’t been able to complete a full 360 either. I’ve gotten the stamped bearing to rotate probably 300 degrees, and the blank bearing only about 15 degrees. The bearings also can move up or down and moving them up and down unlocks the turning ability. The sides of the bearings are visible at times and I can see interesting shapes and tracks that are interlocking on each other and preventing or allowing movement.
Solving the puzzle will likely be a matter of knowing the correct position and/or sequence to release the two bearings. I’m not sure if I can take a systematic approach or not. I felt like I was making some progress in the first 5 minutes, lets see what happens next.
Ok, I’m now 15 minutes into this and I feel like I’m getting close. I’m pretty sure I have one of the bearings in the correct location. There is a scallop cutout that is lining up with a protrusion on the case. But, the other bearing isn’t budging and right now it feels a bit stuck. But, I’m hesitant to move the piece that is the correct position. But looks like thats exactly what I’ll have to do if I want to progress.
This puzzle is fun to manipulate, but is a little frustrating because pieces seem to lock up at points. I don’t yet know if this is sequential in any manner or whether I just need to get the pieces into the correct position.
32 minutes and 54 seconds total time, and the puzzle has been solved. I’m not sure if I did things correctly or not. It seemed to me like I could rotate the stamped bearing fairly easily, but the non-stamped one was difficult to move. I ended up moving the stamped bearing around about 300 degrees and then that would allow the non-stamped piece to move about 15 degrees, and I’d move the stamped piece back to the start and that would allow me to move the other piece 15 degrees. I kept at this until the puzzle was solved.
The inside of this one is really cool. Its really amazing to interlock the bearings and move them around and see how they catch on each other and how moving up and down opens up new pathways. Overall, I’m very impressed with the design on this one. It seemed obvious from looking at it how it would work, but its design makes it really challenging. I think I’m going to hold off on putting this back together – I need to understand how the bearings interact better to see if I did things correctly or picked an inefficient solution.
Assembly was pretty straightforward, but still took me a good 10 minutes to complete. Overall, I really enjoyed this one. I’ll have to complete it a few more times to see if I can really get a mastery of it.