Metal
-

Read More: Picolock – Boaz FeldmanI haven’t solved too many puzzle locks. They are usually fairly expensive and they’ve just…
-

Read More: Stella Demonticon – Radek MicopulosNext up in the Demonticon series is Stella. Stella follows the same form factor as…
-

Read More: Ziggy Demonticon – Radek MicopulosI saw this puzzle pop up on nothingyetdesigns.com a while back and was instantly intrigued.…
-

Read More: HoKey CoKey Lock – Steve Nicholls & Ali MorrisI’ve never done a puzzle lock before. Not sure why, but I just never pulled…
-
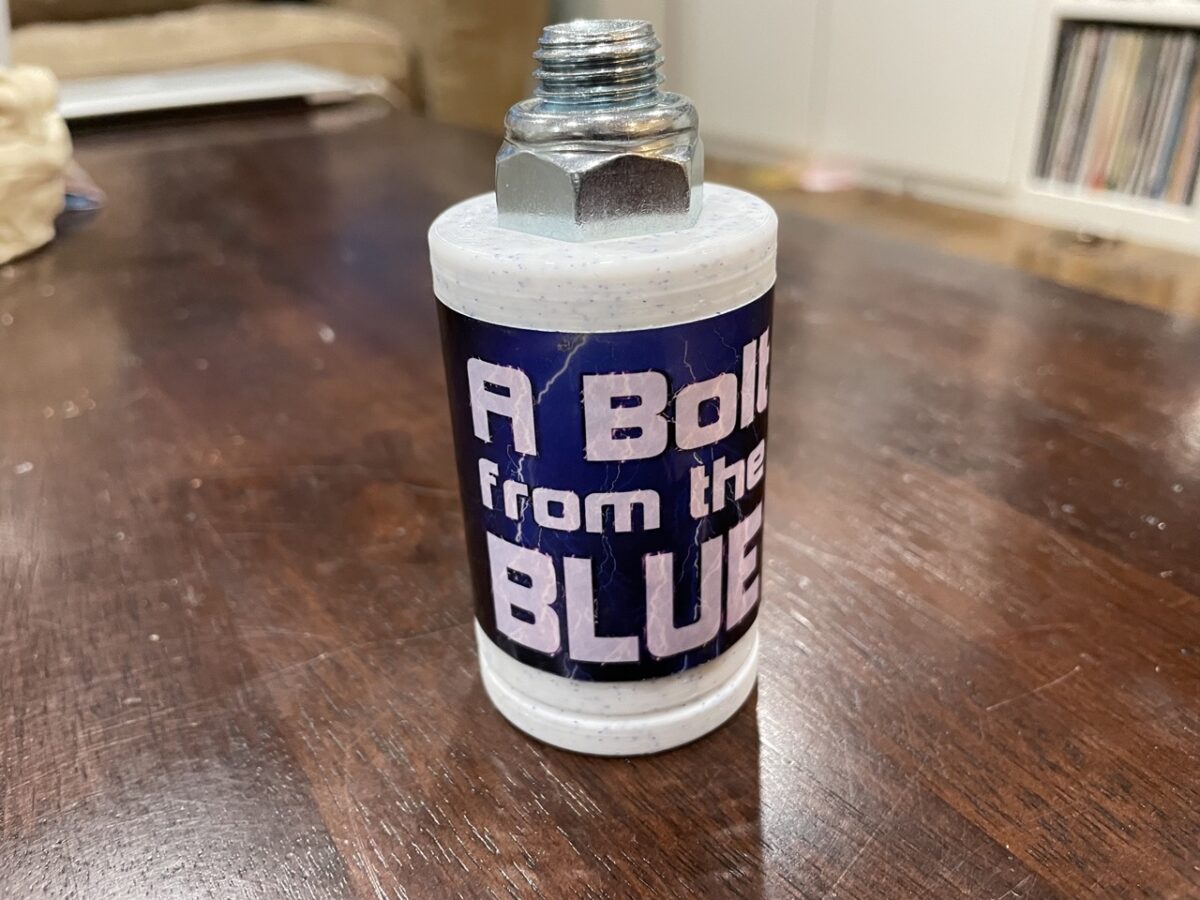
Read More: A Bolt from the Blue – Ali MorrisA Bolt from the Blue, is a very sturdy bolt puzzle offered by Two Brass…
-
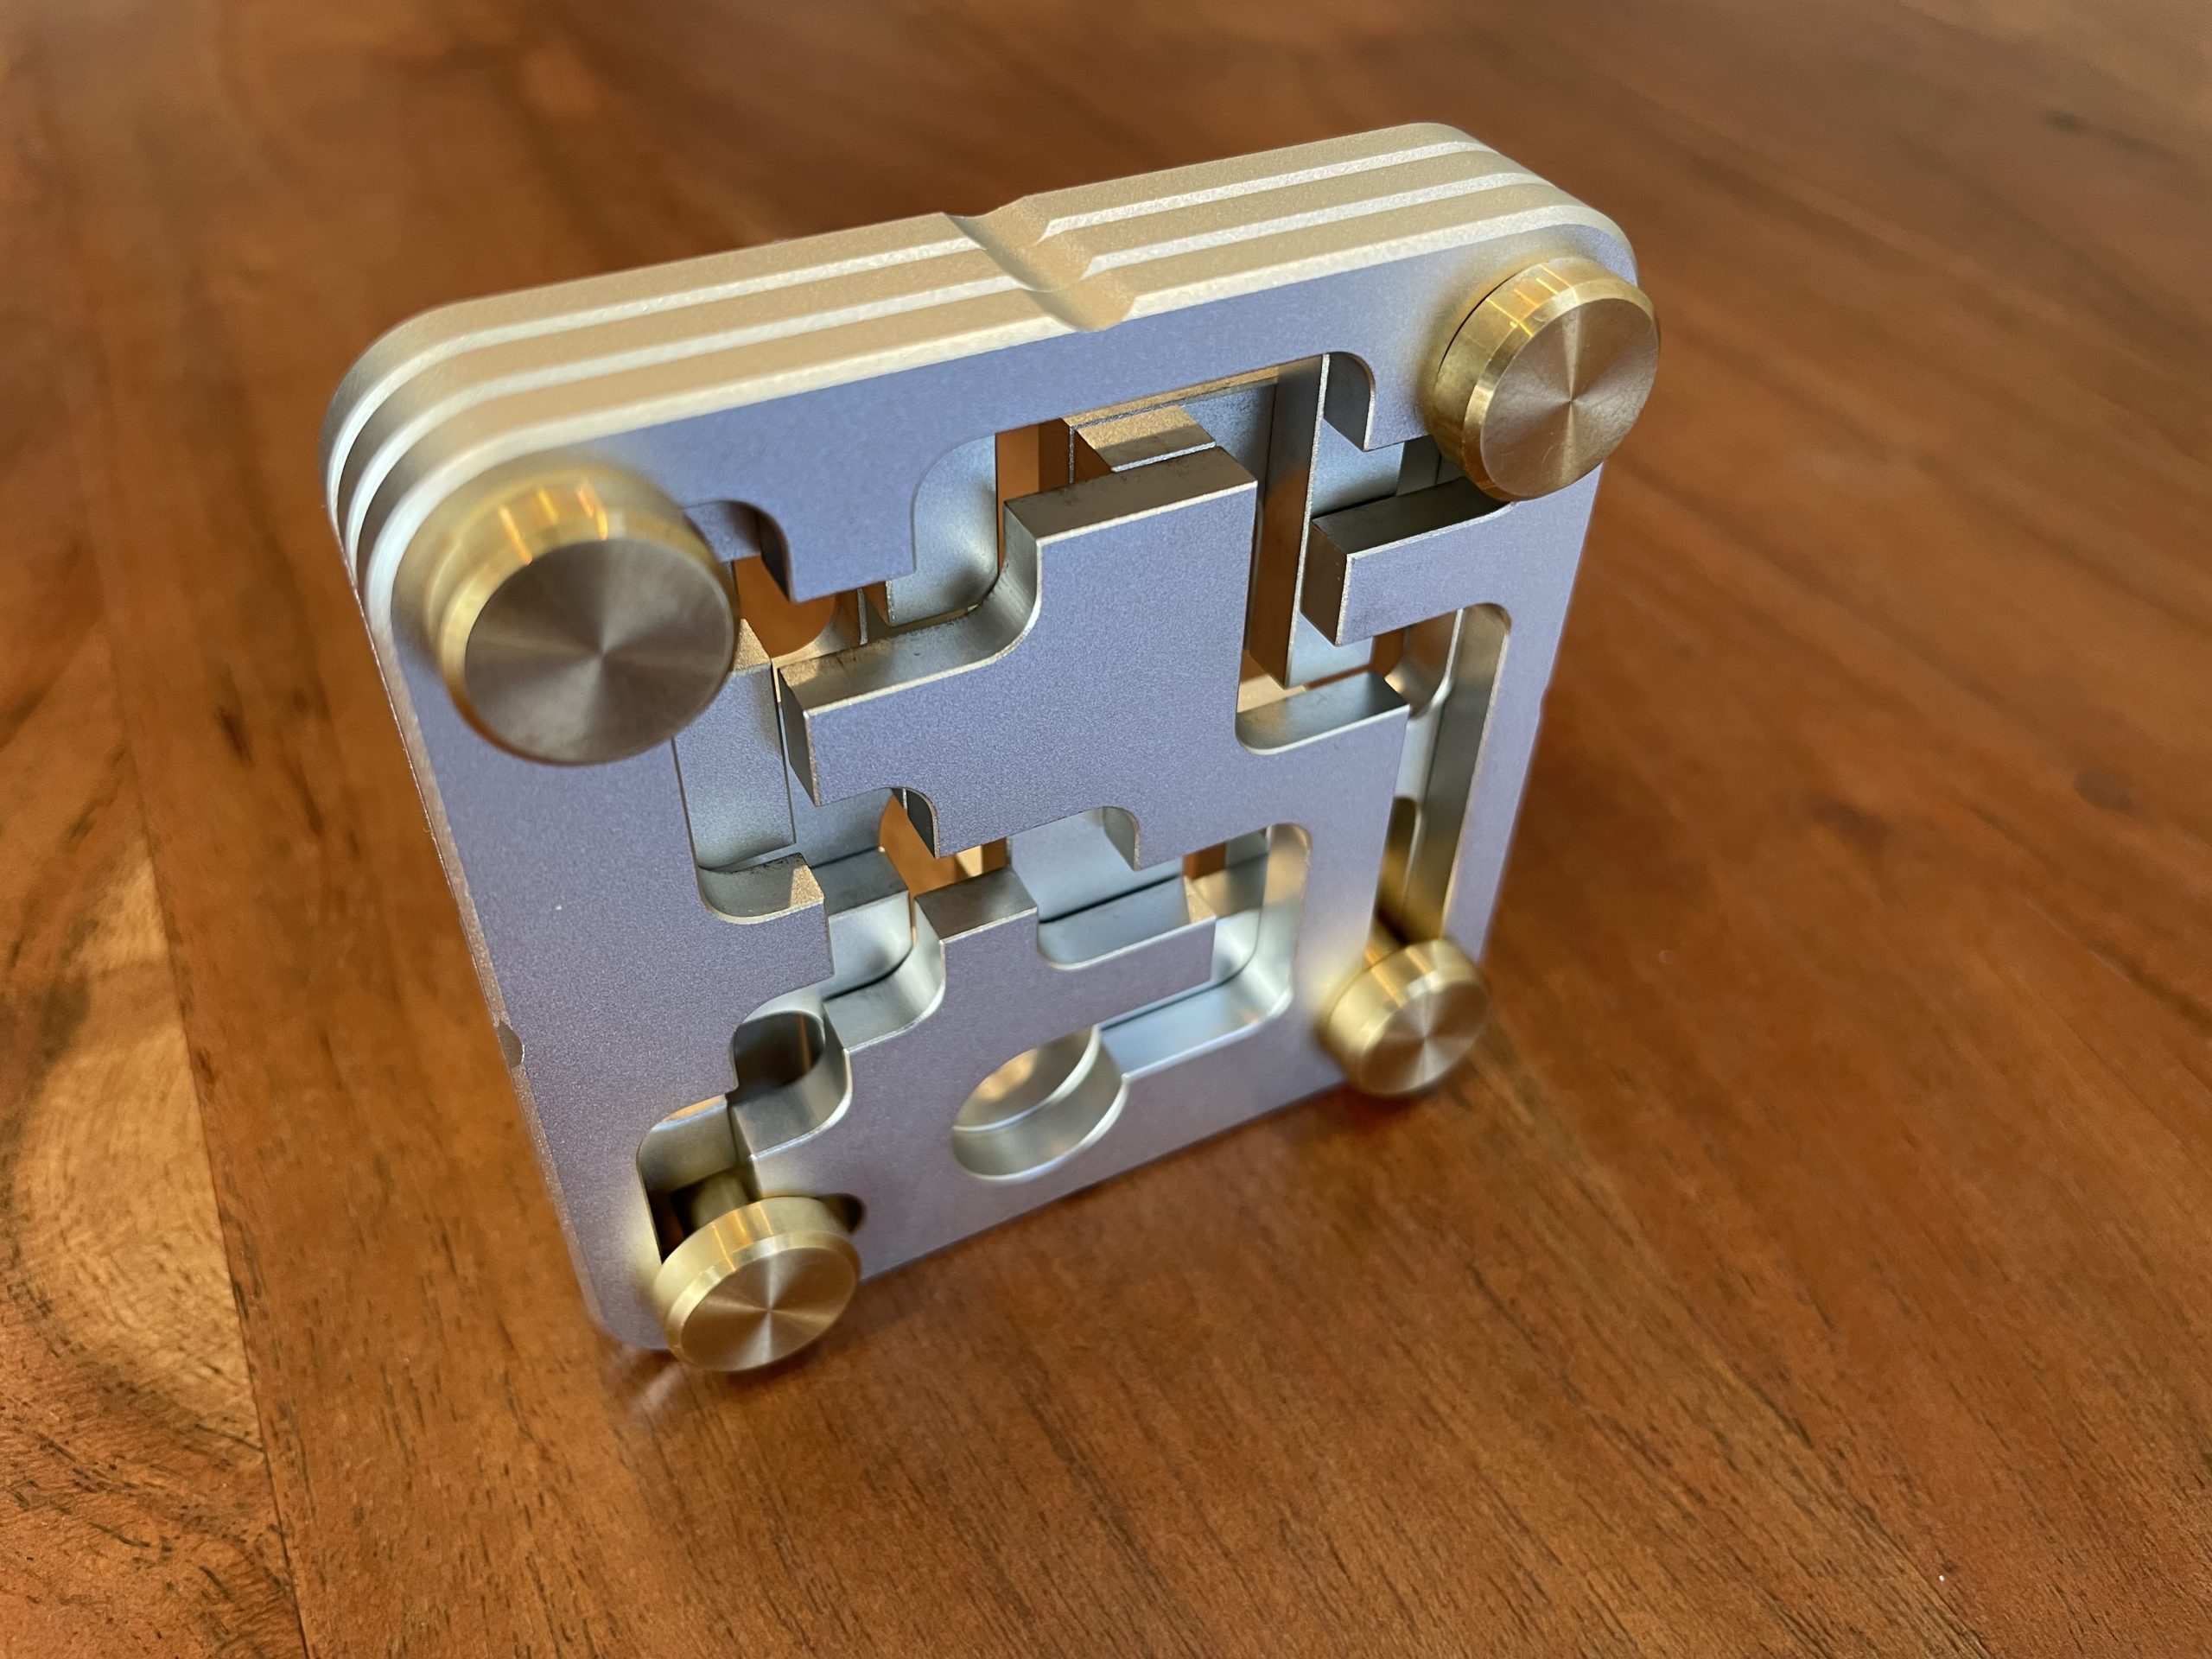
Read More: FastMaze #1 – Dan FastFastMaze #1 arrived today and I am beyond excited to give this a try. Ever…
-

Read More: Psycho Disks – Eric FullerPsycho Disks is a relatively new puzzle designed and created by Eric Fuller at Cubicdissection.…
-
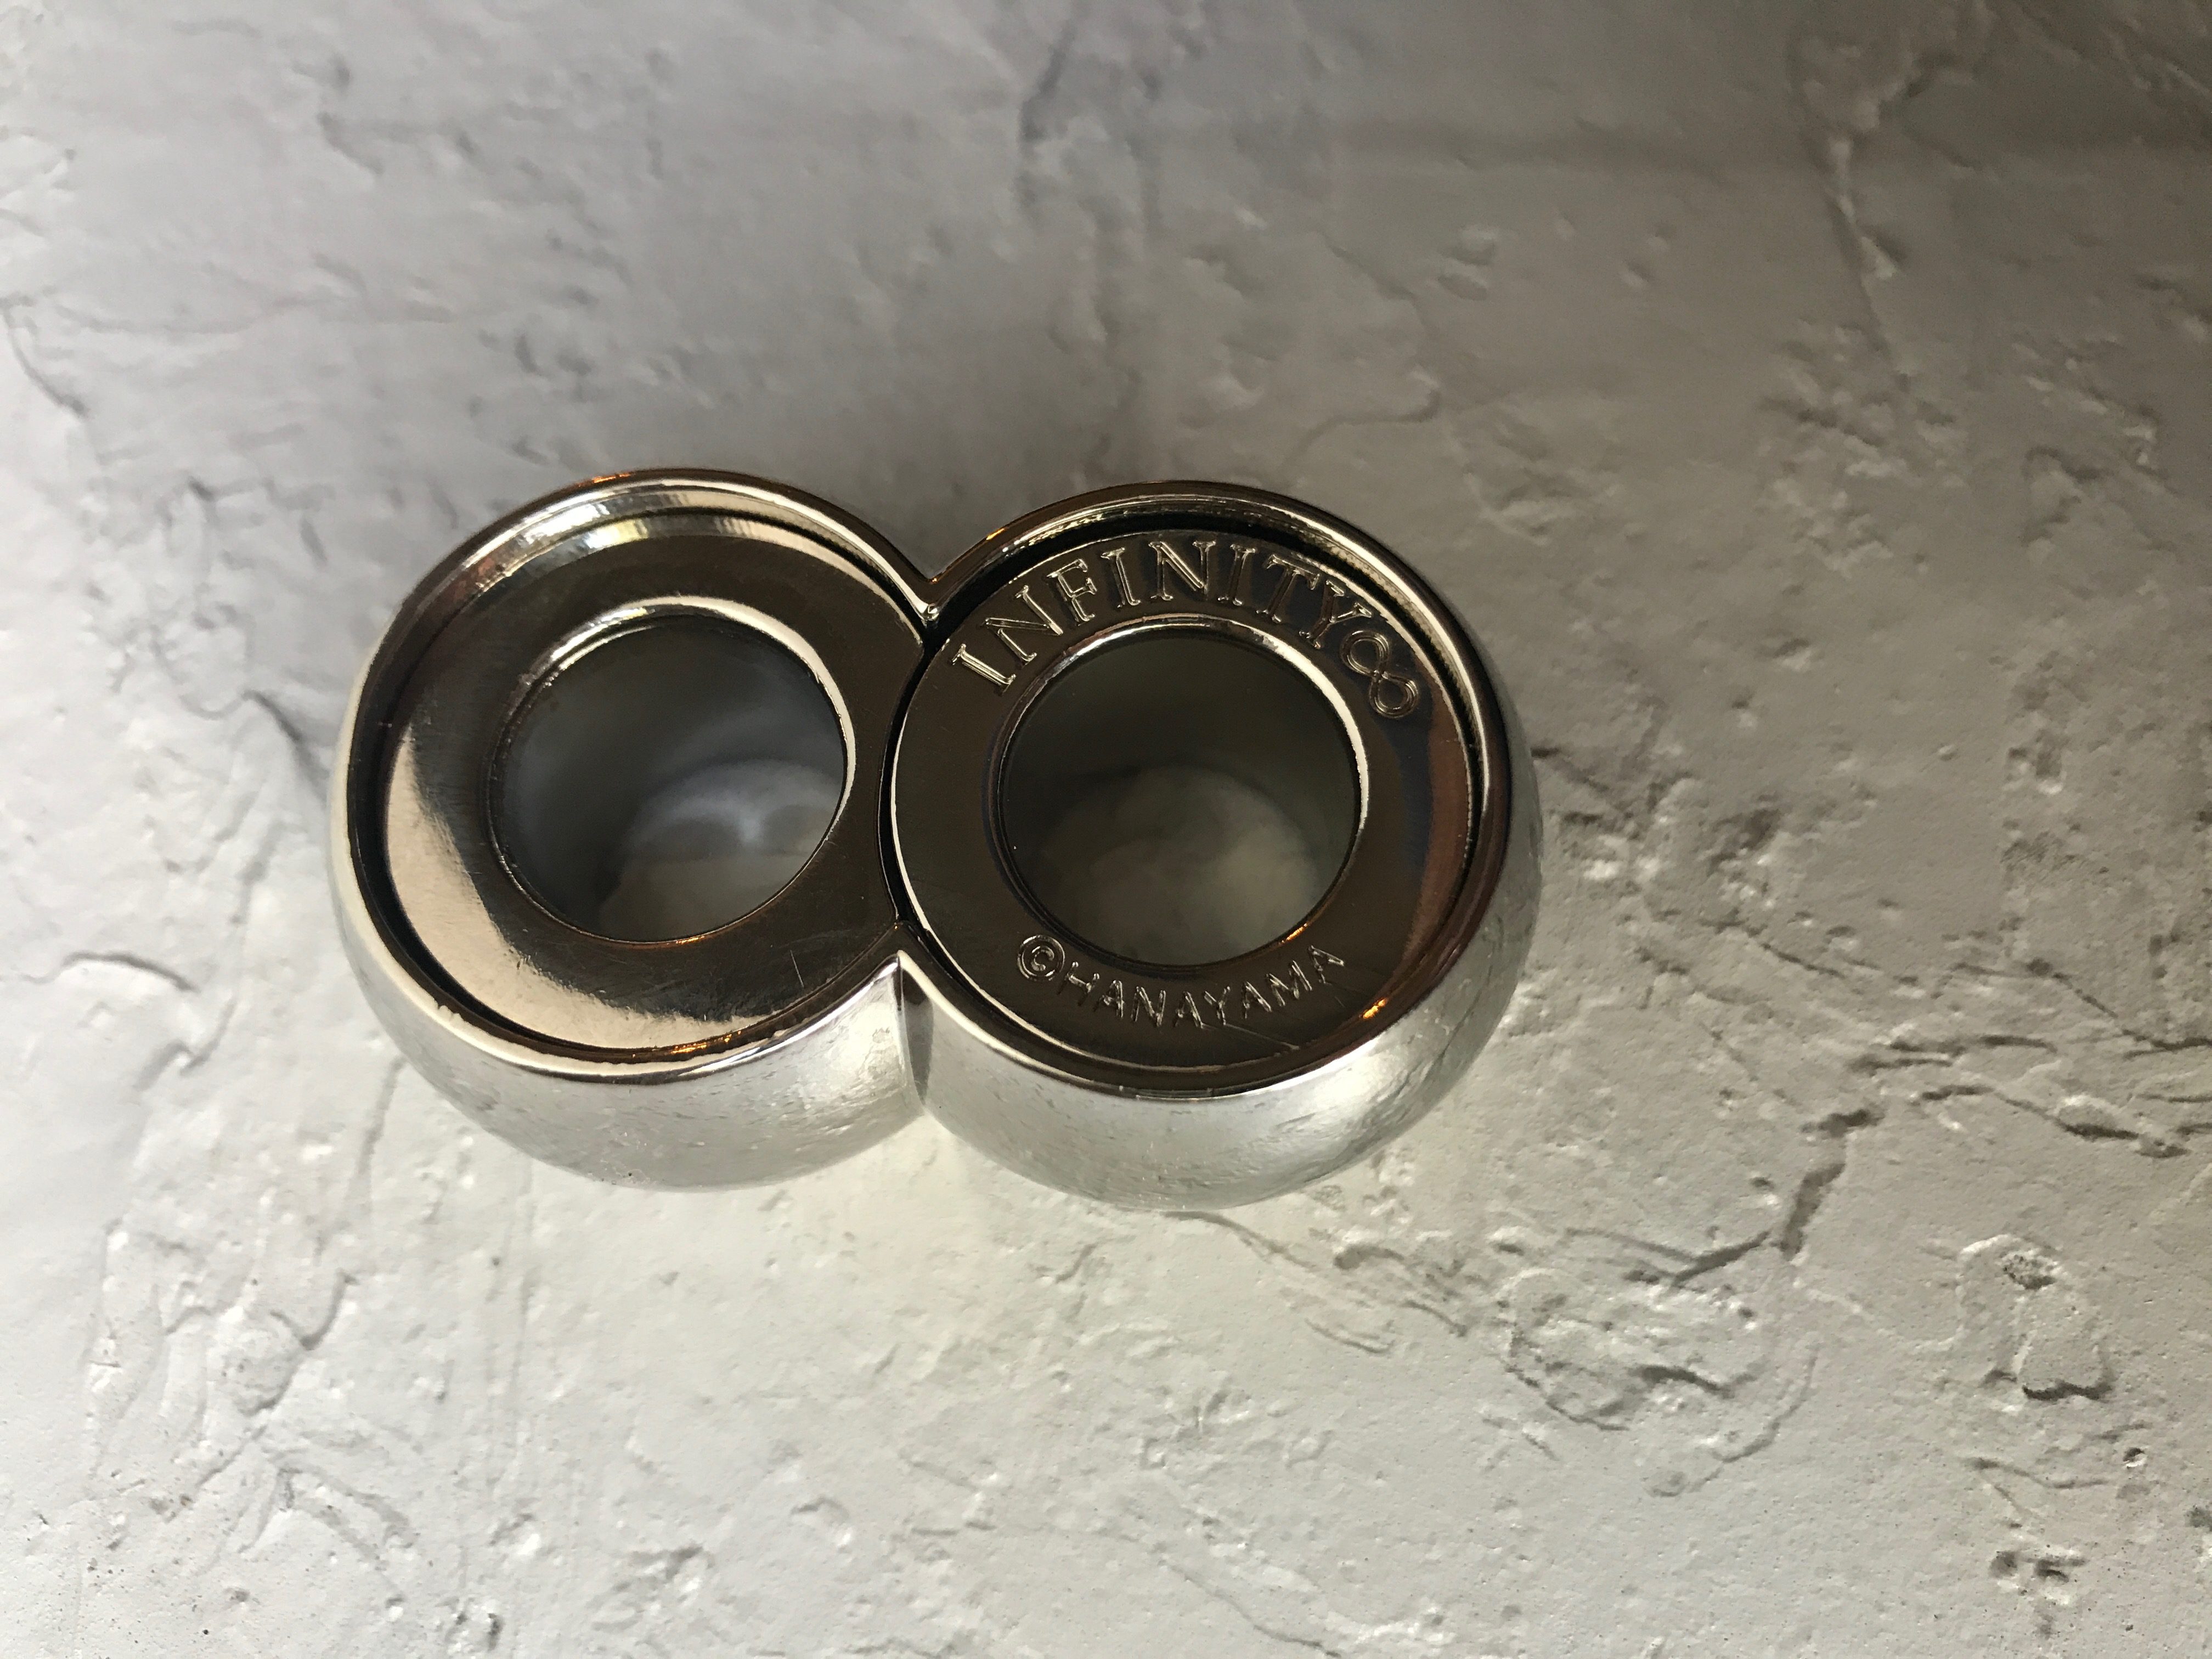
Read More: Hanayama InfinityOk. Gonna do another real time run through with the Hanayama Infinity. I haven’t played…
-
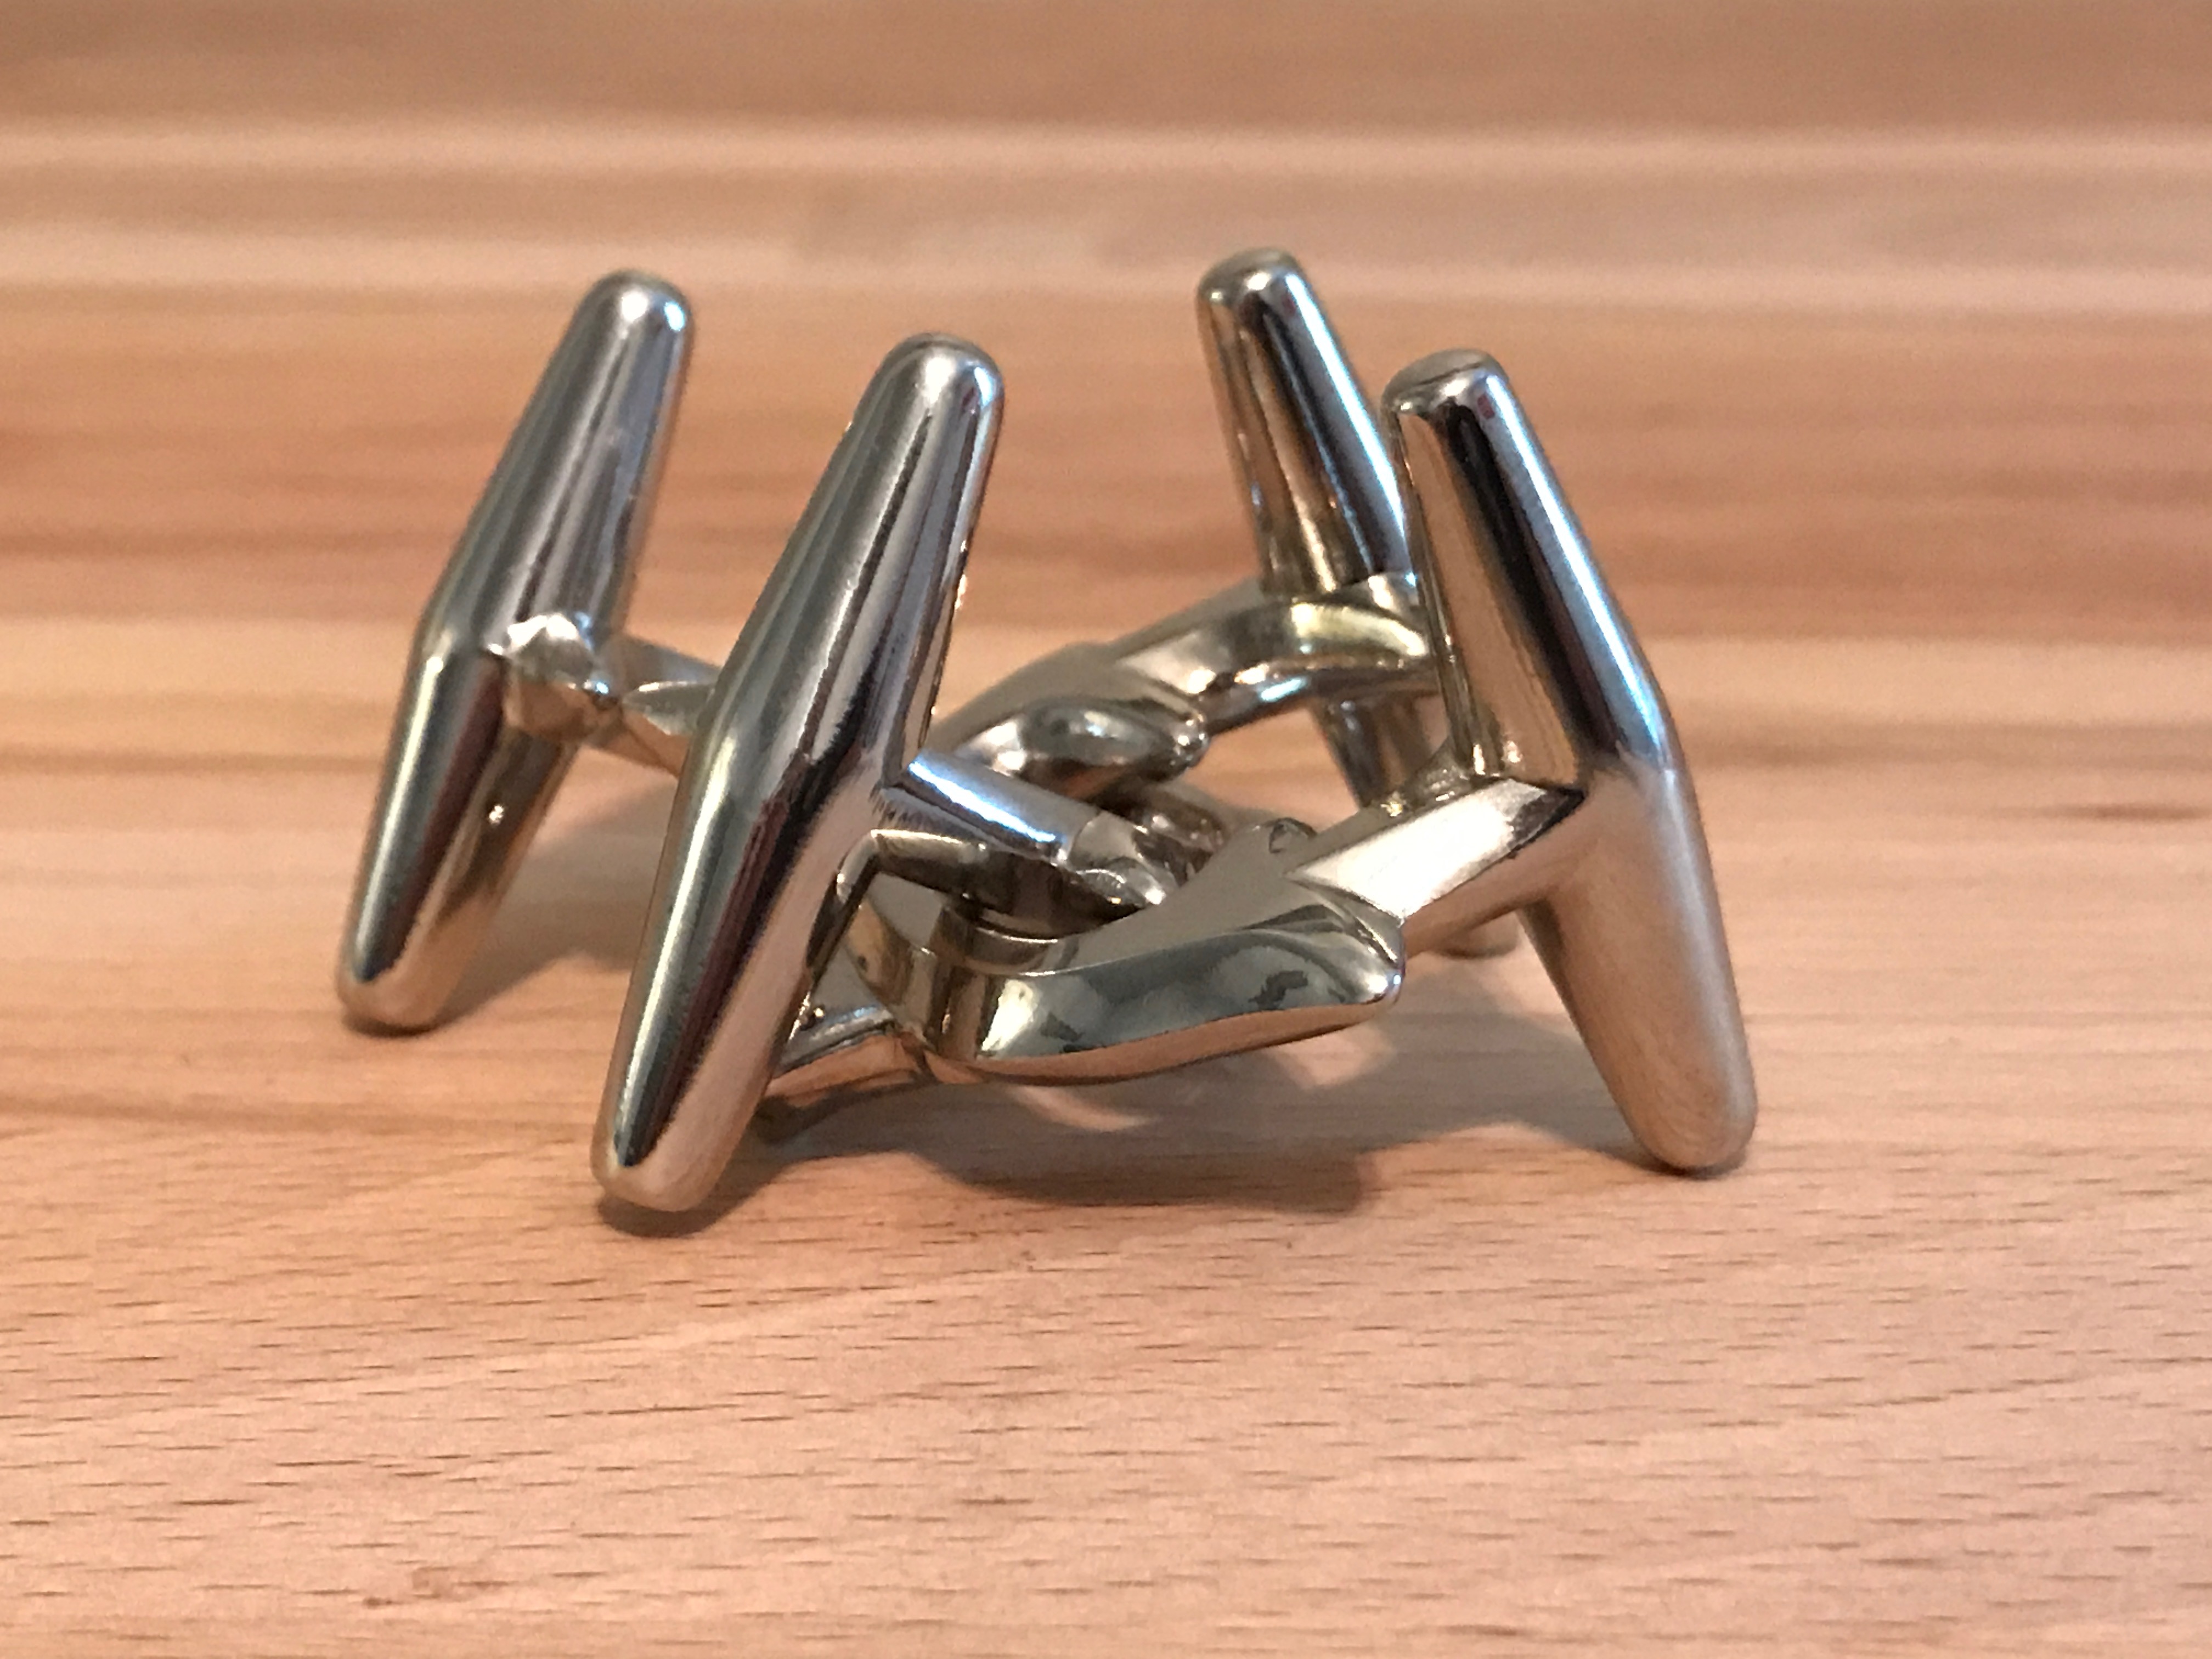
Read More: Hanayama Cast ElkOk, new format. Tonight, I’m going to document the puzzle solving experience. I have the…
-
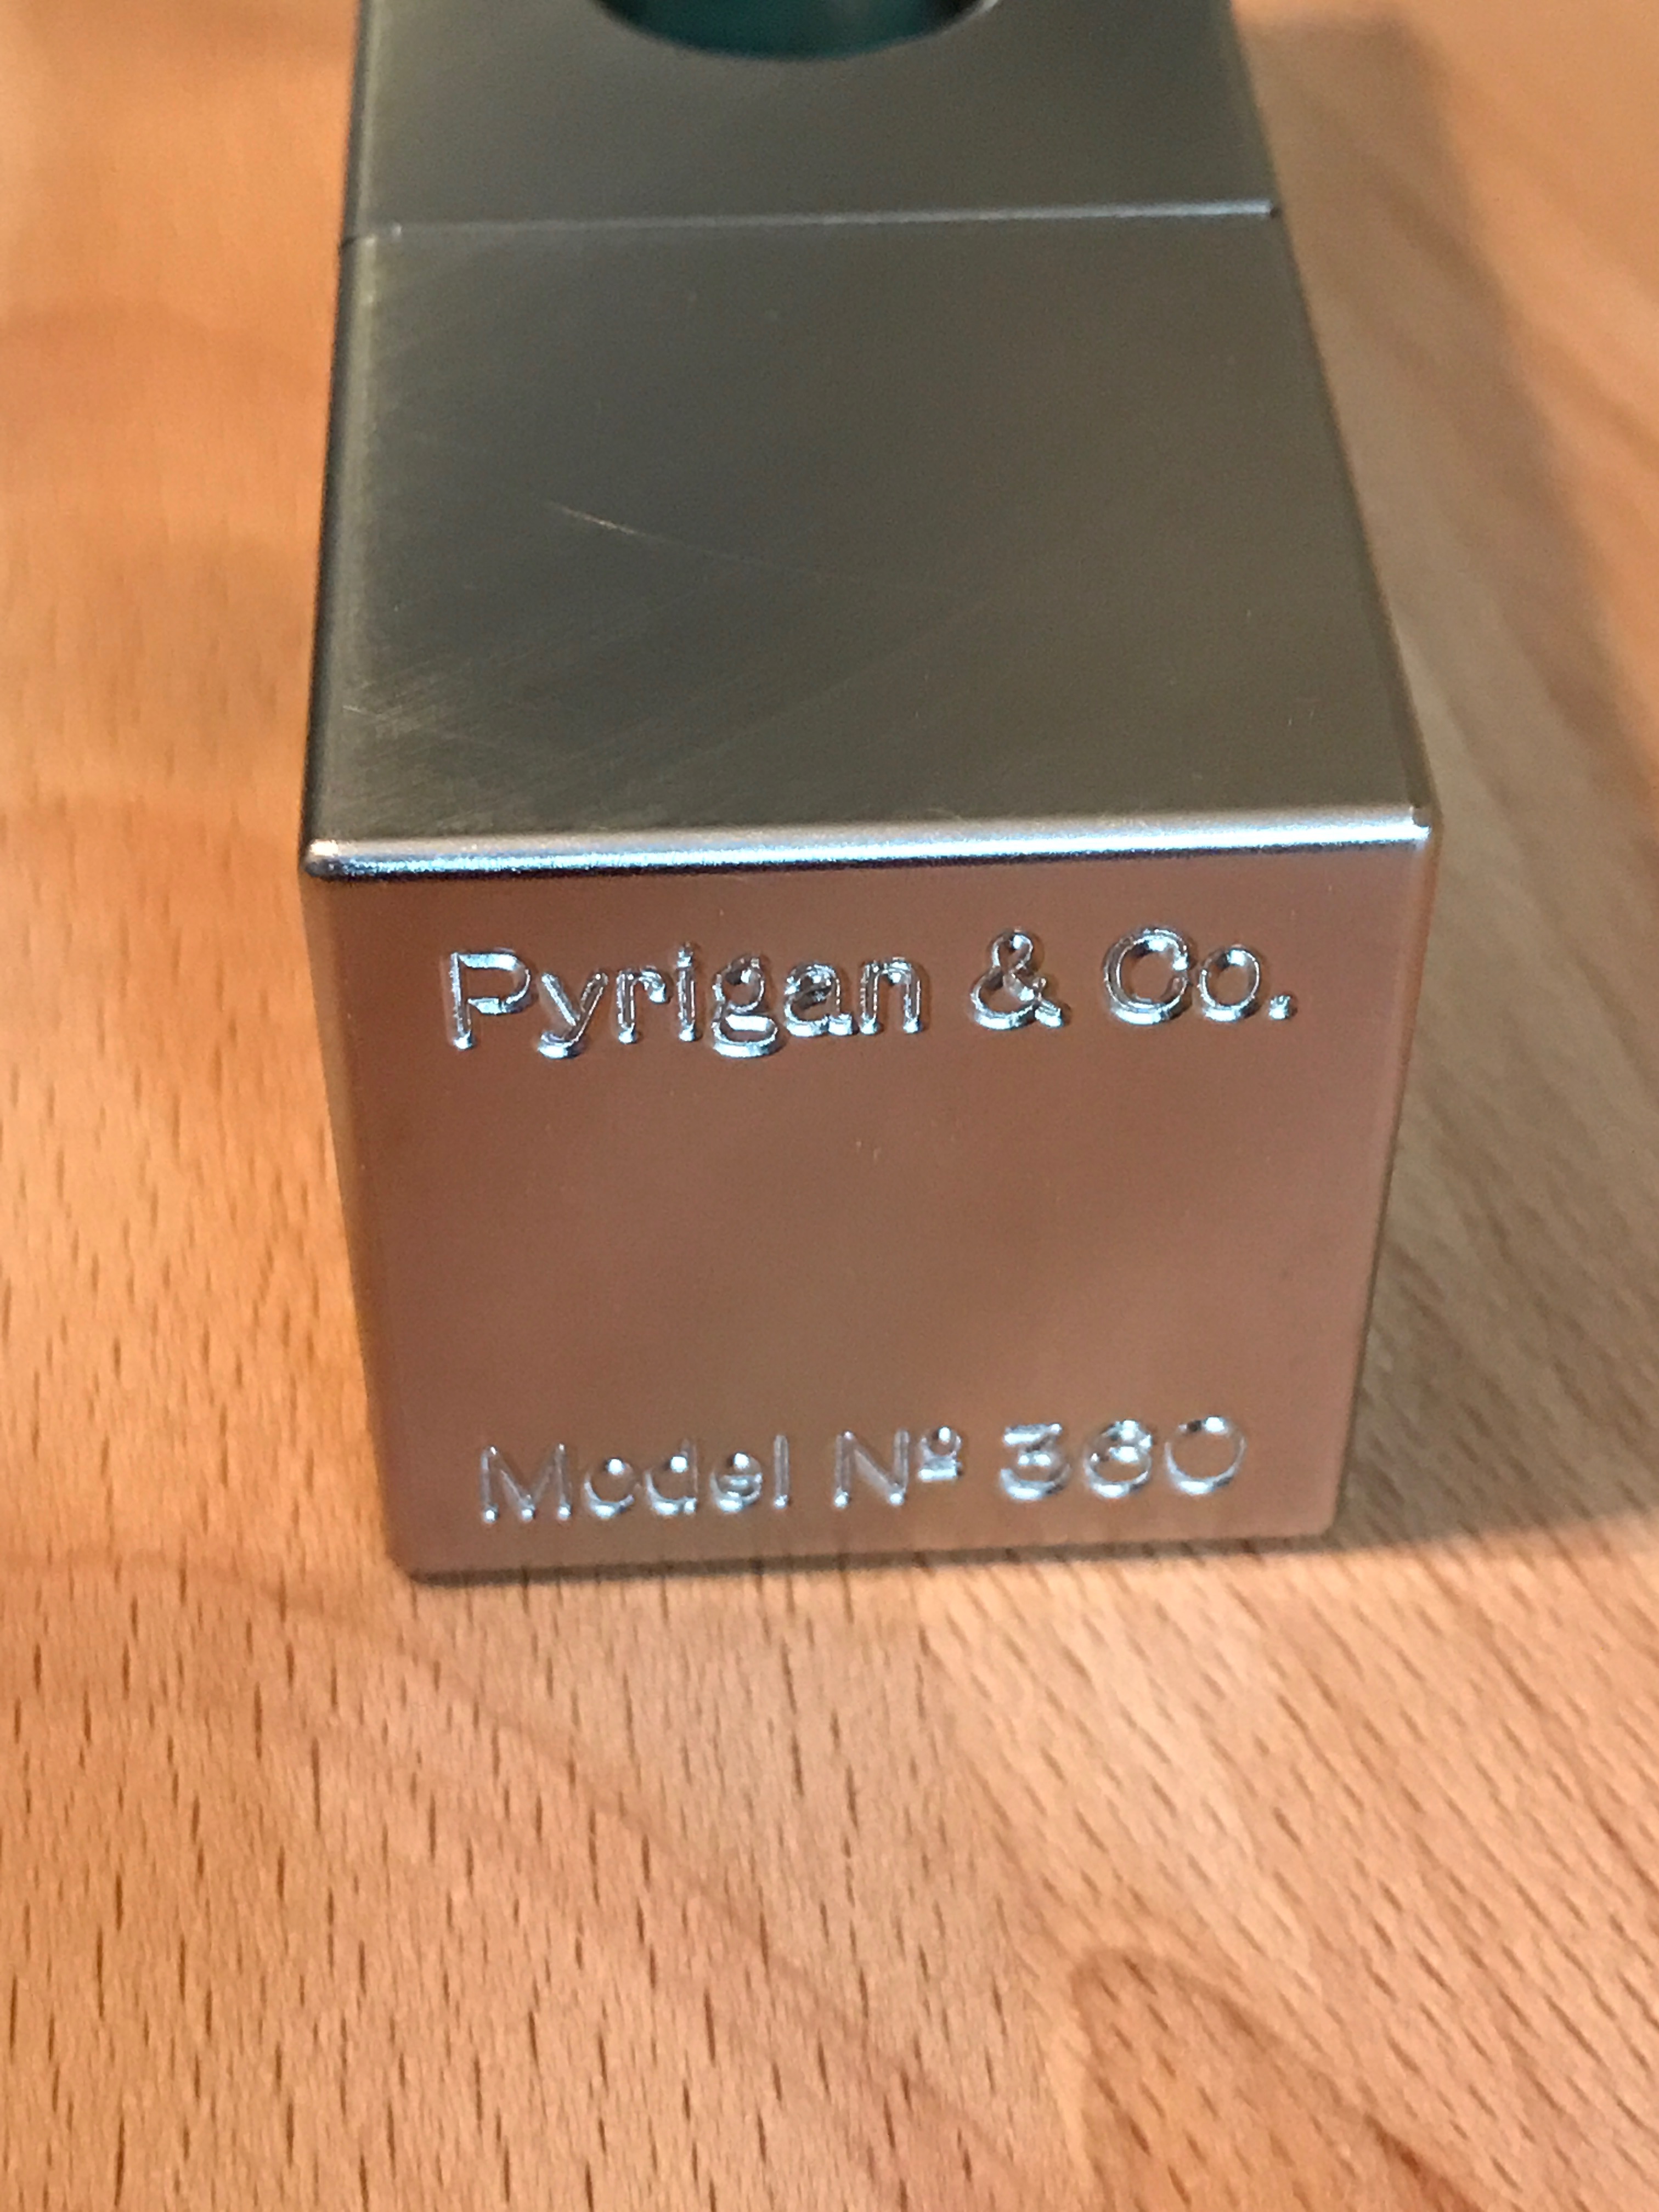
Read More: Pyrigan #360Last week, I received a package of puzzling goodness from the fine folks at Sloyd.fi…