Mechanical
-

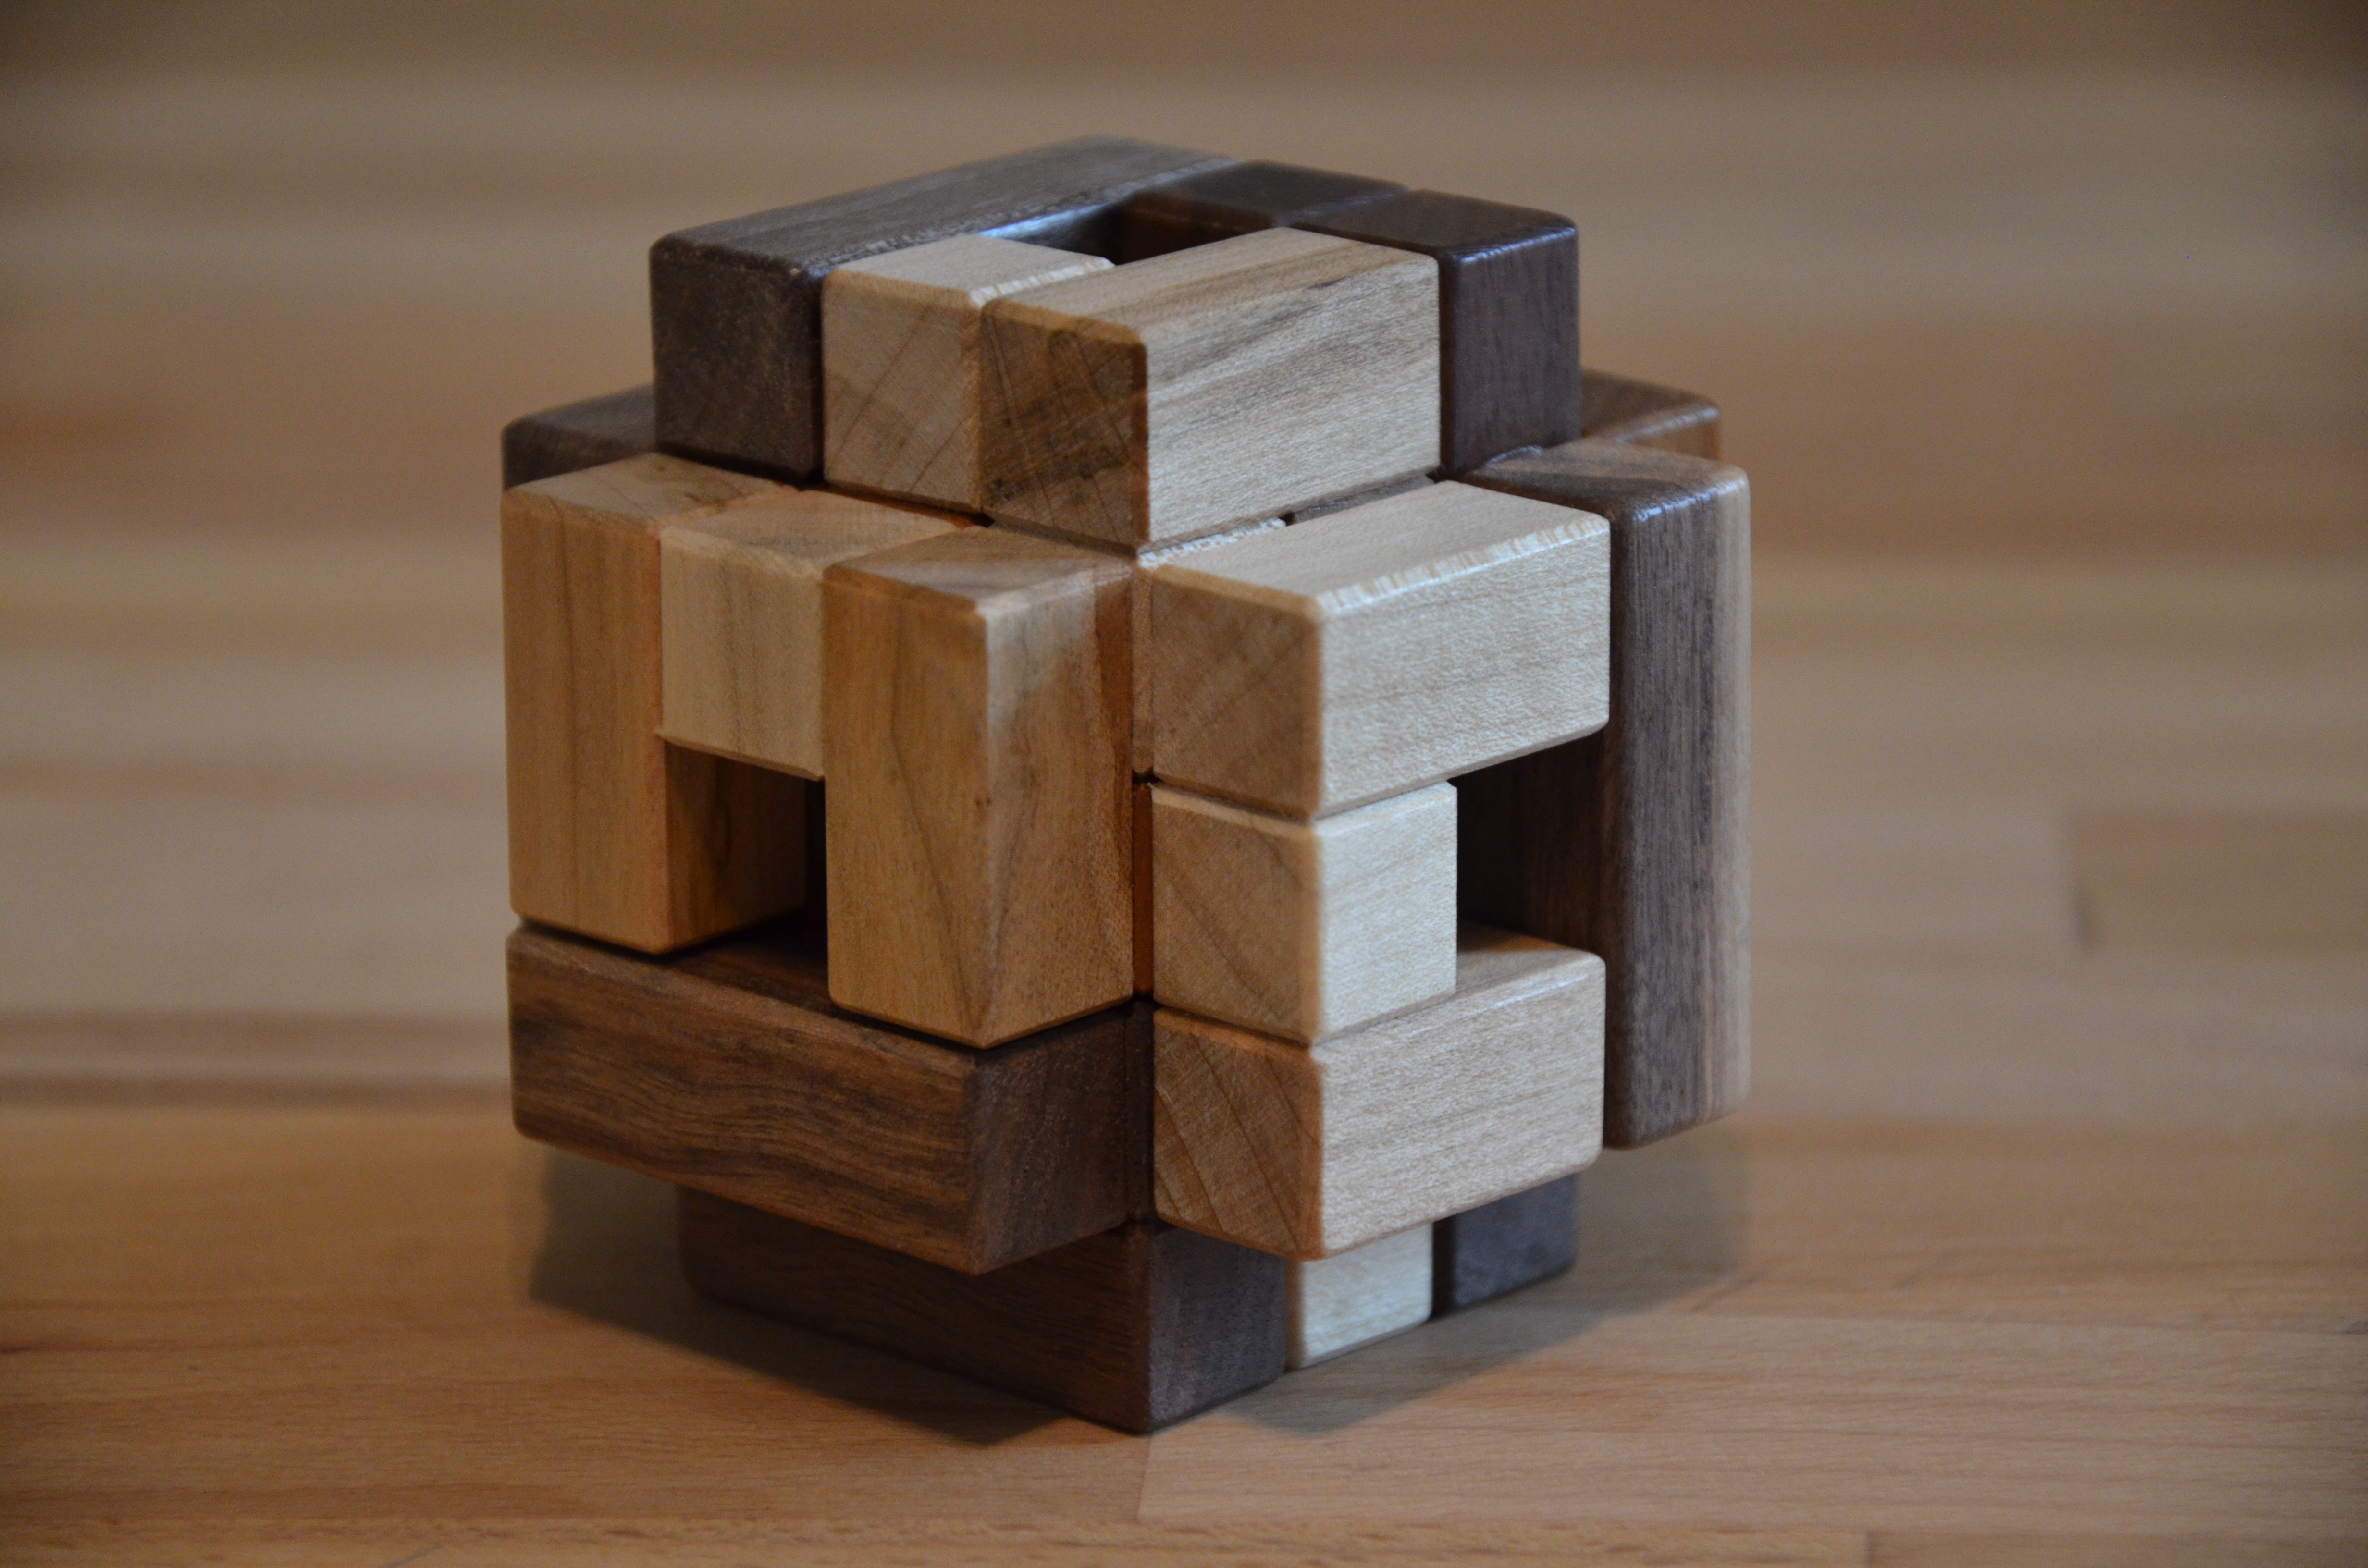
Read More: Inelegant Cube – Haym HirshToday, I have the Inelegant Cube designed by Haym Hirsh and beautifully crafted by Brian…
-
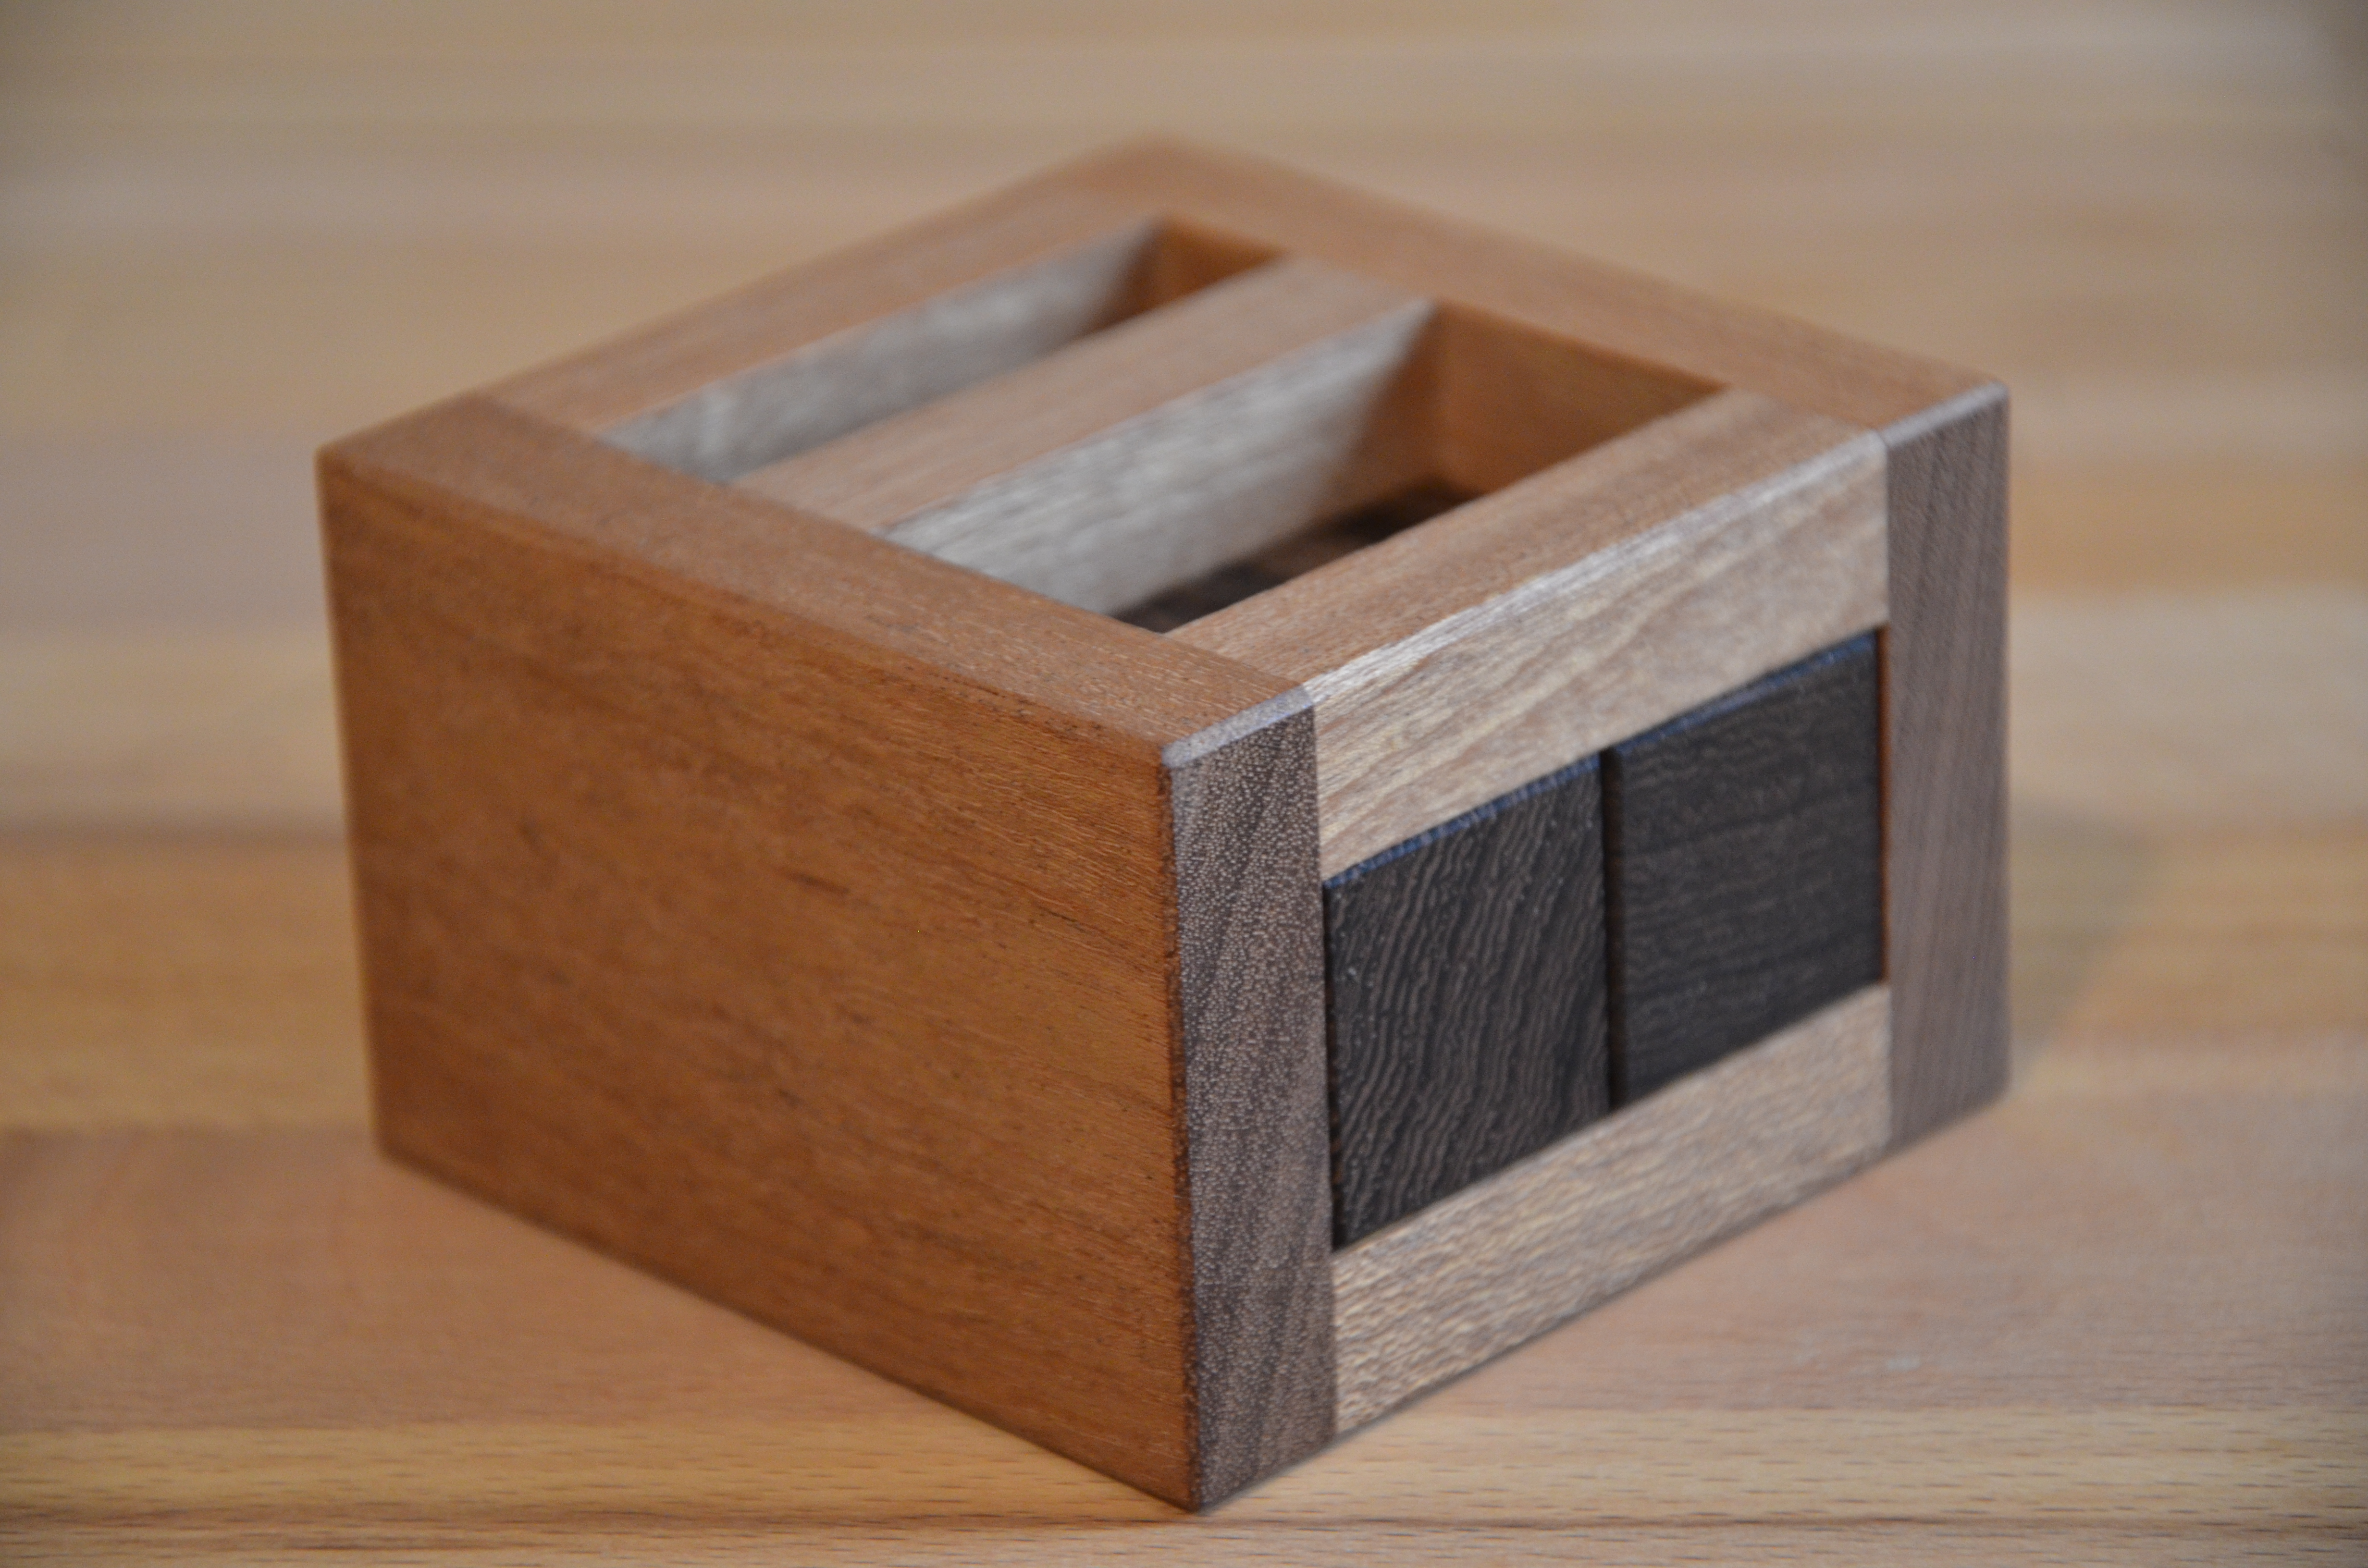
Read More: Wing Hangar – Osanori YamamotoToday, I have the fabulous “Wing Hangar” from Osanori Yamamoto. This is another piece produced…
-
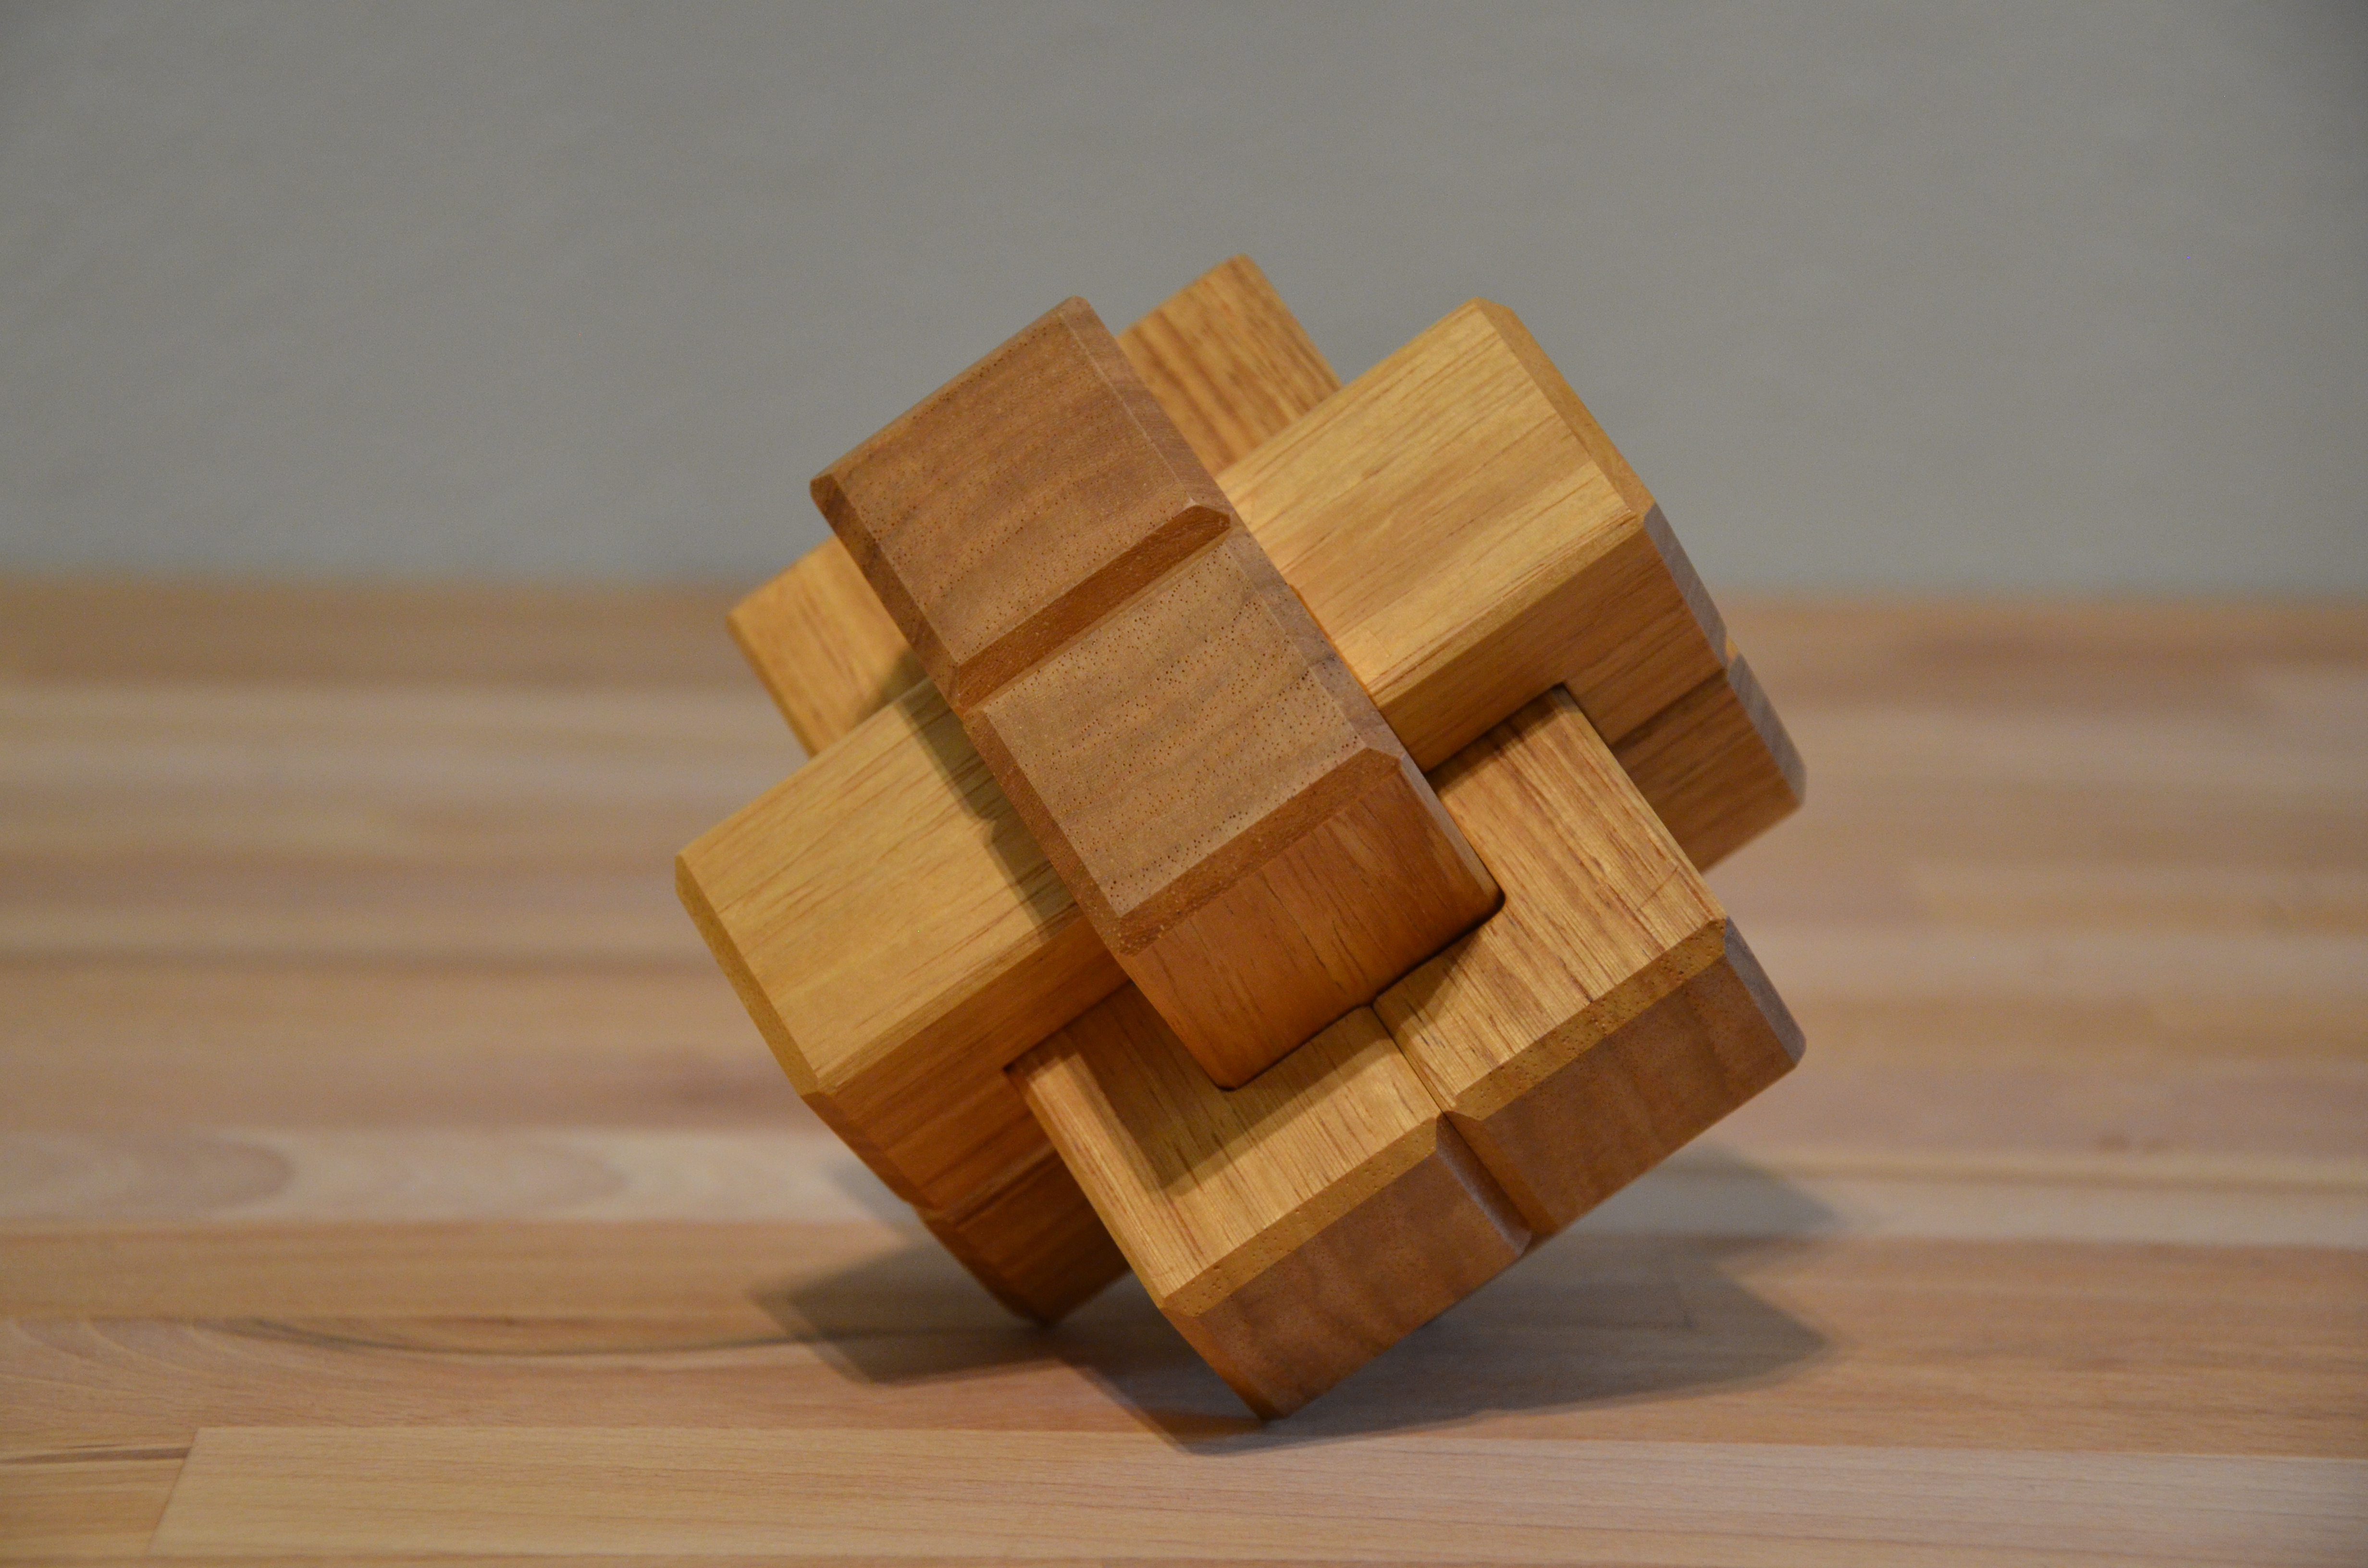
Read More: TRIAD – Osanori YamamotoThis week, I have Triad, designed by Osanori Yamamoto and built by Jakub Dvorak of…
-
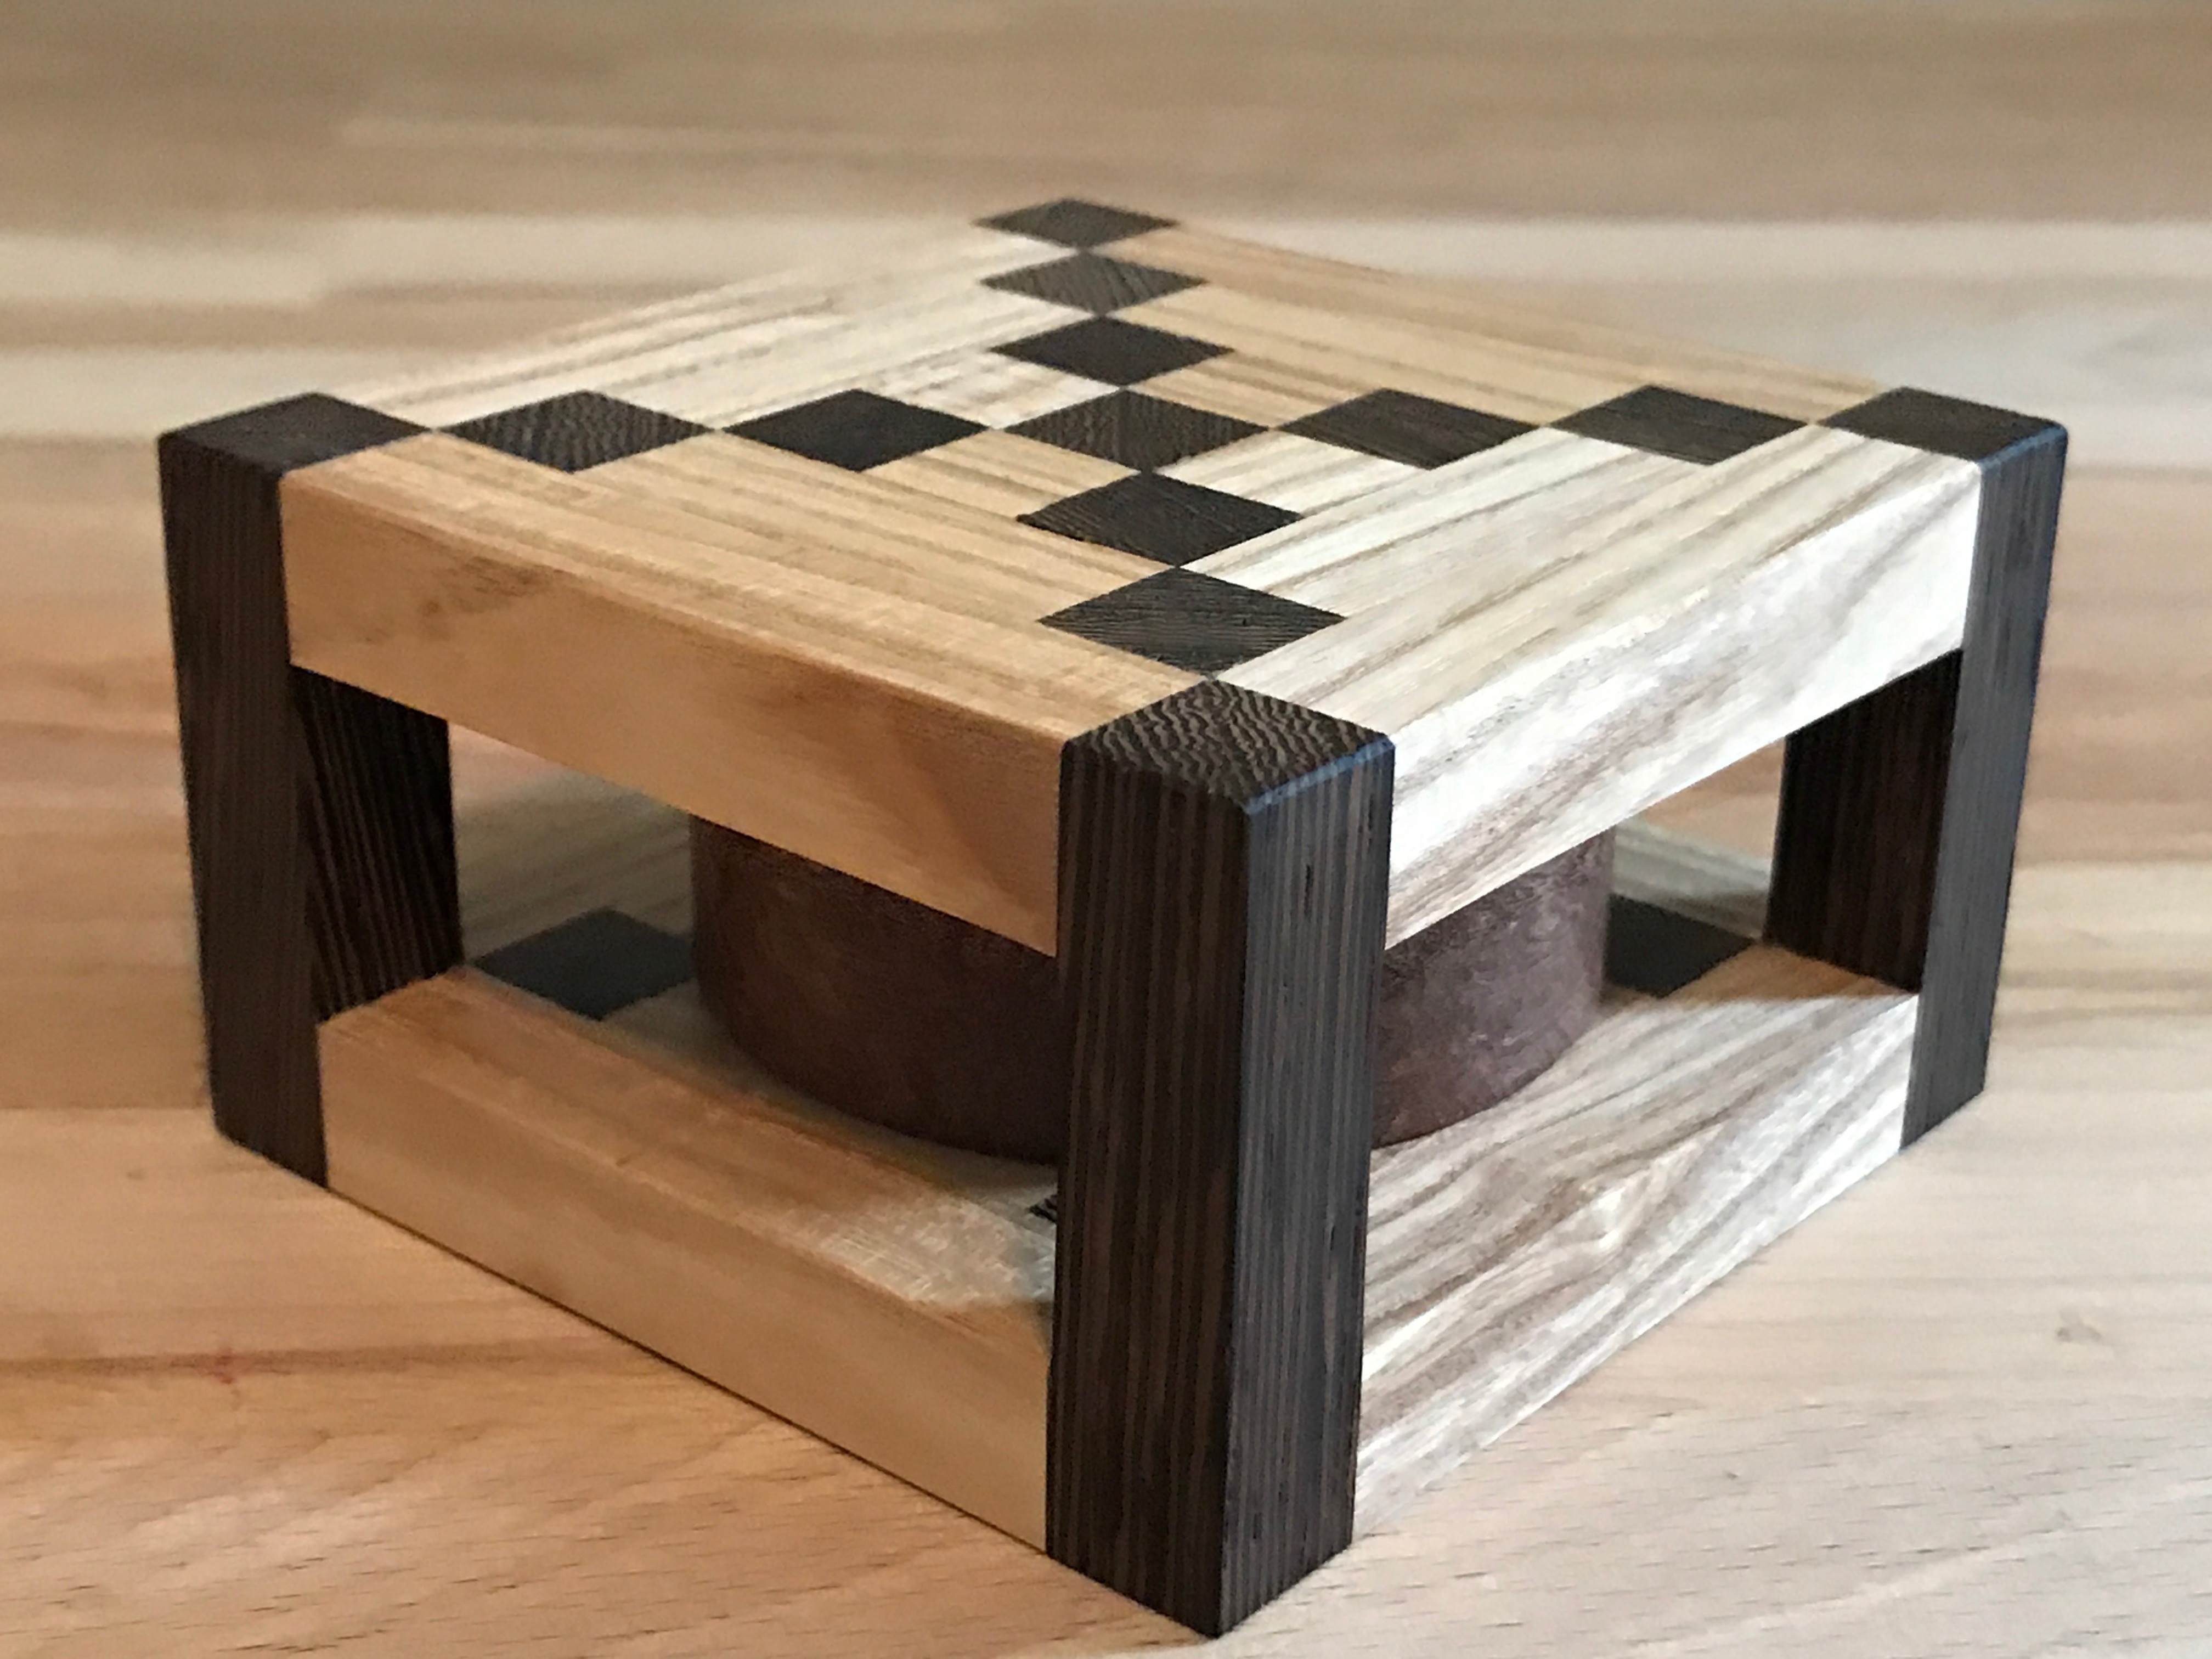
Read More: Sequential Discovery Burred Box – Junichi YananoseOh man, I’m so excited. I just received a package in the mail from Pluredro.com…
-

Read More: Okto Cube – Yavuz DemirhanToday, we have another beauty from Eric over at Cubicdissection.com. This one is called Okto…
-

Read More: Two Face 3 – Alfons EyckmansThis week, I have another fantastic burr puzzle created by Eric Fuller and designed by…
-
Read More: Six Rings #2 – Andrew CrowellToday, I’m looking at a puzzle designed by Andrew Crowell and built by Brian Menold…
-
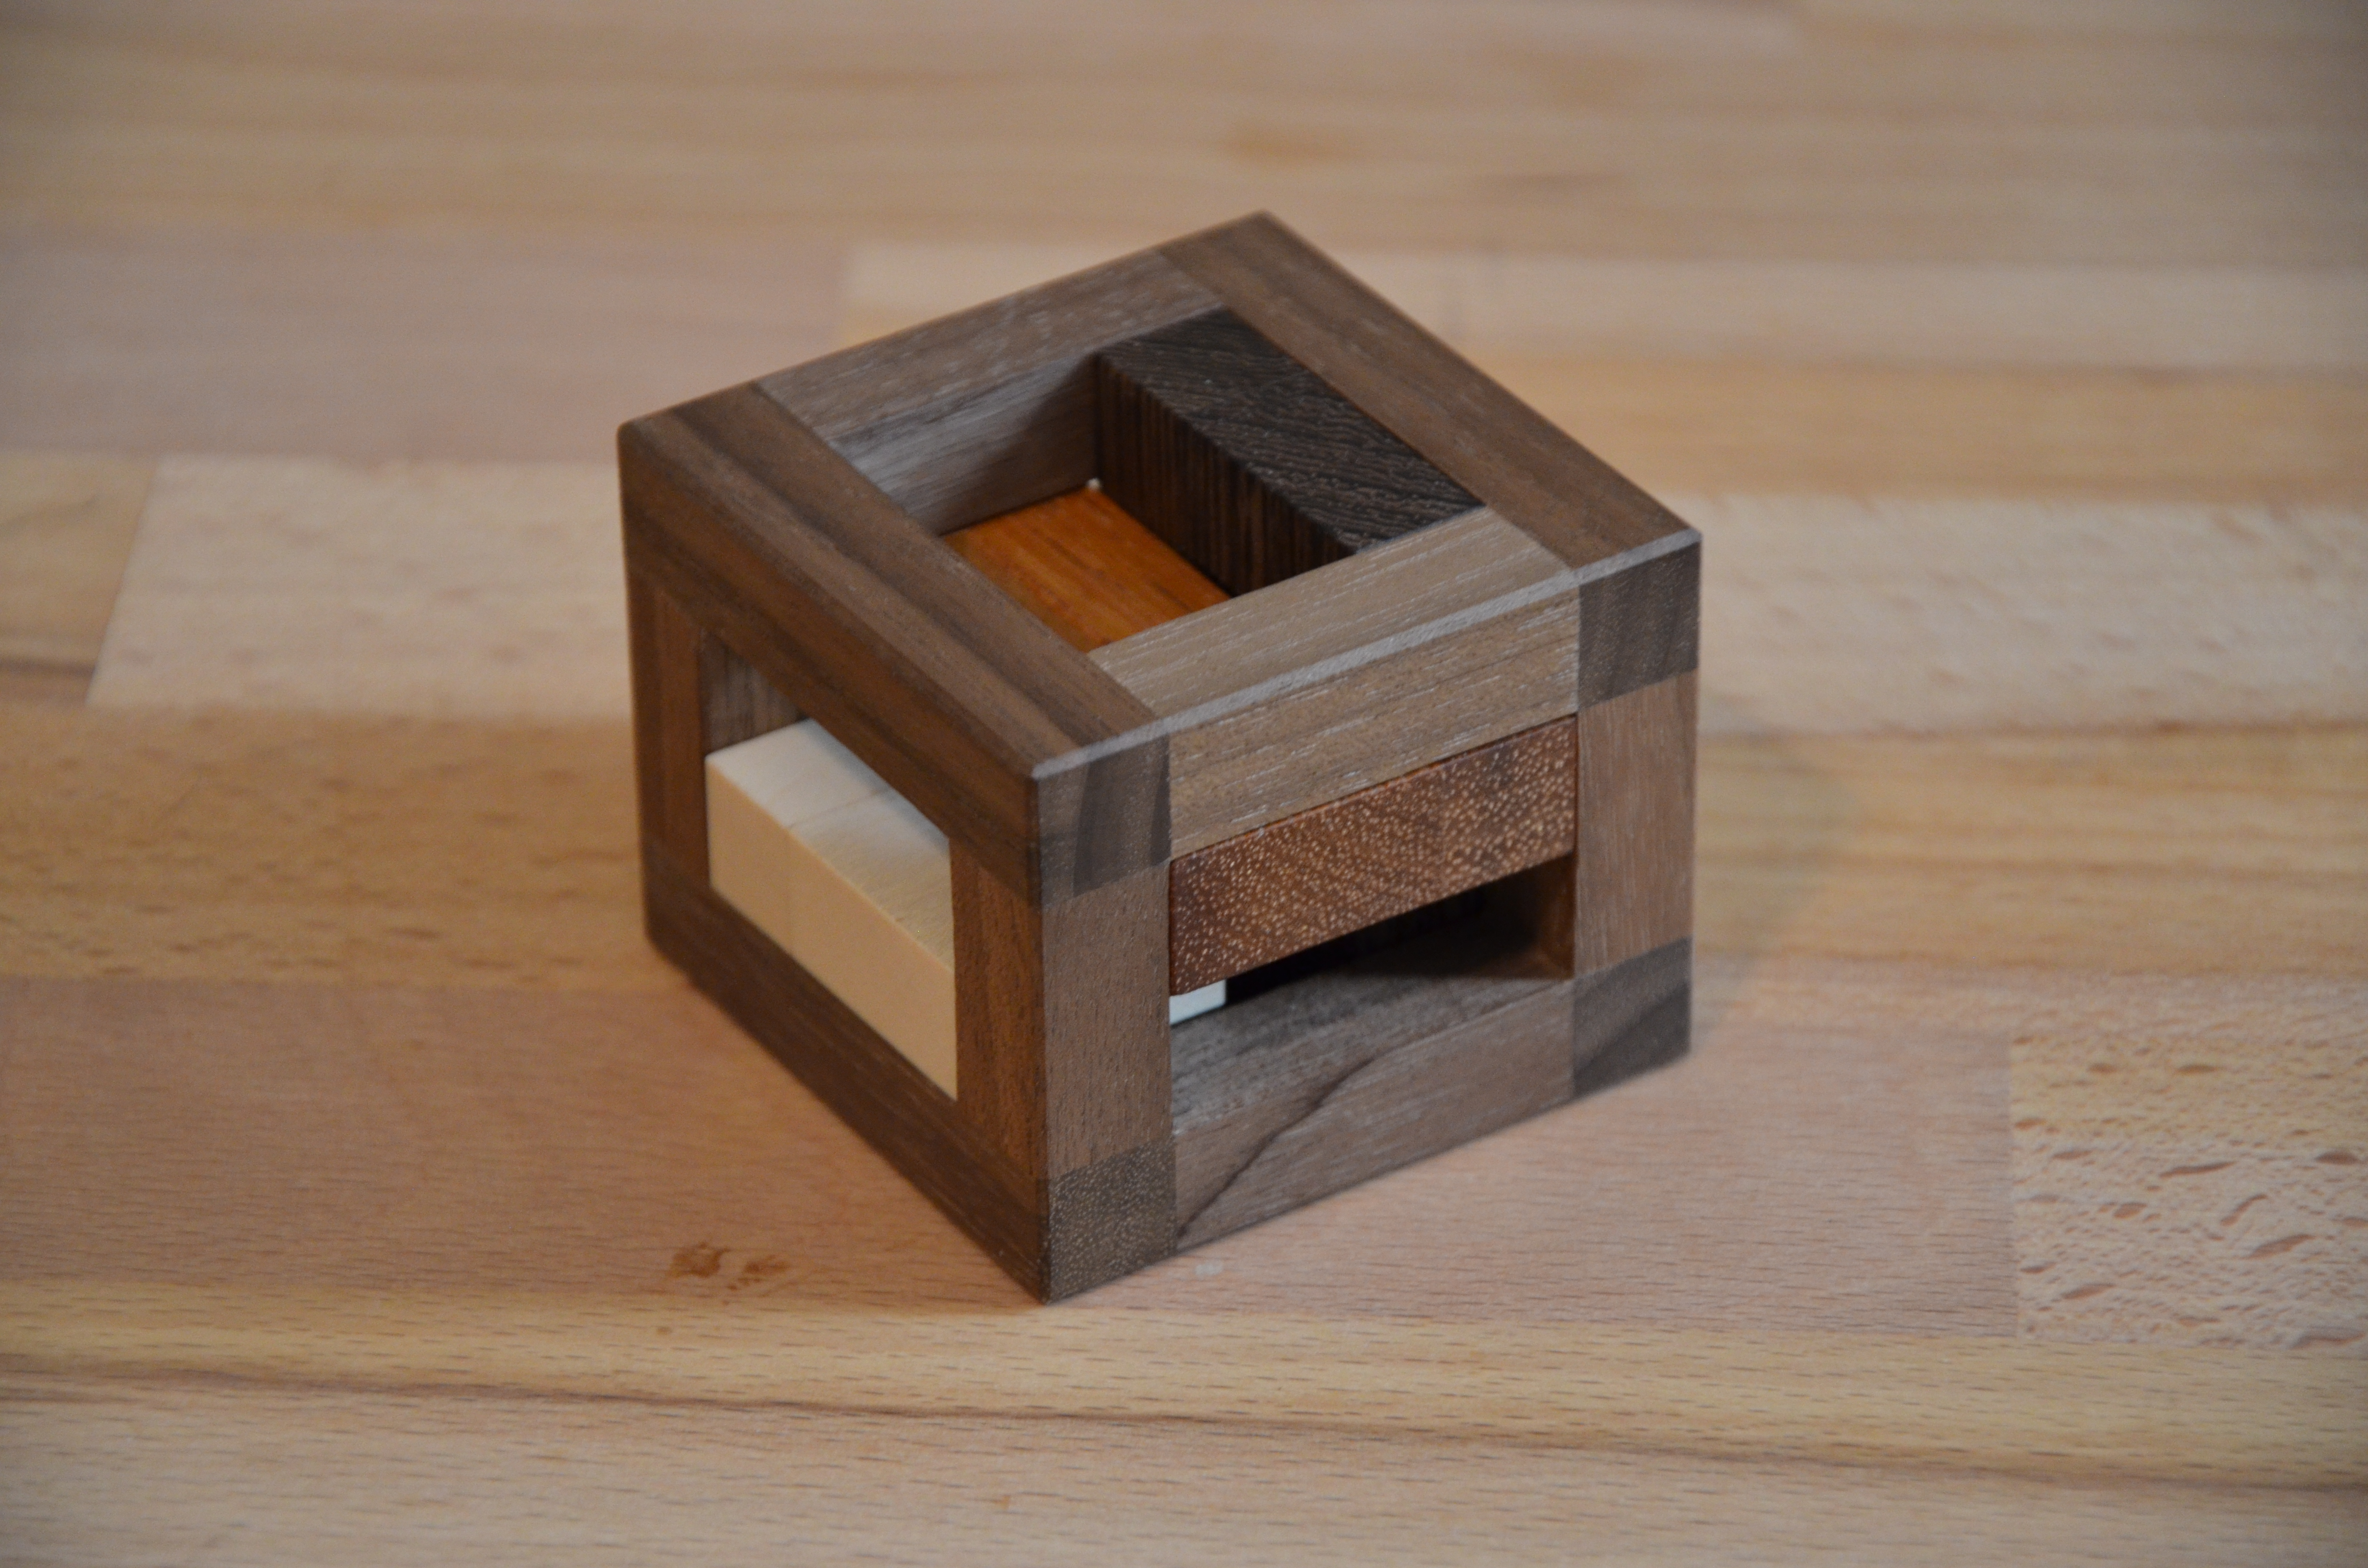
Read More: TRAP-R2 – Osanori YamamotoToday, I have an very interesting puzzle called TRAP-R2 designed by Osanori Yamamoto and crafted…
-
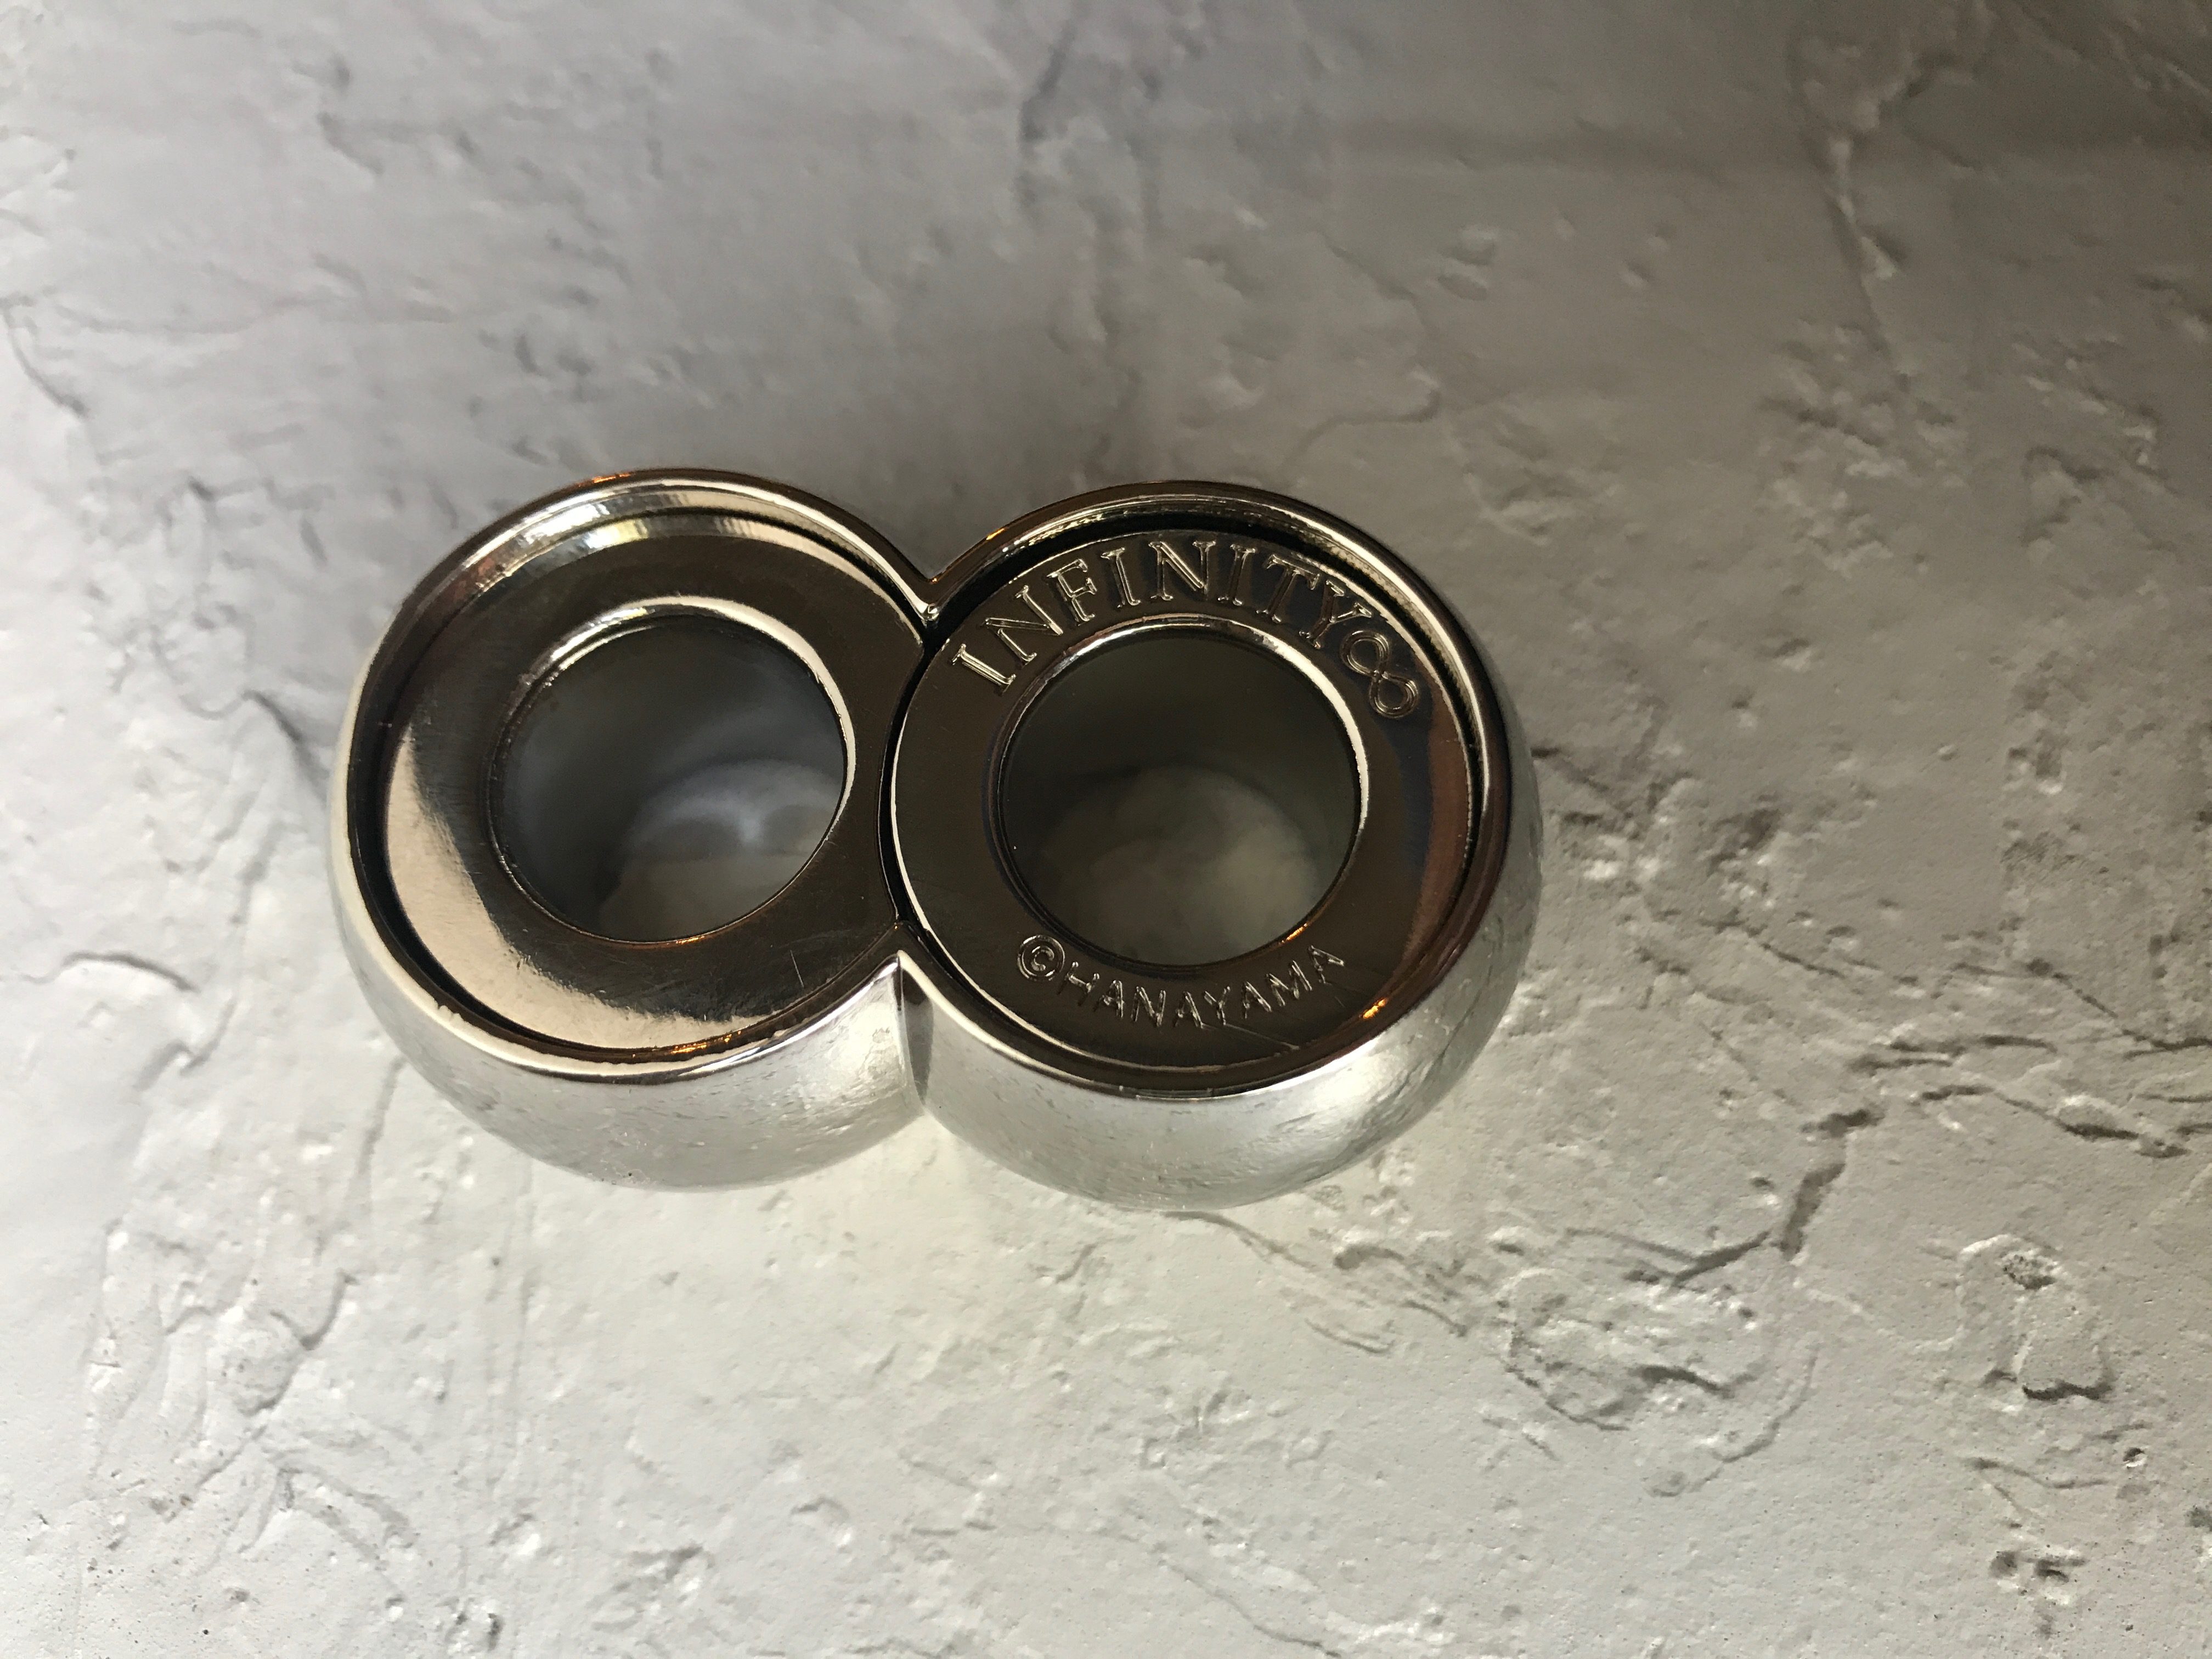
Read More: Hanayama InfinityOk. Gonna do another real time run through with the Hanayama Infinity. I haven’t played…
-
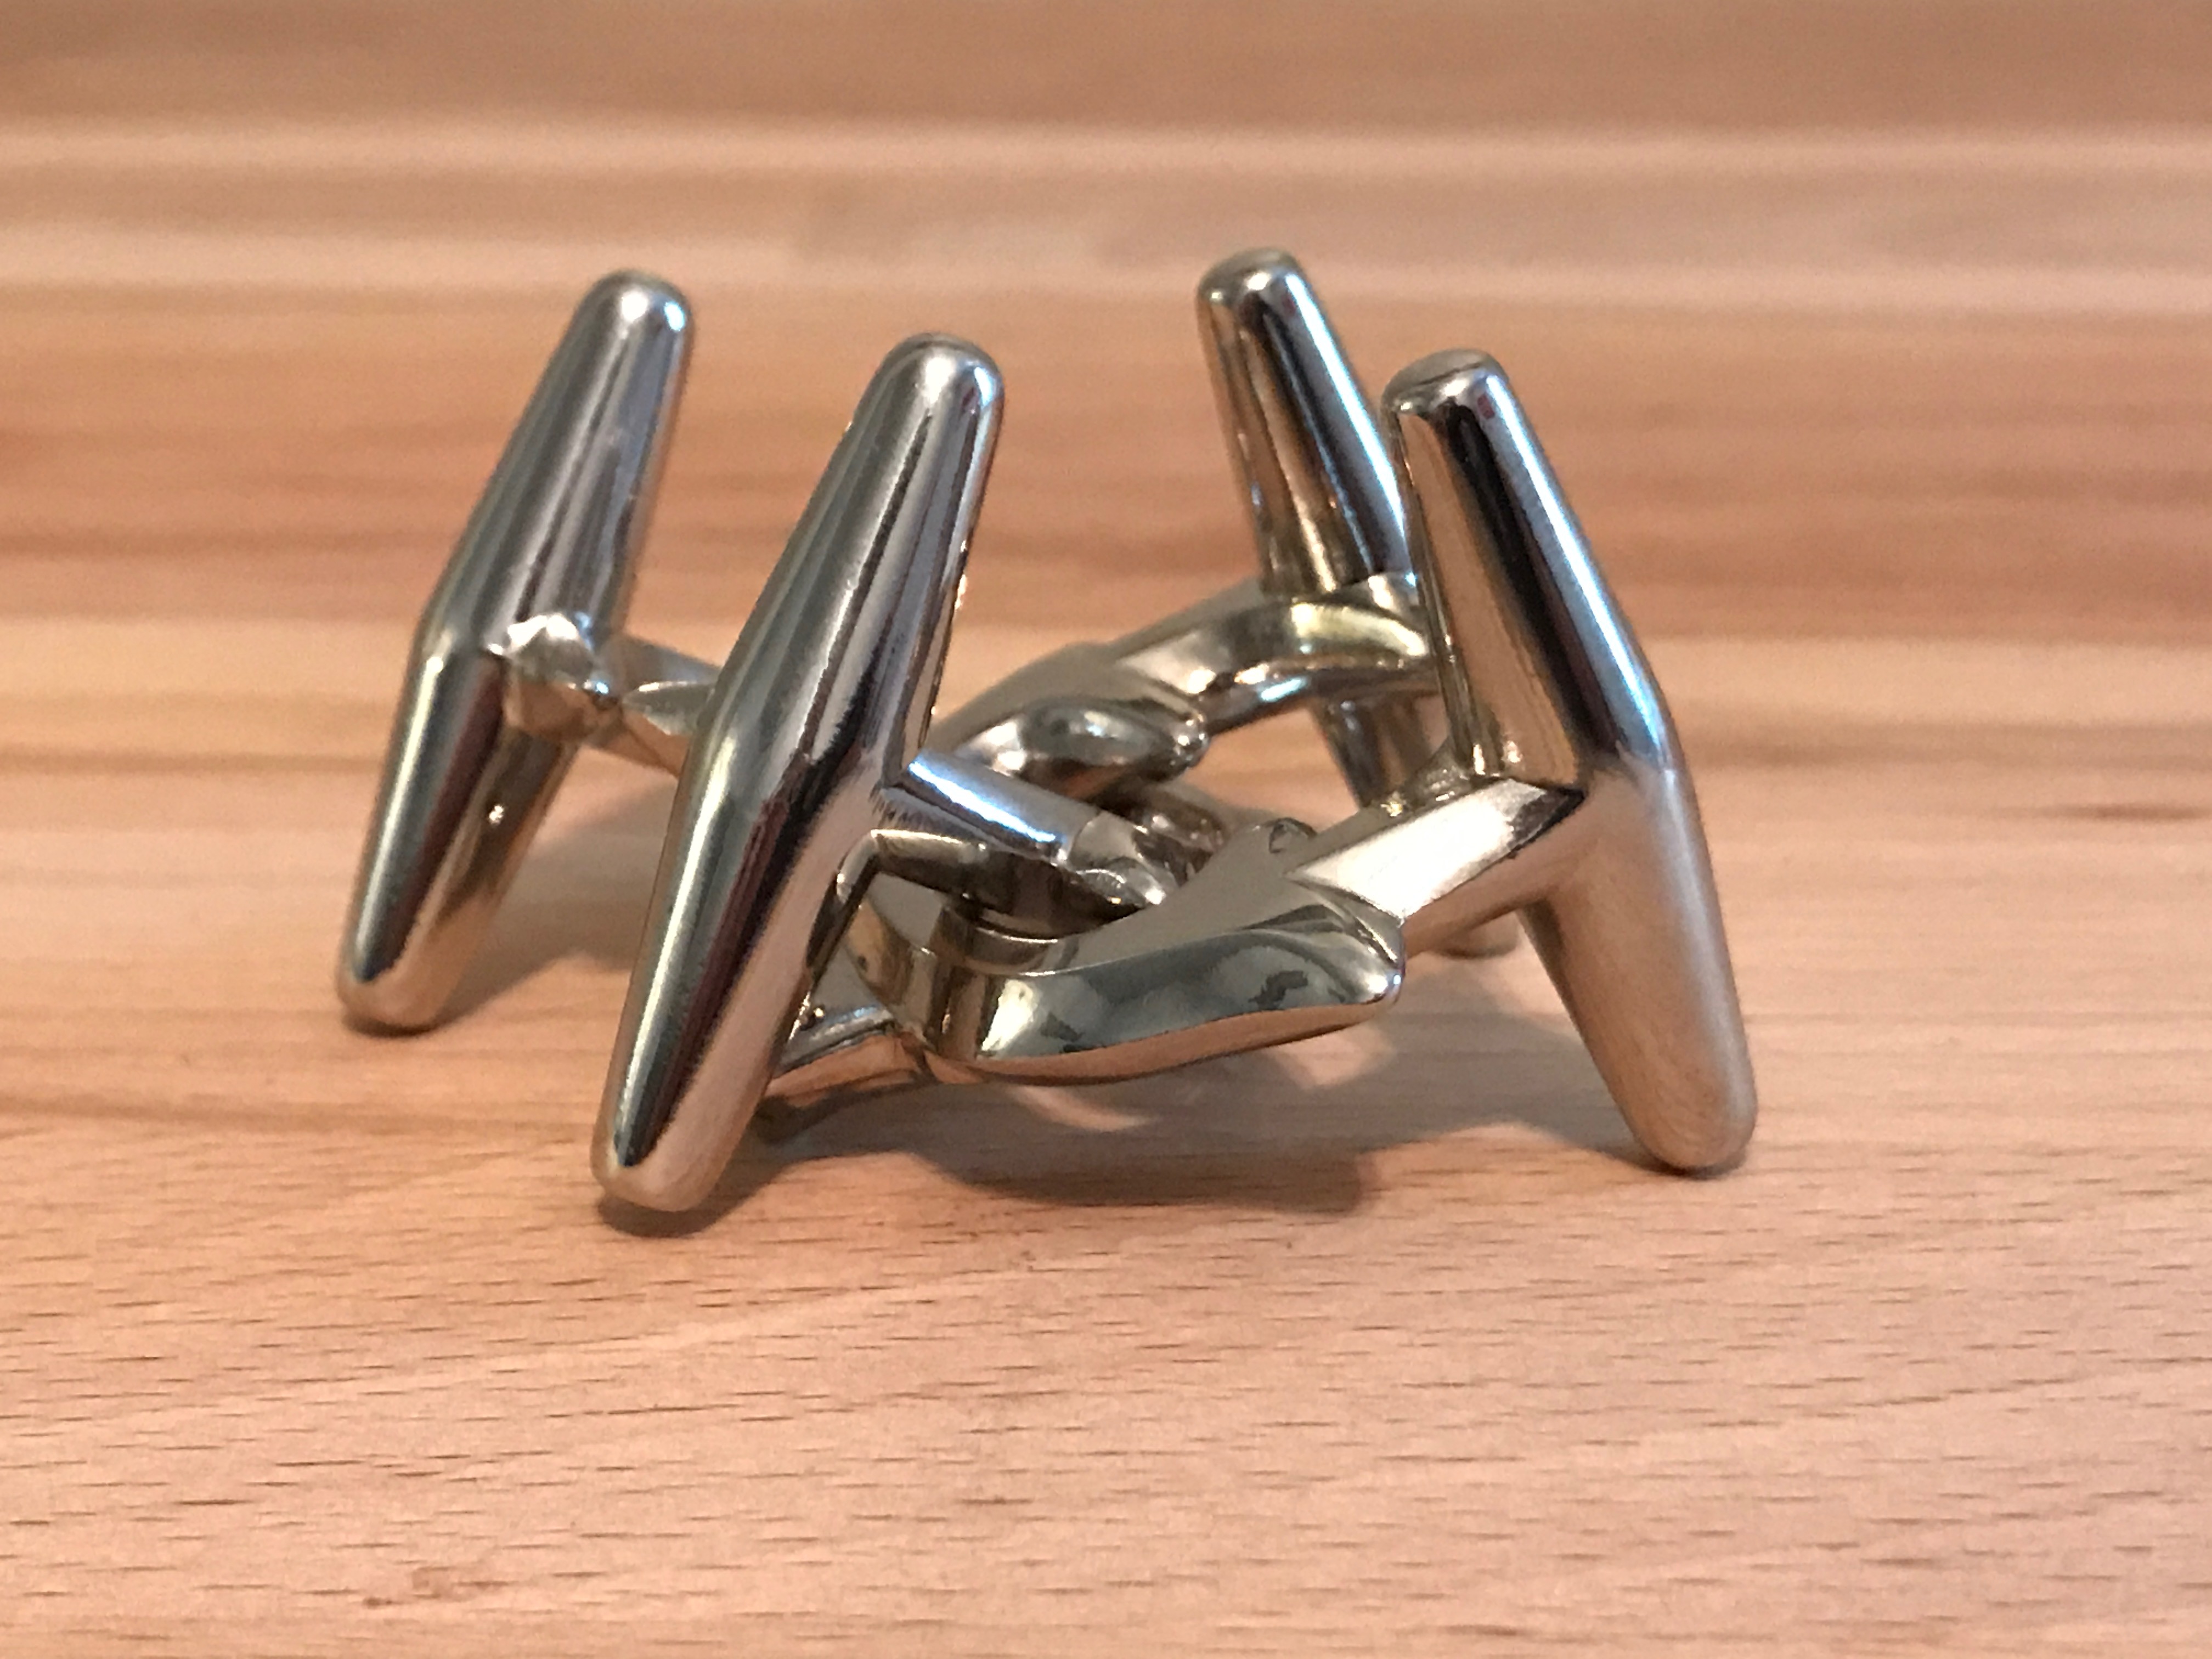
Read More: Hanayama Cast ElkOk, new format. Tonight, I’m going to document the puzzle solving experience. I have the…