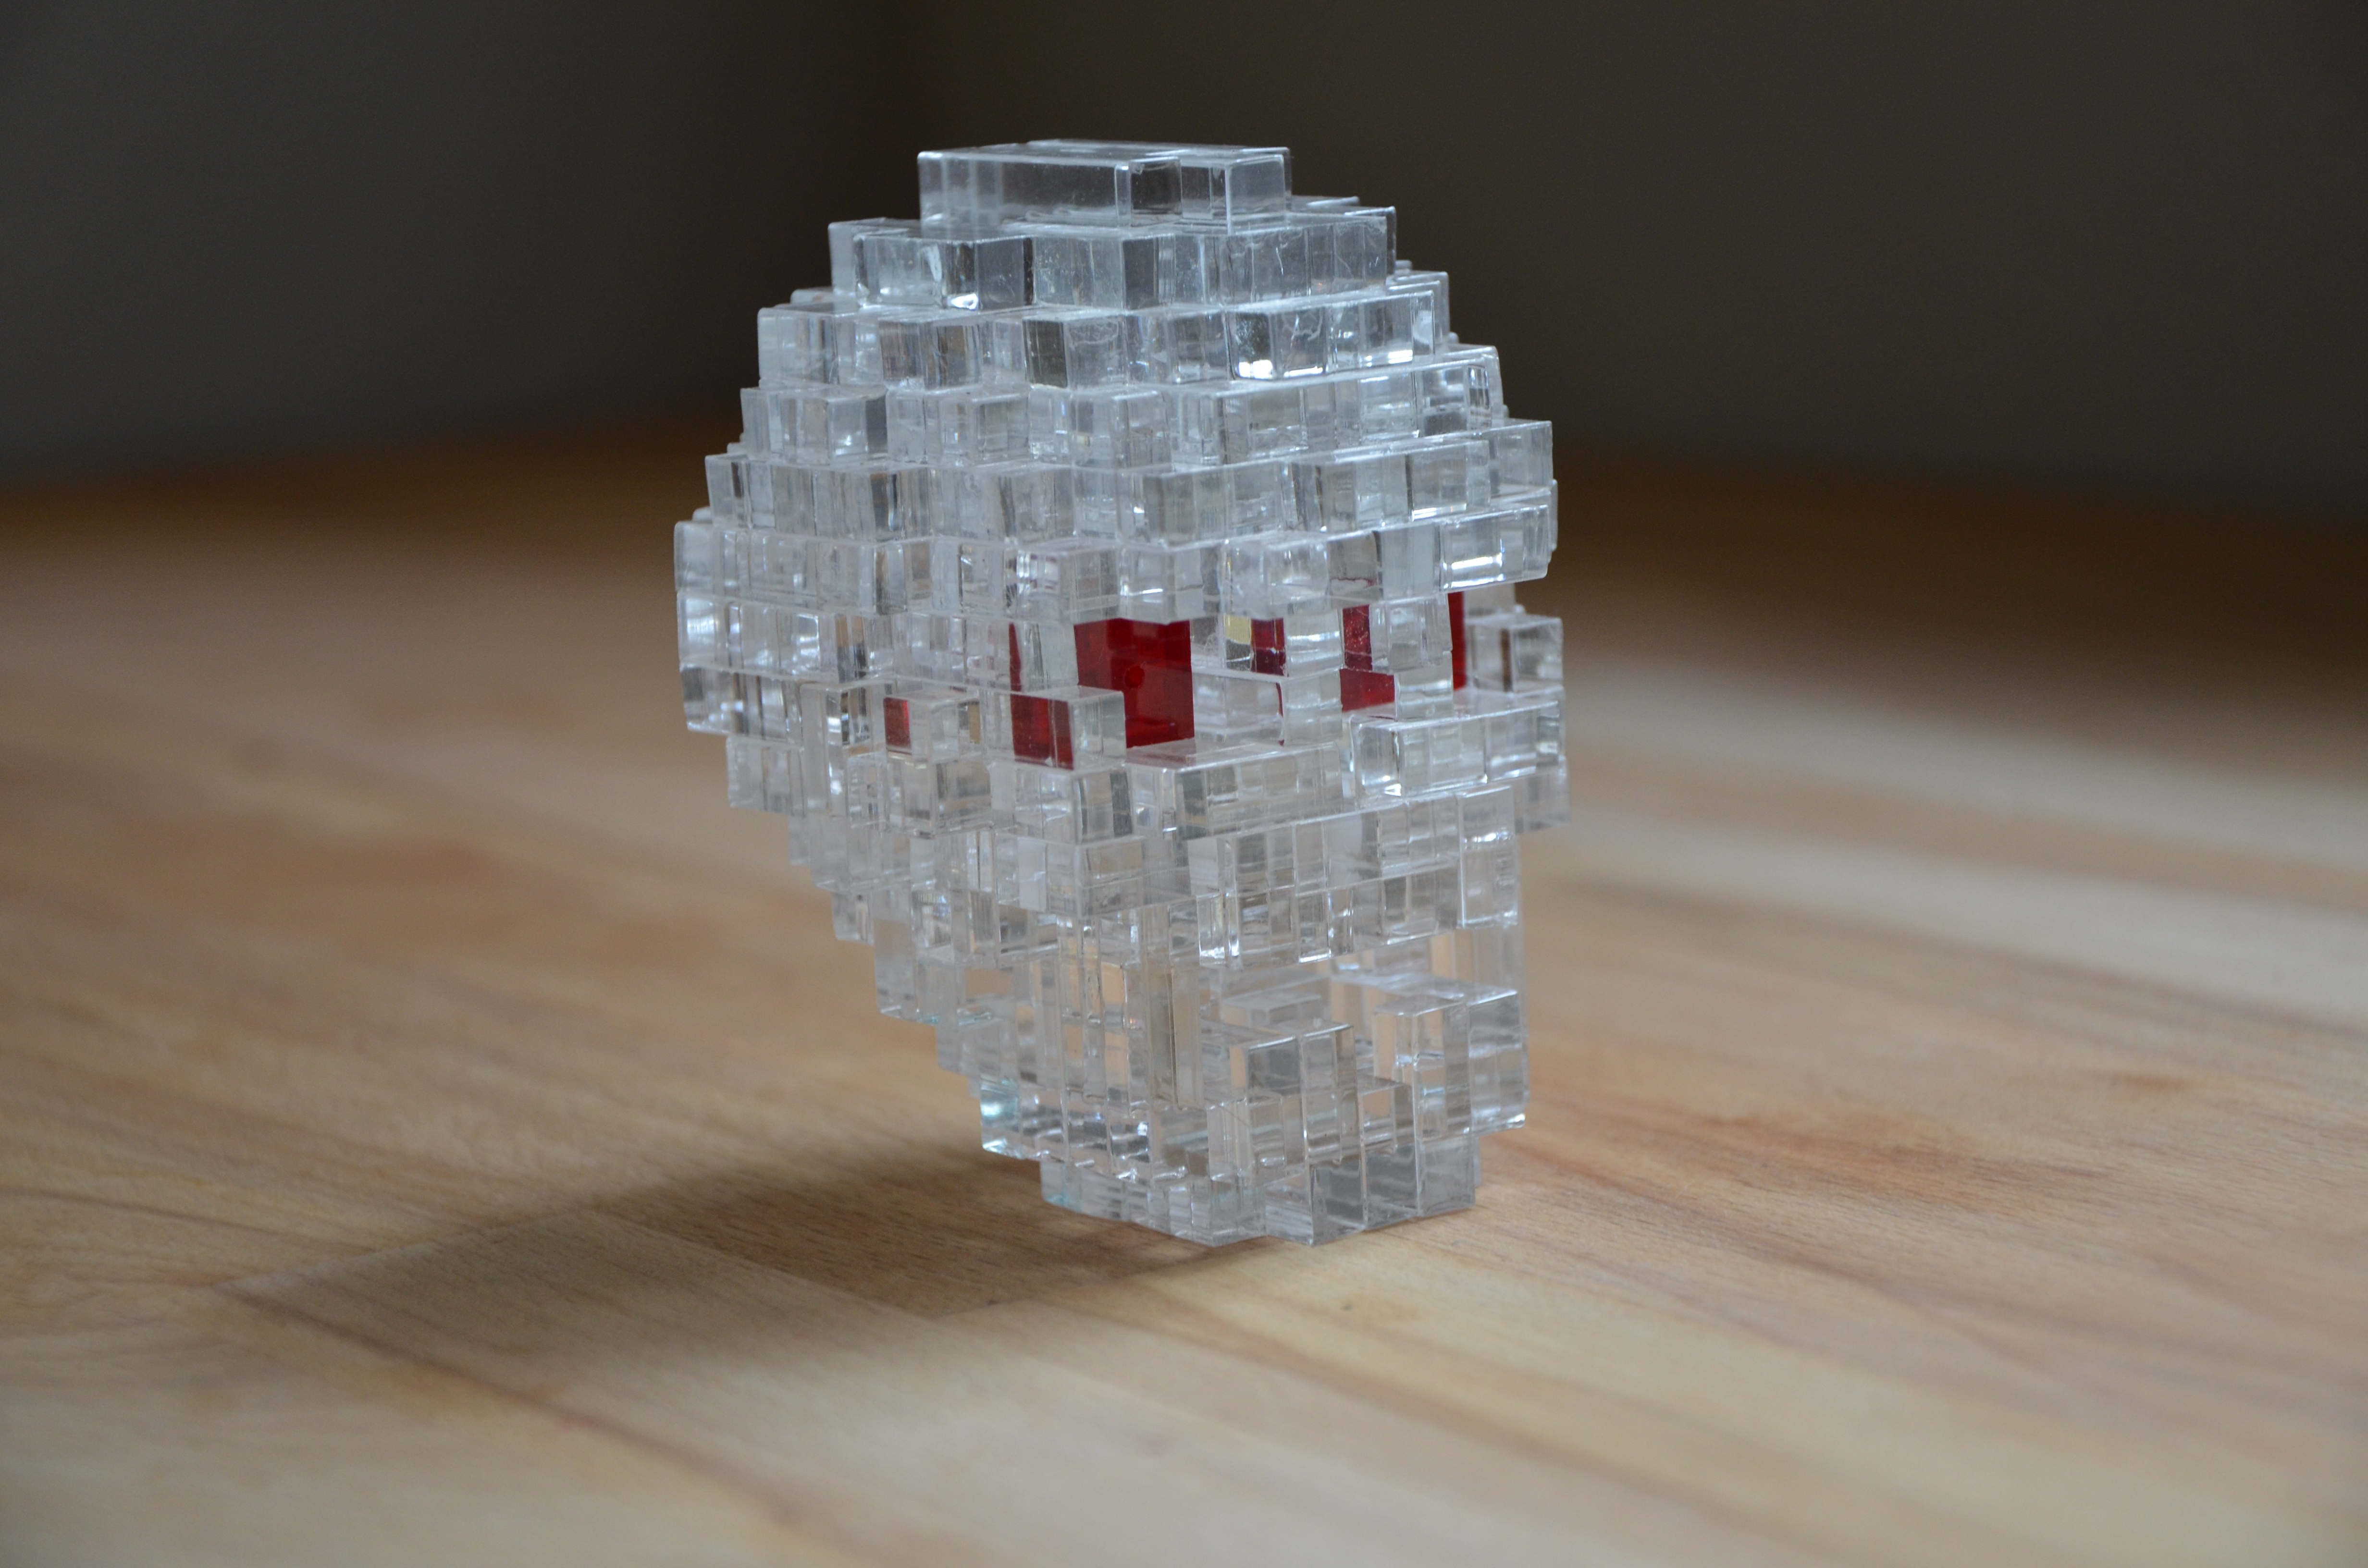
Cranium – Jerry Loo

Yes! I was one of the lucky 8 people to get my hands on this puzzle! I really didn’t know what I was buying, but when Eric Fuller releases a limited run puzzle, I have no choice but to pull the trigger and purchase it. It sounds like he is open to making more in the future, so those that missed out may have another chance to pick up this wonderful and unique puzzle.

To start – I’m super intimidated by this puzzle. There are a ton of pieces, limited pictures and no instruction on assembly, so it’s up to me to get the job done. Hopefully there is a logical sequence to things and enough clues for me to get it together. I’ve never worked on a puzzle like this, so I’m very excited to get started and see what I’m in for.

Holy crap there are a lot of pieces! I haven’t even begun to attempt this thing yet and I’m already feeling like there is no way I’ll get it solved. But hopefully my first impression is off and I can make some progress. Is this a solid puzzle? Or are there gaps in the skull? The 3 images on the cubic dissection site seem to suggest that it is a solid form. Also, I’ve noticed that one of the images holds some clues as to what pieces come out of the “face”. Ok. Here goes.

Lots and lots of pieces. Where do I even start?

Ok. I’ve spent the last half hour sorting pieces. I had to see what I was working with and there are over 50 pieces here, so step one seemed to be: Sort. And I think its been helpful. This puzzle is comprised of some very interesting pieces! There are large pieces that look like creatures out of the Space Invaders game and there are some tiny “T” shaped pieces. There are over 10 pairs of duplicate pieces and quite a few pieces that are not symmetrical – though a majority are symmetrical. There are no duplicate symmetrical pieces. What does all this mean? I don’t know… but I do have some theories starting to build. I think I’m going to start with the biggest pieces and see if I can’t get some sort of frame built.

Whelp, that failed horrifically and I’m not really sure what to do here. It’s not difficult to put pieces together, but it seems nearly impossible to know if those pieces are correct or not! I’d really like a better picture so that maybe I could identify where one of the bigger pieces goes. I think if I knew how one or two of the big pieces were placed I’d have a fighting chance. As is – I’m not sure how to proceed. But maybe I’m wrong, maybe I should start with a small cube and try to build larger? I’m really not sure how to approach this one..

And thus began my journey to find a better image to work from. I initially did some google searches which brought me to the Puzzle Will be Played site here. But, that didn’t really help, so I continued to search and ended up on Jerry’s Facebook page. And lo and behold I found a video of the Burr Tools file for Cranium. Yes! Awesome. Now I have something to work with! I watched the video, which showed the solution, though with so many pieces, I certainly wasn’t going to memorize the moves. So I went back to work to see watching that video would help me solve this one.

Nope. No help. I had to resign to the fact that I wasn’t going to solve this one by myself and so I decided to watch the video and follow along. The tricky part, though is that it was a video and not actually a burr tools file I was working with, so I was unable to rotate the puzzle and determining what pieces were going in was a matter of pausing the video at the right time. All this was challenging, but not impossible, so I persisted. But the another problem quickly emerged. The pieces in the video didn’t match the pieces in my puzzle! Some were close, so I made “Best guesses” But, I quickly came to a roadblock because the puzzle in my hands had a bunch extra pieces than the puzzle in the video. Gah! I wasn’t sure I’d ever get this thing together.

That’s when I sent a message to Jerry through Facebook and, Yes, he confirmed that the puzzles were different. Jerry offered to send me the burr tools file and I accepted. Well, that should be the end of the story, but the fact is, This puzzle is quite difficult to assemble even with the burr tools file so I was in for a lot more puzzling.

It probably took me another couple of hours, but I eventually did manage to get this thing together. There was one particularly challenging move, that may frustrate folks. It involved putting two halves of the skull together – which I had to attempt a few times to get it right. One of the halves is pretty secure with only a couple of pieces that can fall out, but the other half must be held, clutched with a tenuous grip, while you try to join the halves without any pieces slipping out of your grasp. I eventually resorted to using little bits of scotch tape in strategic areas to hold certain pieces in place. Be careful with this technique though, because later on those little pieces of tape may prevent critical moves and shifts in the puzzle.

It’s not only hard to put together, it’s hard to photograph!

But, overall, the puzzle is doable – It’s kind of like assembling a very difficult lego set – where the pieces don’t always stay together. And I have to say, I’m surprised at how much fun I had following along with the burr tools file. It’s really quite ingenious how the pieces all lock together. And the end result is fantastic. The skull is solid, with a nice weight and a quality feel. this one is going to look great on display.

Thus far in my puzzling career, this has been the first puzzle that I’ve utilized Burr Tools to solve. As such, I expected to feel a bit disappointed in myself, but surprisingly, I don’t feel that way at all. In fact, I had a great experience learning more about the Burr Tools program, and still had lots of fun putting this puzzle together. It’s quite a marvel how all these pieces link together into such a solid unit. I can’t wait to put it up on the puzzle shelf as I’m sure it will receive a lot of comments. Overall, great fun, challenging moves and a standout appearance!

Wave Puzzle 7 – Yuu Asaka

I am super excited for this one! I’ve been eyeing these acrylic puzzles designed by Yuu Asaka for quite some time now. They are very intriguing to me for a few different reasons and I can’t wait to get started.

I’ve done a ton of jigsaw puzzles in my day and so these seem in the same vein. They are 2D and essentially comprised of puzzle pieces, however, Asaka’s puzzles must fit into a tray, so they are also packing puzzles. I really haven’t done any 2D puzzles of this sort, so I’m really excited to see how it goes.

I love the initial presentation. 6 pieces already fill the tray, there’s no room for any more!

My first impression is great. I love that this puzzle has COLOR! Most of my collection is wooden or metal, so its nice to see the vibrant orange acrylic pieces. I also love the presentation. Although nothing new, I like these framed puzzles that appear to be full of pieces and then off to the side is an extra piece. To me, that set-up in itself is a kind of challenge that I feel compelled to accept.

The shapes themselves are very interesting. All are tall and narrow with fairly minor variations. It would seem that they should be able to nest together in such a way as to complete the puzzle, but I suspect that there is more going on here than that.

After about 15 minutes I have some thoughts.

7 orange acrylic pieces must fit into the tray, but is there room?

Well my first assumption was that this would be fairly easy to solve. Ha! I should have known better. I’ve even read a few description here and there where this puzzle was described as very difficult, still, I was feeling cocky and merely by looking at it I though, “Meh, I bet I can solve that one quick!”

There are many configurations, but only one solution

Well 15 minutes into my solving attempt and I’ve been schooled. I had assumed that with only 7 pieces, there couldn’t be that many configurations. After all, I thought, a single piece could only be oriented 4 different ways… right? Wrong. It just so happens that there are other configurations that I ha not forseen. Oh my, suddenly there are exponentially more potential solutions. Looks like I’ve severely underestimated the difficulty here.

But, on a bright note, I do feel that I am on to something. I quickly abandoned the “all vertical” strategy and have started playing with a mixture of orientations. This is yielding better results and I feel that I am moving on the right track. At the same time, there are 2 acrylic pieces that have me questioning everything. They have very small indents and there’s no real way to fill them except by perhaps the corner of one of the other pieces – but I just don’t see any way to have pieces at angles – as would be required to put the corner of one piece into the small indent. Maybe those two small indents are decoys and have no practical use. So much to ponder…

After another 20 minutes, I’ve started to feel a little helpless. There just seem to be so many combinations and the shapes are so similar that its kind of hard to keep track of things and its hard to get any pieces to “feel right” when I put them in place. I continue to work trying endless variations, flipping pieces over, re-orienting them, swapping positions, etc. There’s no methodology here, its just trial and error, keep pushing forward. Likely I’m repeating moves, but at this point, I don’t care, I just keep trying things.

At some point, I start to get close to the solution. I can feel it. All the pieces are going in except the last one is just slightly overlapping. I’ve changed the layout a few times and finally feel like I have the correct arrangement – its just a matter of getting the pieces in the right position. A few times I get down to that last piece and its just slightly overlapping another, so I swap pieces out and try again.

And then, as I’m saying “come on! come on!” I get it right and that final piece slides in!! Hell Yeah!! That was awesome!! What a cool puzzle! What a great solution and what a nice and deceptive initial set-up! I may have lucked into the solution a bit, but I really do think I was following a process of elimination sort of path and just kept pushing forward and happened upon the solution. In all honesty, I was getting pretty close to taking a break and fears were starting to creep in that this might be “one of those puzzles” that sits on the shelf unsolved.

But, this story ends differently because I managed to get the solution. Looking at the solved puzzle really reveals how clever it is. I can imagine these pieces cut out of a single block and its deceptively clever. I will definitely be adding more Asaka puzzles to my collection because this one was just plain fun and excitement.

Inelegant Cube – Haym Hirsh

Today, I have the Inelegant Cube designed by Haym Hirsh and beautifully crafted by Brian Menold at Woodwondersonline. This particular version of the puzzle was crafted using Red Louro, Yellowheart and Wenge pieces. It was $5 more than the other version, but I thought the extra pop from the yellowheart was really worth it. Once assembled, this puzzle displays beautifully on the shelf thanks to the included stand. The stand was also very helpful in the assembly process.

The puzzle is comprised of 9 “L shaped” pieces which are each made from 3 identically shaped blocks. However, those 3 blocks are glued together in many different configurations so each of the 9 pieces is unique.

All you have to do is combine these 9 pieces into a cube. Not an easy task.

This was a very challenging puzzle for me. I haven’t worked on a puzzle like this before, so I didn’t have much strategy going into it. A typical session would involve me randomly placing pieces onto the stand in hopes that I would magically arrive at the solution. This strategy didn’t work well and I would often give up after only a few minutes of effort. I didn’t seem to be making any progress and furthermore, I wasn’t eliminating any possibilities either.

At one point, while I was working on a solution, I put two pieces together and they just seemed correct. Finally, I had something to work with and had a tiny bit of hope. This hope soon fizzled out when I fumbled the puzzle and lost track of those two pieces that seemed to fit together so well. Once again, I gave up and shelved the puzzle.

I then decided to bring the puzzle to work and in between work tasks, I was able to spend a bit of time working on things. After what seemed like an eternity, I slowly started to work out a strategy.

There were a few key factors that started to help me push towards a solution. The first was that all the sides had to be level. This seems obvious now, but for some reason it took me a while to realize this. Accordingly, if the sides had to be level, then any configuration where sides aren’t level can be thrown out. The second factor is that the wood types do not have to alternate. For a long time I assumed that two pieces of the same wood type couldn’t sit next to each other, but eventually I determined that this was false. The third factor was using the base as a guide to how much overhang the pieces required. The puzzle doesn’t fit perfectly on the base, rather it has a slight overhang, thus if any configurations produced a larger or smaller overhang, I knew they were not correct.

A nearly completed cube. By keeping the sides level or flush with each other, I was able to build the solution through trial and error.

Armed with these realizations, I began a more methodical process of trial and error. I soon had one side of the cube completed in what I thought was the correct configuration. With one side complete, it was just a matter of time to correctly place the remaining blocks. However, as it turns out, I did not have the first side correct and so my trial and error process eventually ended with no solution and no remaining combinations to try. Failure again!

Back to the drawing board I went. I re-examined my “correct side” and discovered that there were a couple of pieces that I could swap out which then led to additional combinations to attempt.

Finally, after many days of work, I slid that last piece in and the puzzle was correctly assembled. Wow. What a fun puzzle to complete!

It’s so satisfying to finally solve this puzzle!

This puzzle was a major challenge for me. I didn’t have much experience to draw from and thus didn’t have much of a strategy to start. I felt rather helpless in my first handful of attempts and it wasn’t until those first 2 pieces fit together that I felt a glimmer of hope. In the end, it was the process of elimination that allowed me to find the solution.

I really enjoyed this puzzle and despite its’ name, I found it to be quite elegant.