Wood
-
Read More: Eros – Dr. Volker LatussekNote: This post went out with a typo in the title. Auto correct didn’t like…
-

Read More: De Kas – Alfons EyckmansAnother puzzle from the backlog shelf. This is one I’ve played with for maybe thirty…
-

Read More: Line Up – Alexander MagyaricsI’ve been working through my backlog of puzzles. It’s embarrassing how many unsolved puzzles I…
-
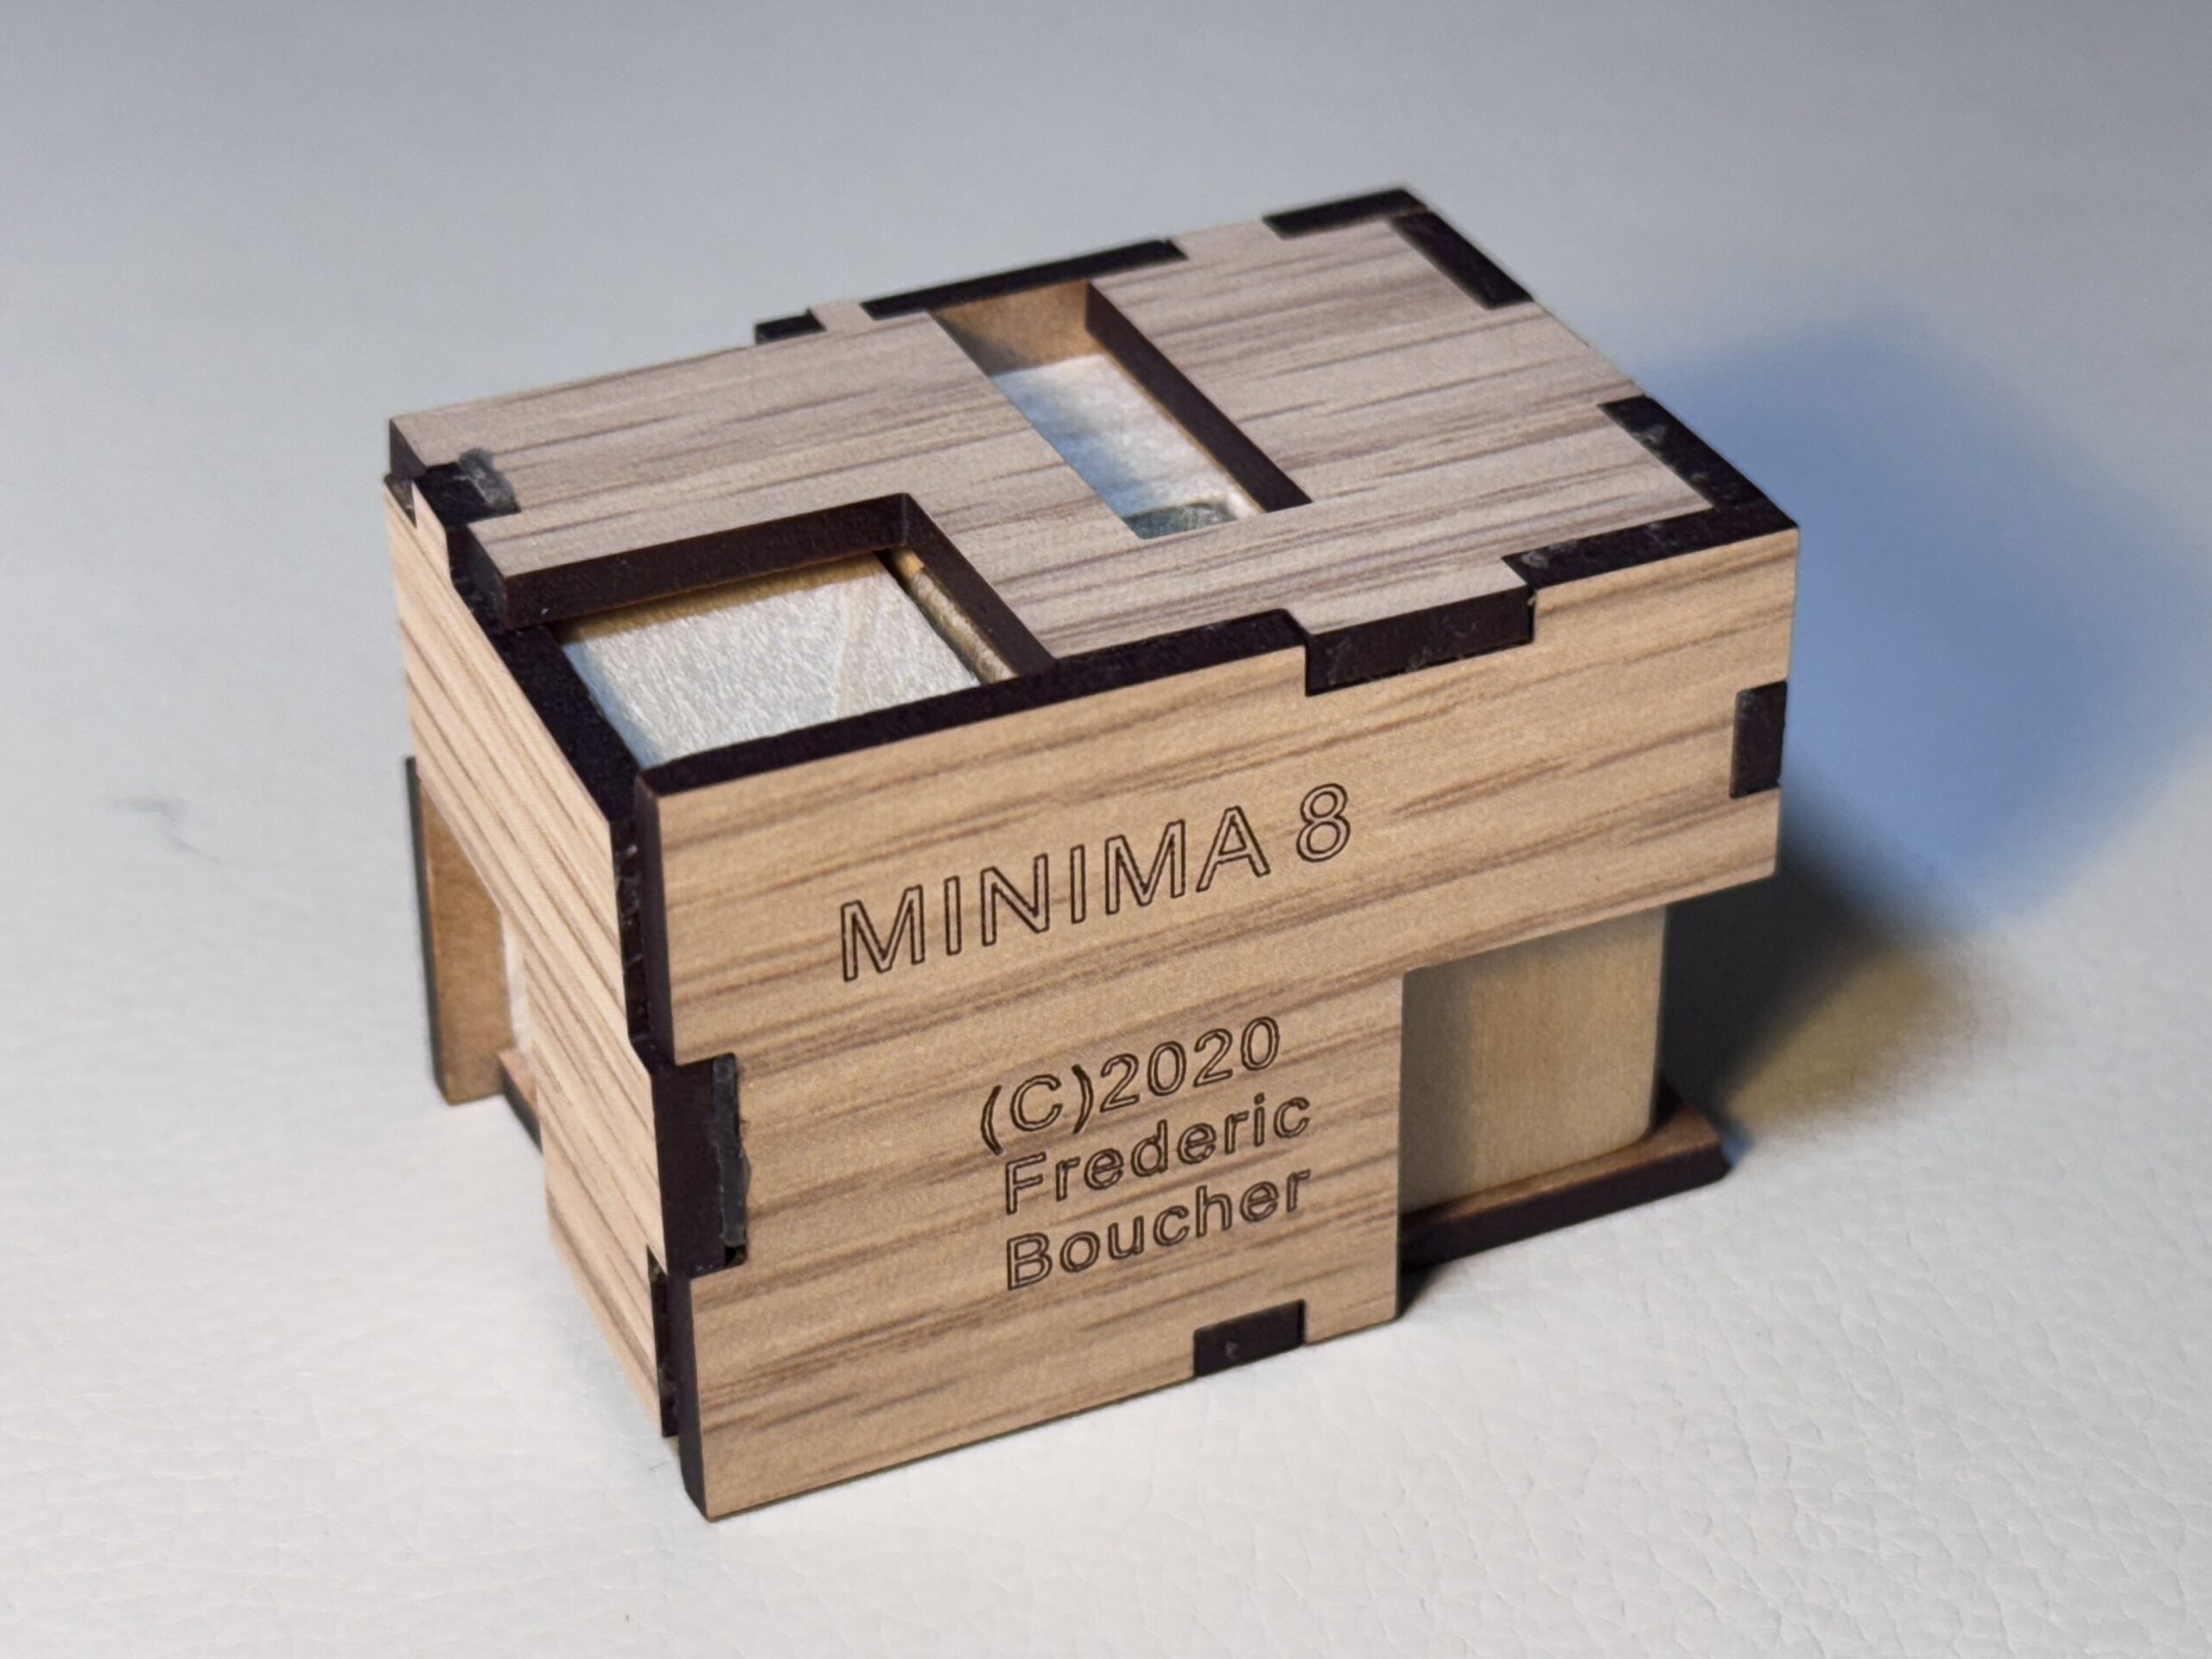
Read More: Minima 8 – Frederick BoucherMinima 8 is likely the trickiest of the bunch. There’s a particular move that stumped…
-
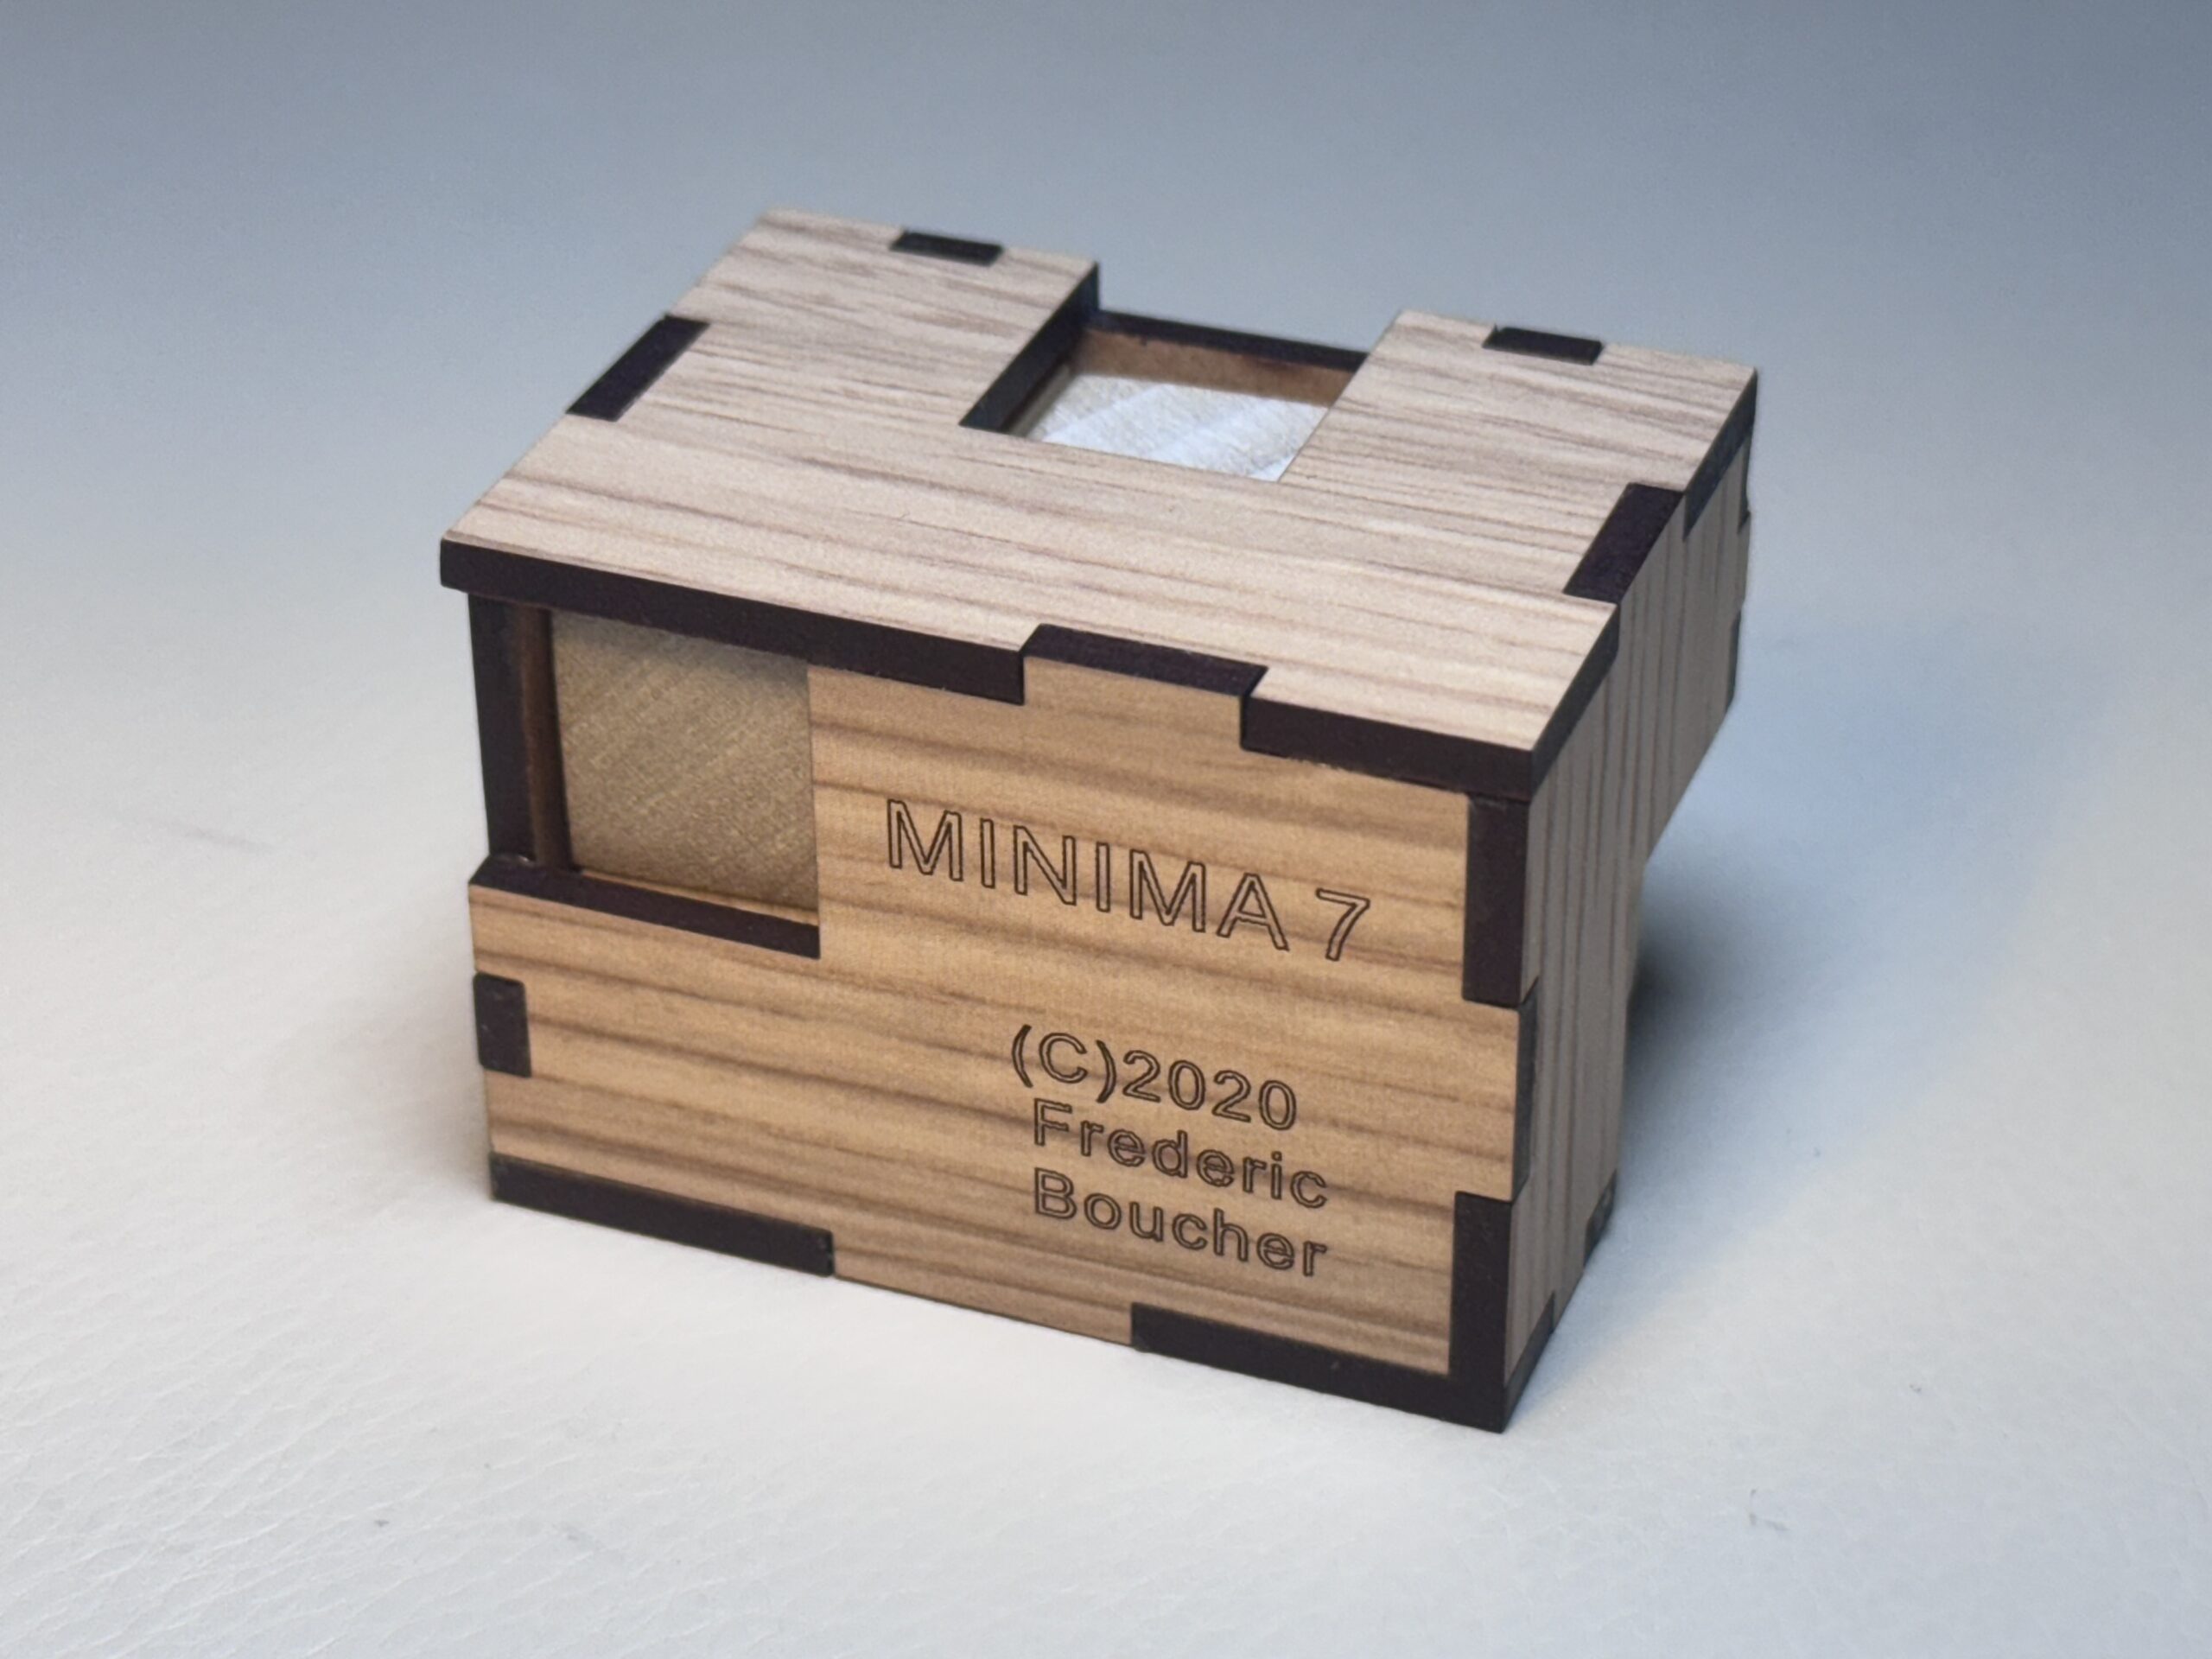
Read More: Minima 7 – Frederick BoucherMinima 7 is a fun puzzle and if you’ve completed the first 6, then this…
-
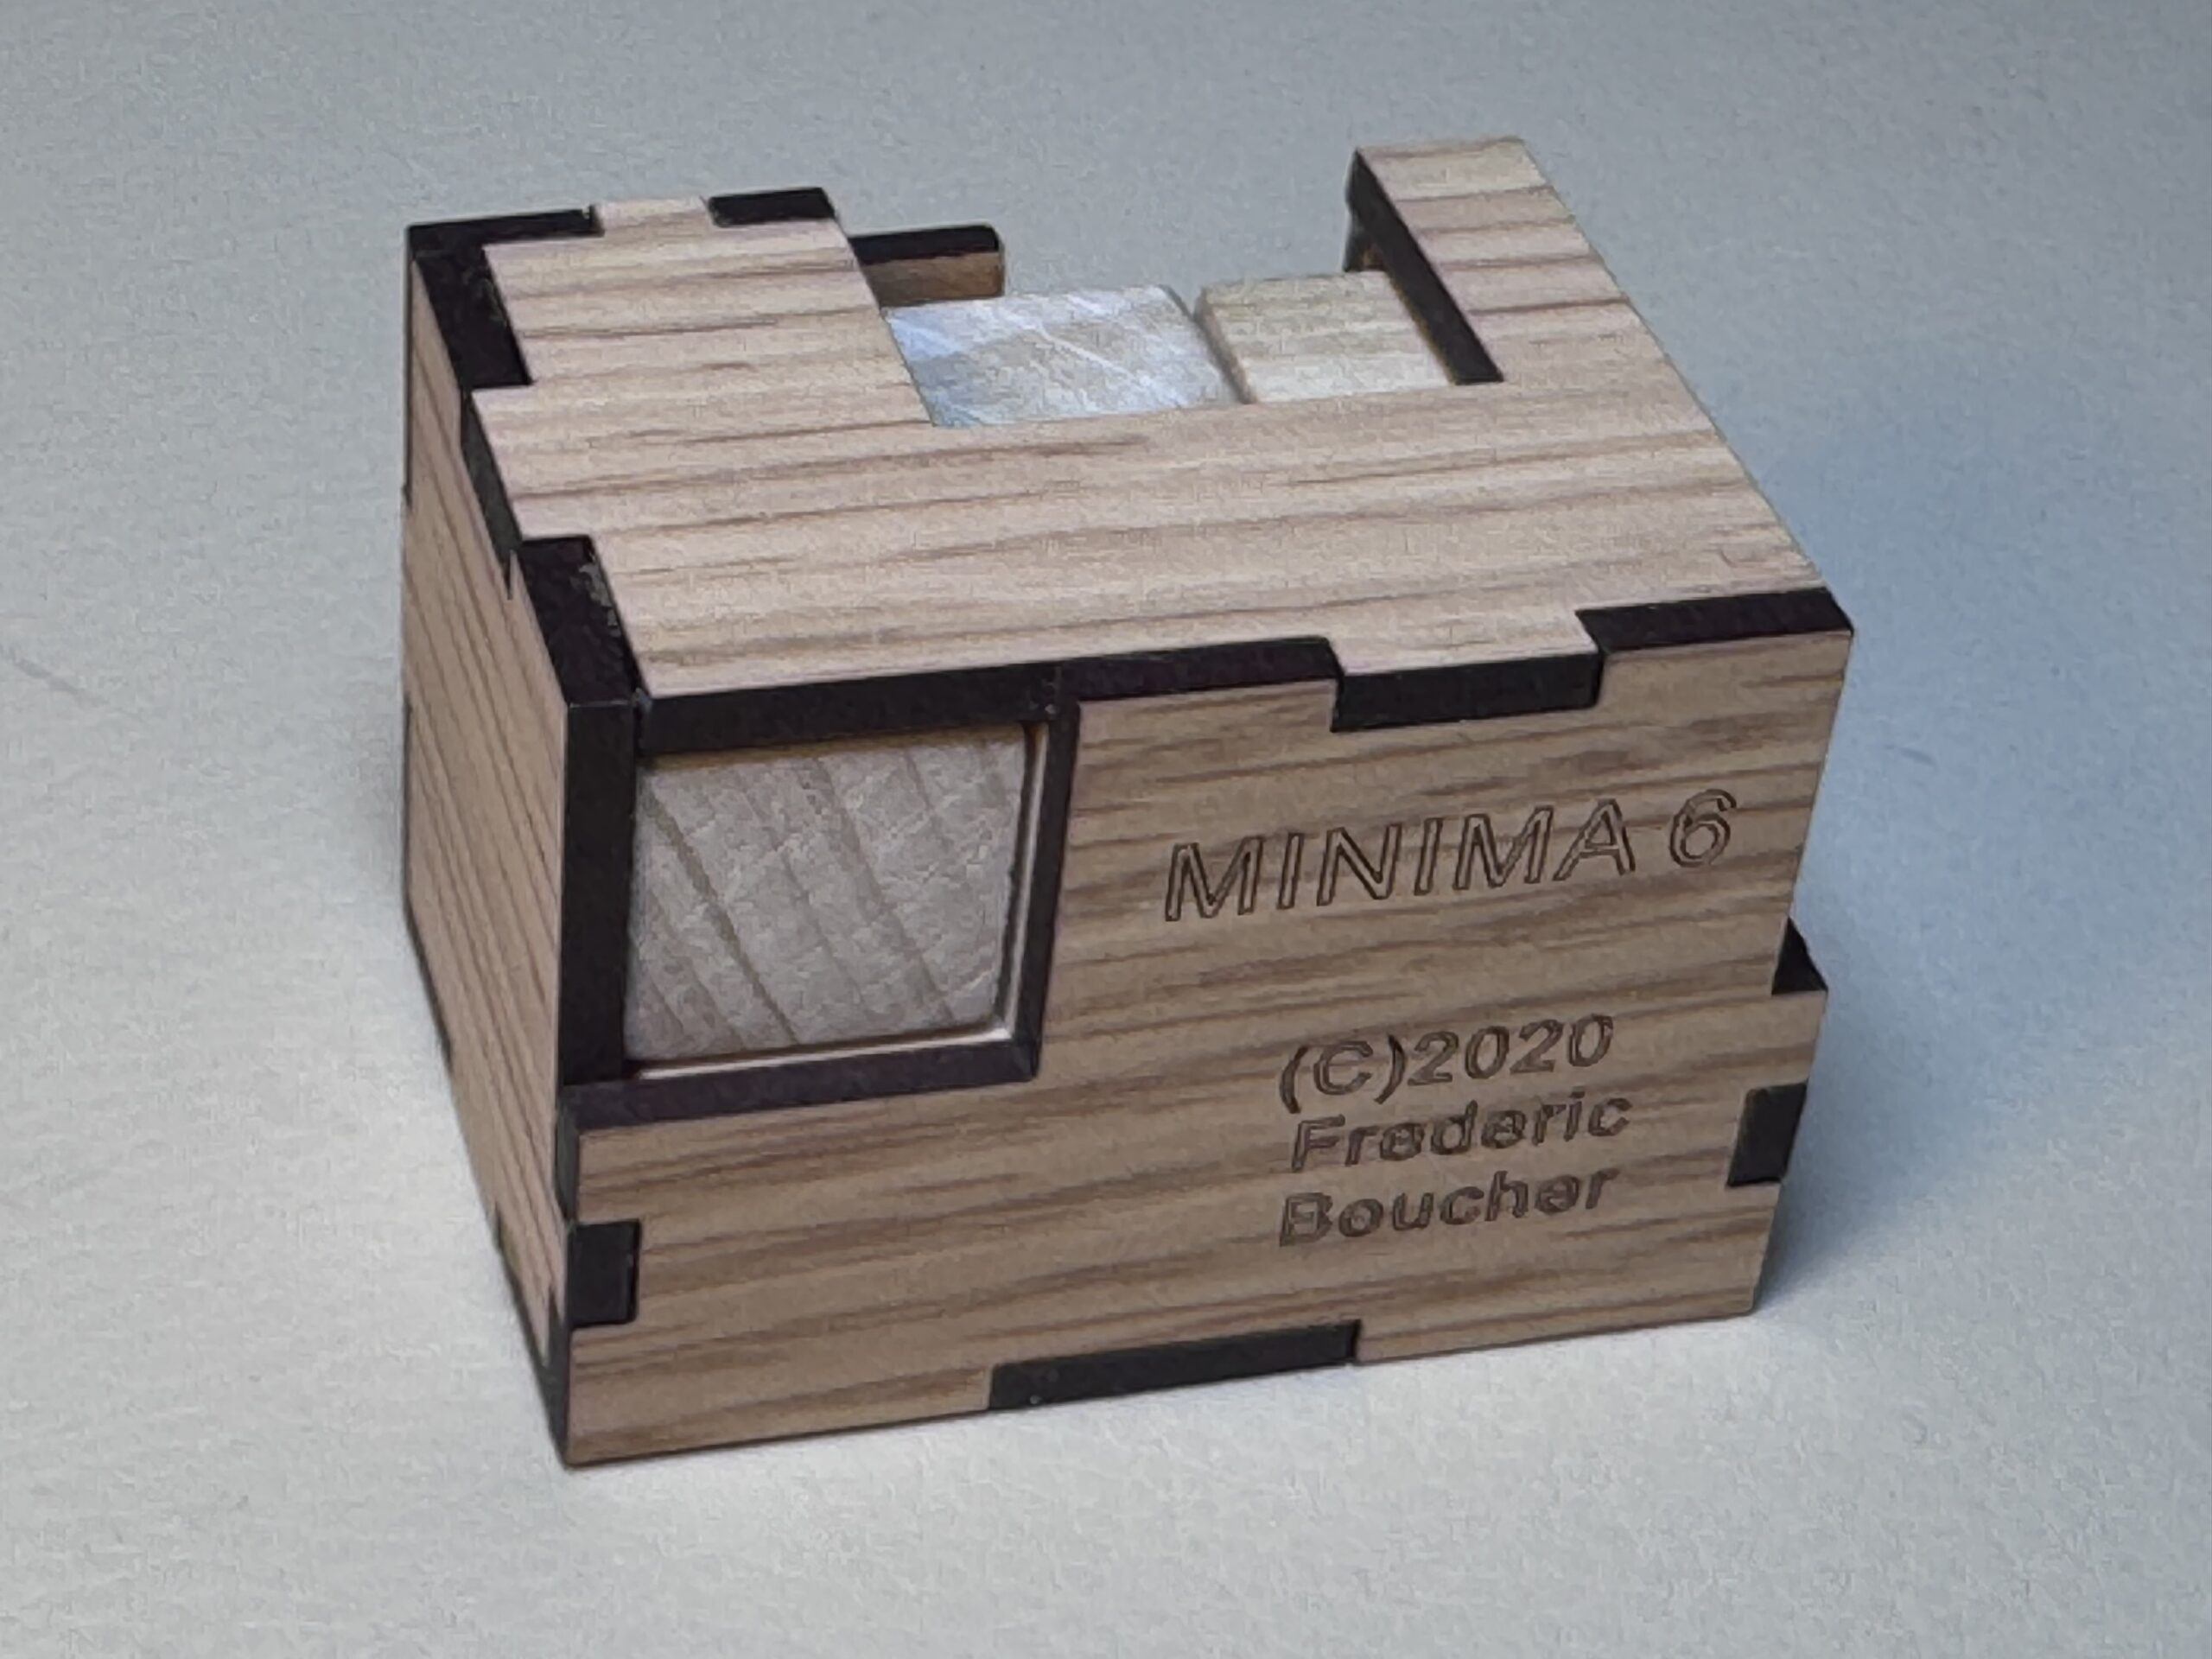
Read More: Minima 6 – Frederic BoucherMinima 6 is super fun! This one plays almost like a fidget toy, with a…
-

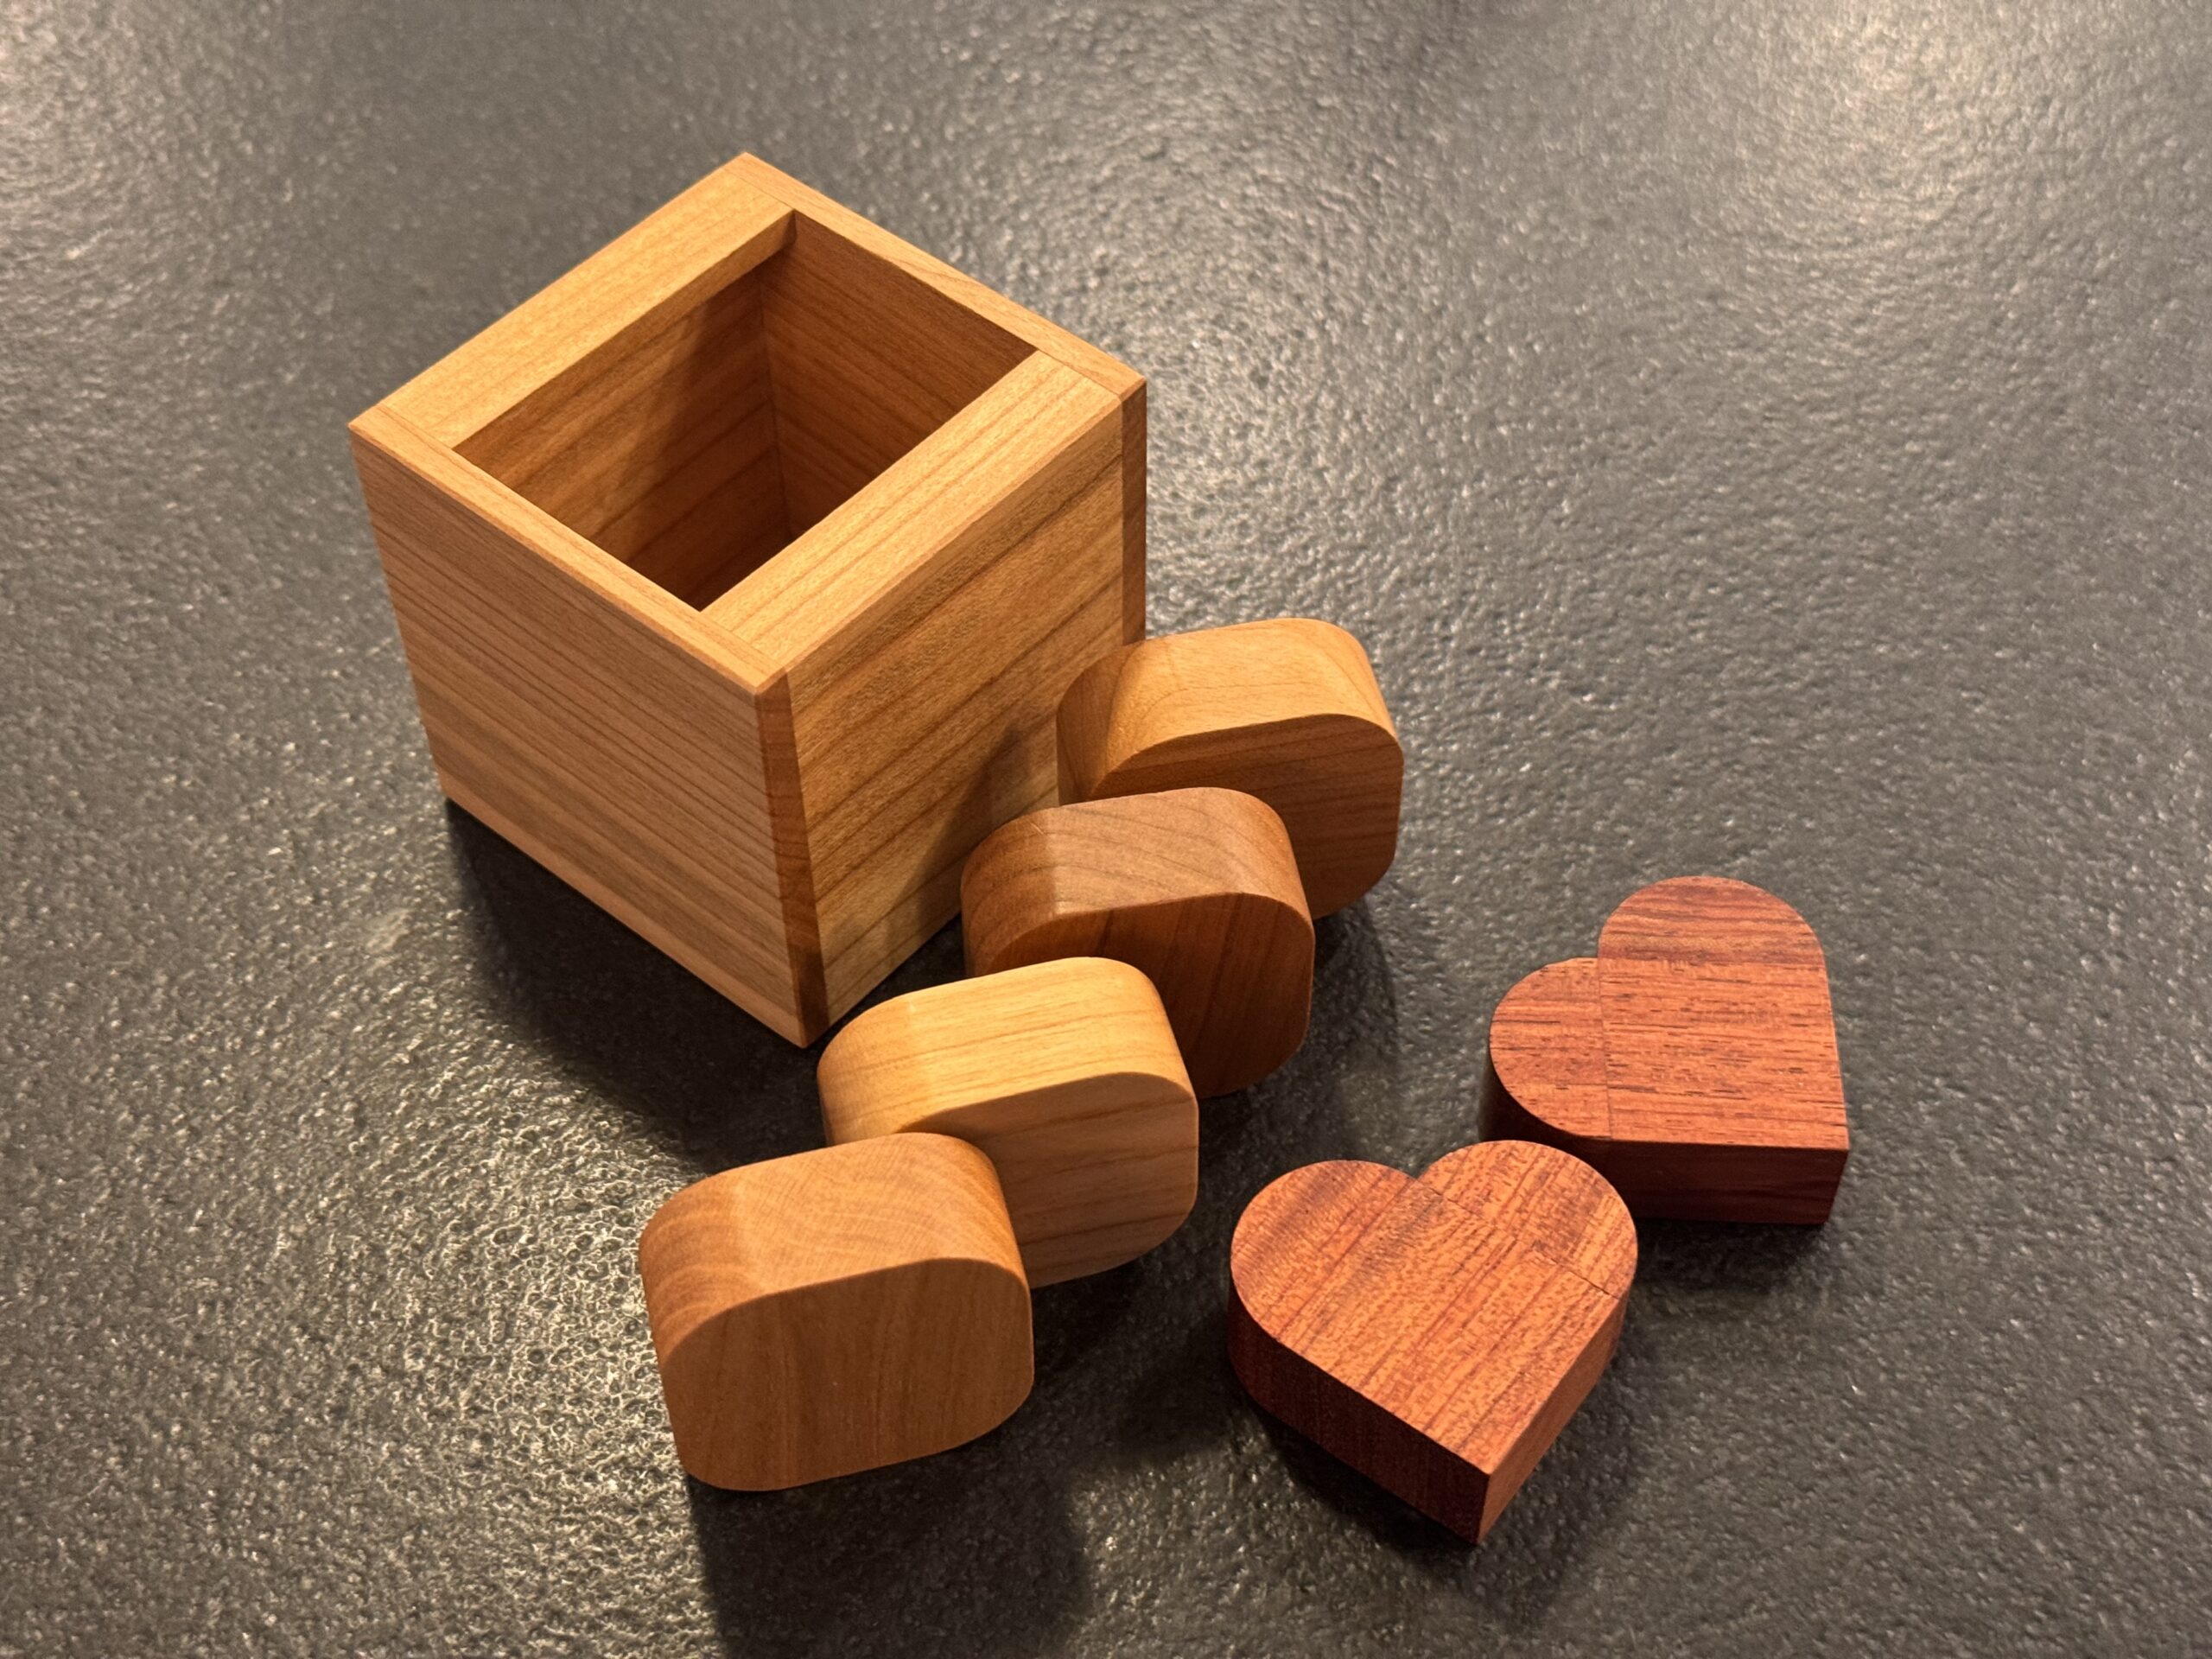
Read More: Minima 5 – Frederick BoucherHere we go with another Minima Puzzle. Minima 5 has 4 pieces to pack into…
-

Read More: Minima 4 – Frederic BoucherThe difficulty ramps up a bit with this one. I spent more time than I’d…
-

Read More: Minima 3 – Frederic BoucherWith Minima 3, things start to get a little more complex. There are only 3…
-

Read More: Minima 2 – Frederic BoucherMinima 2 is pretty straightforward but it is still a tricky solve. The pieces occupy…