Take Apart
-

Read More: Line Up – Alexander MagyaricsI’ve been working through my backlog of puzzles. It’s embarrassing how many unsolved puzzles I…
-

Read More: Ziggy Demonticon – Radek MicopulosI saw this puzzle pop up on nothingyetdesigns.com a while back and was instantly intrigued.…
-
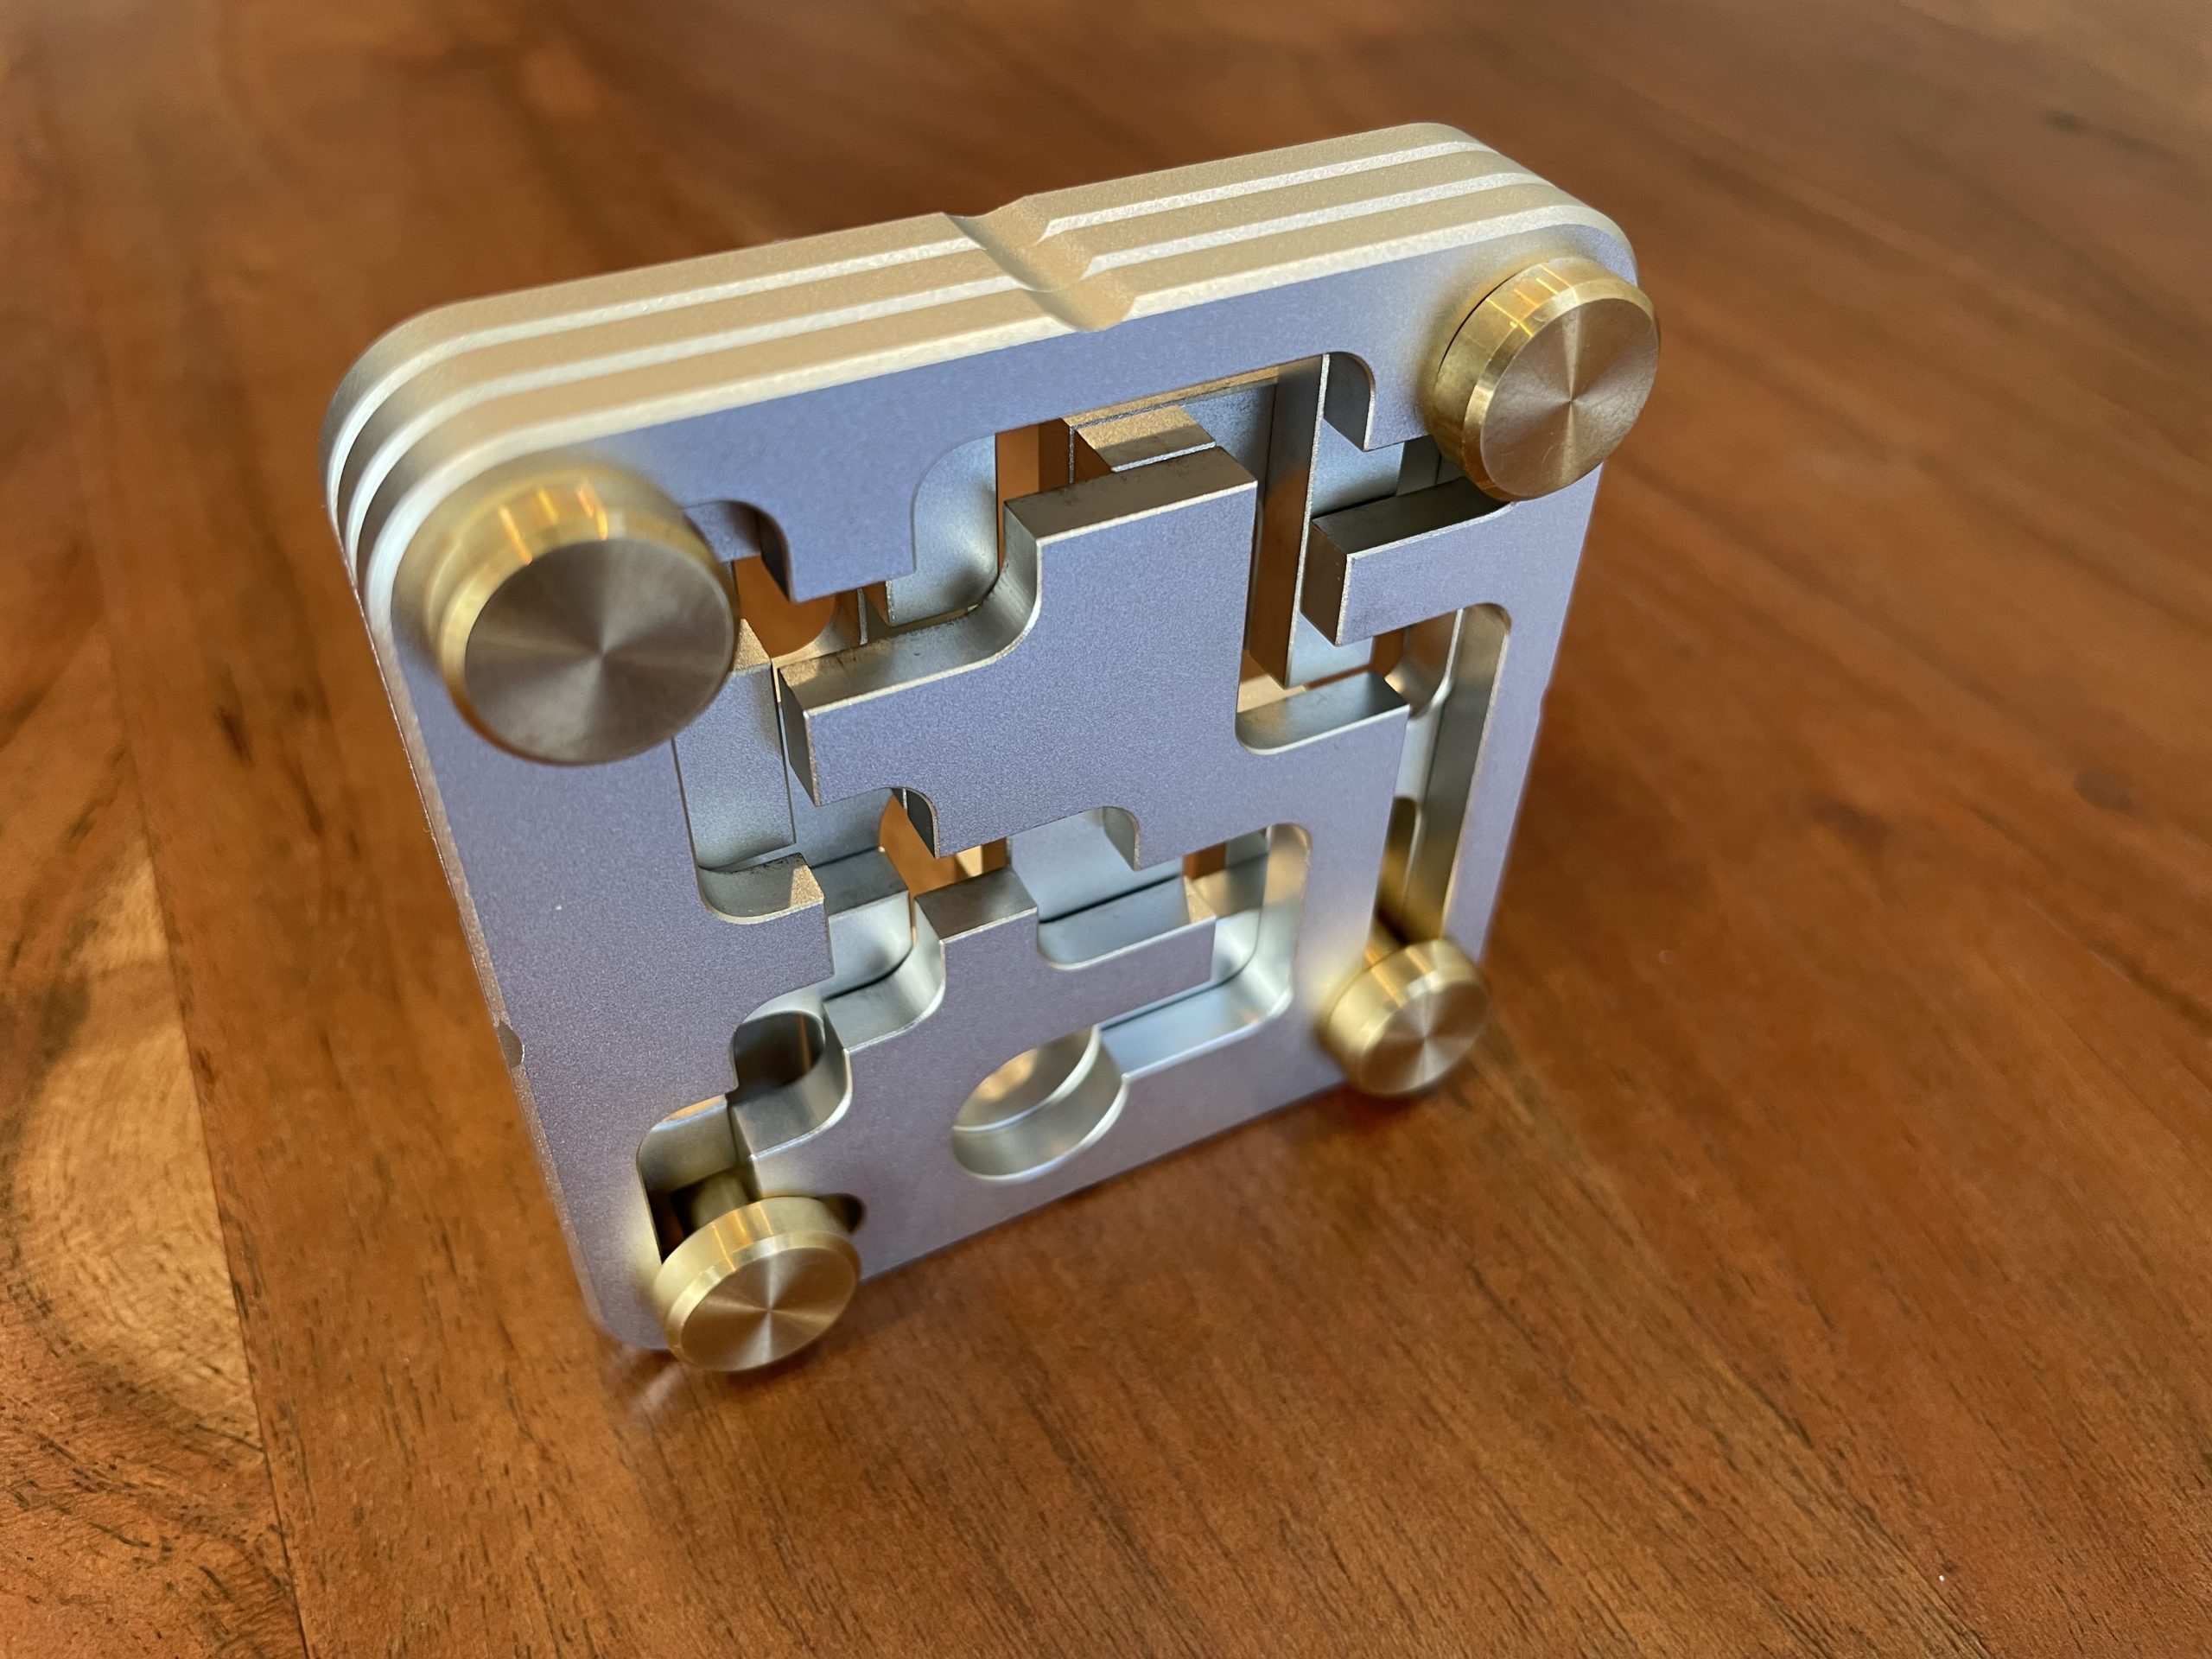
Read More: FastMaze #1 – Dan FastFastMaze #1 arrived today and I am beyond excited to give this a try. Ever…
-

Read More: Psycho Disks – Eric FullerPsycho Disks is a relatively new puzzle designed and created by Eric Fuller at Cubicdissection.…