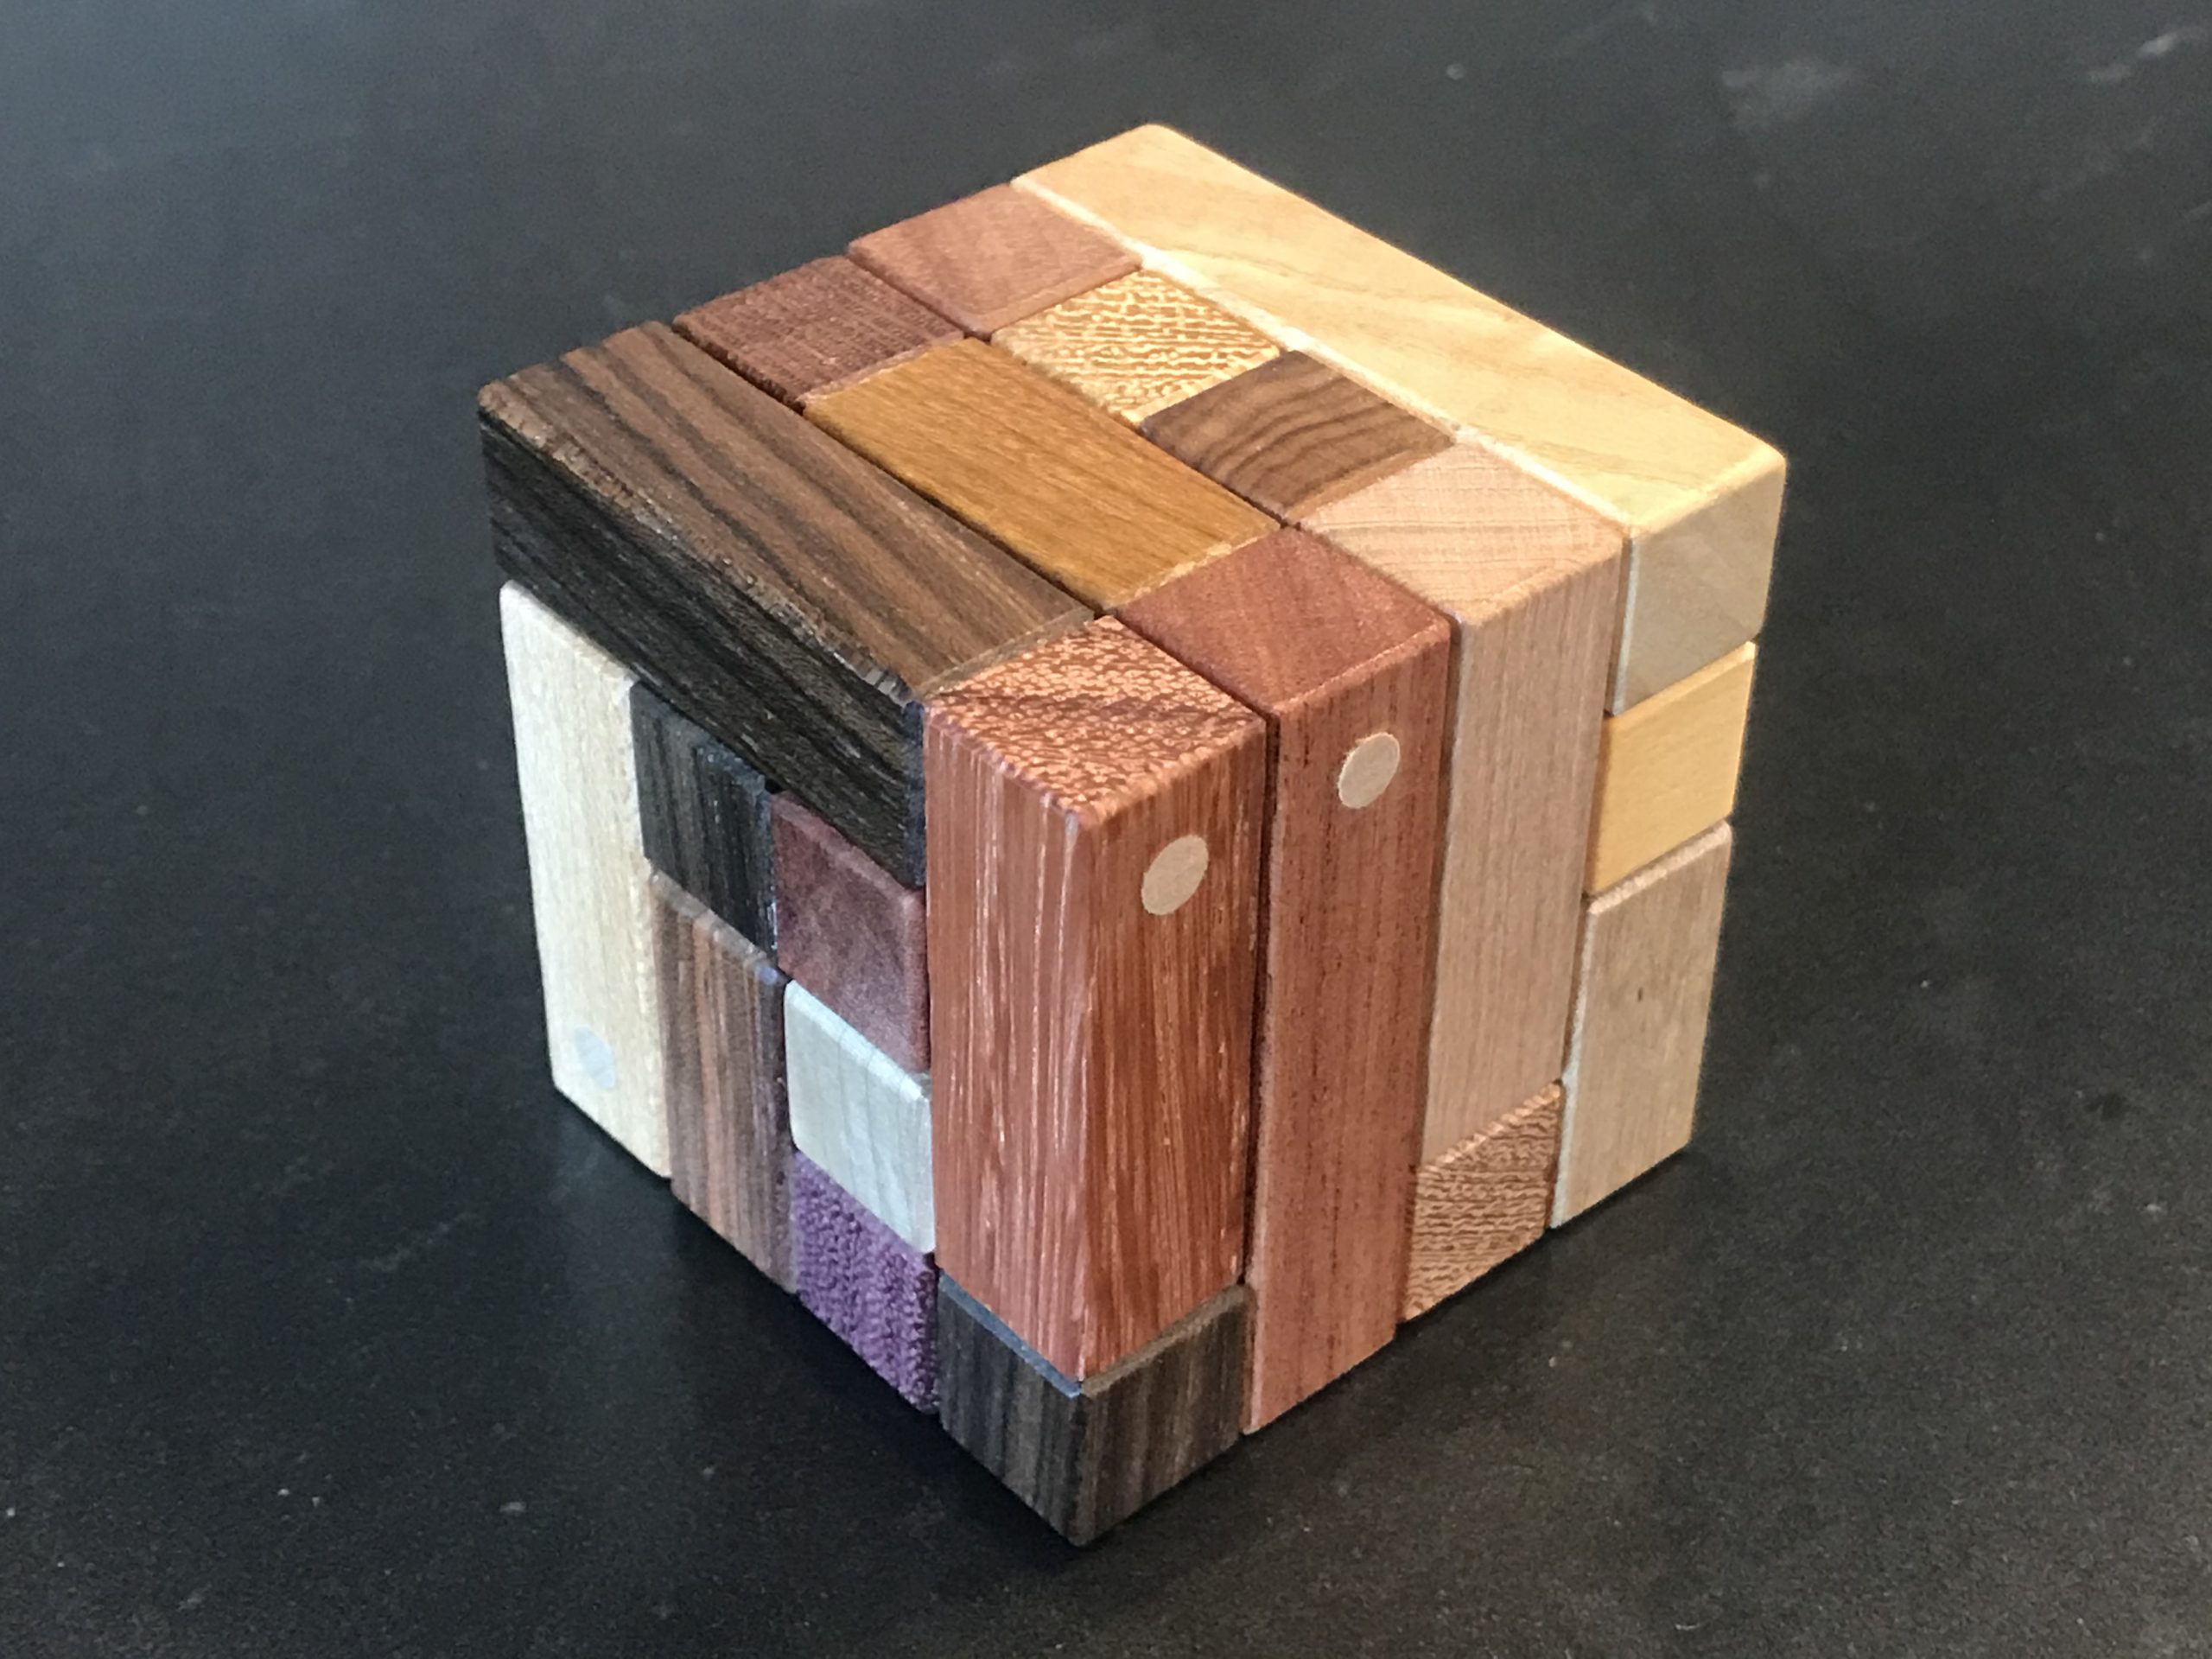
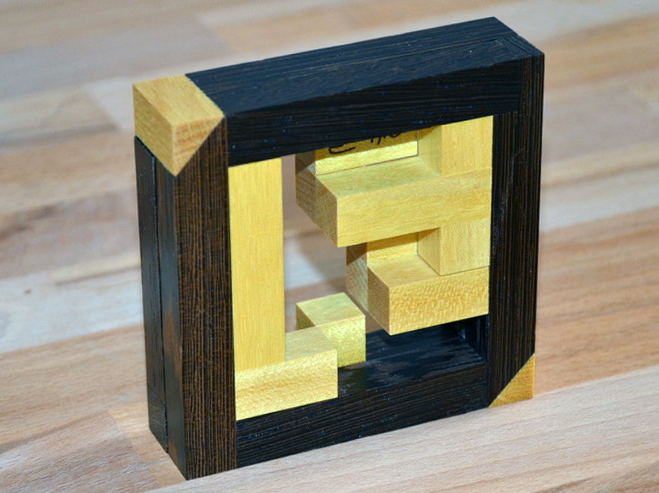
I’m back in the puzzling groove and this week, I’ve got Surround designed by Kohno Ichiro and masterfully crafted by Eric Fuller over at Cubicdissection.
There have been a number of Ichiro puzzles released by CD recently, including Three Cubes, Four Cubes, and most recently Five Cubes and Surround. I’ve really enjoyed these puzzles. They are relatively easy, but also deceptively tricky. They are great puzzles for all skill levels and very satisfying to complete. The use of small, strong magnets really adds to the experience.
Ok, I’m excited to work on this one, so let’s get started. There are apparently 3 solutions to this puzzle – 2 that use the magnets and one that does not. The completed structure needs to be self-supporting.
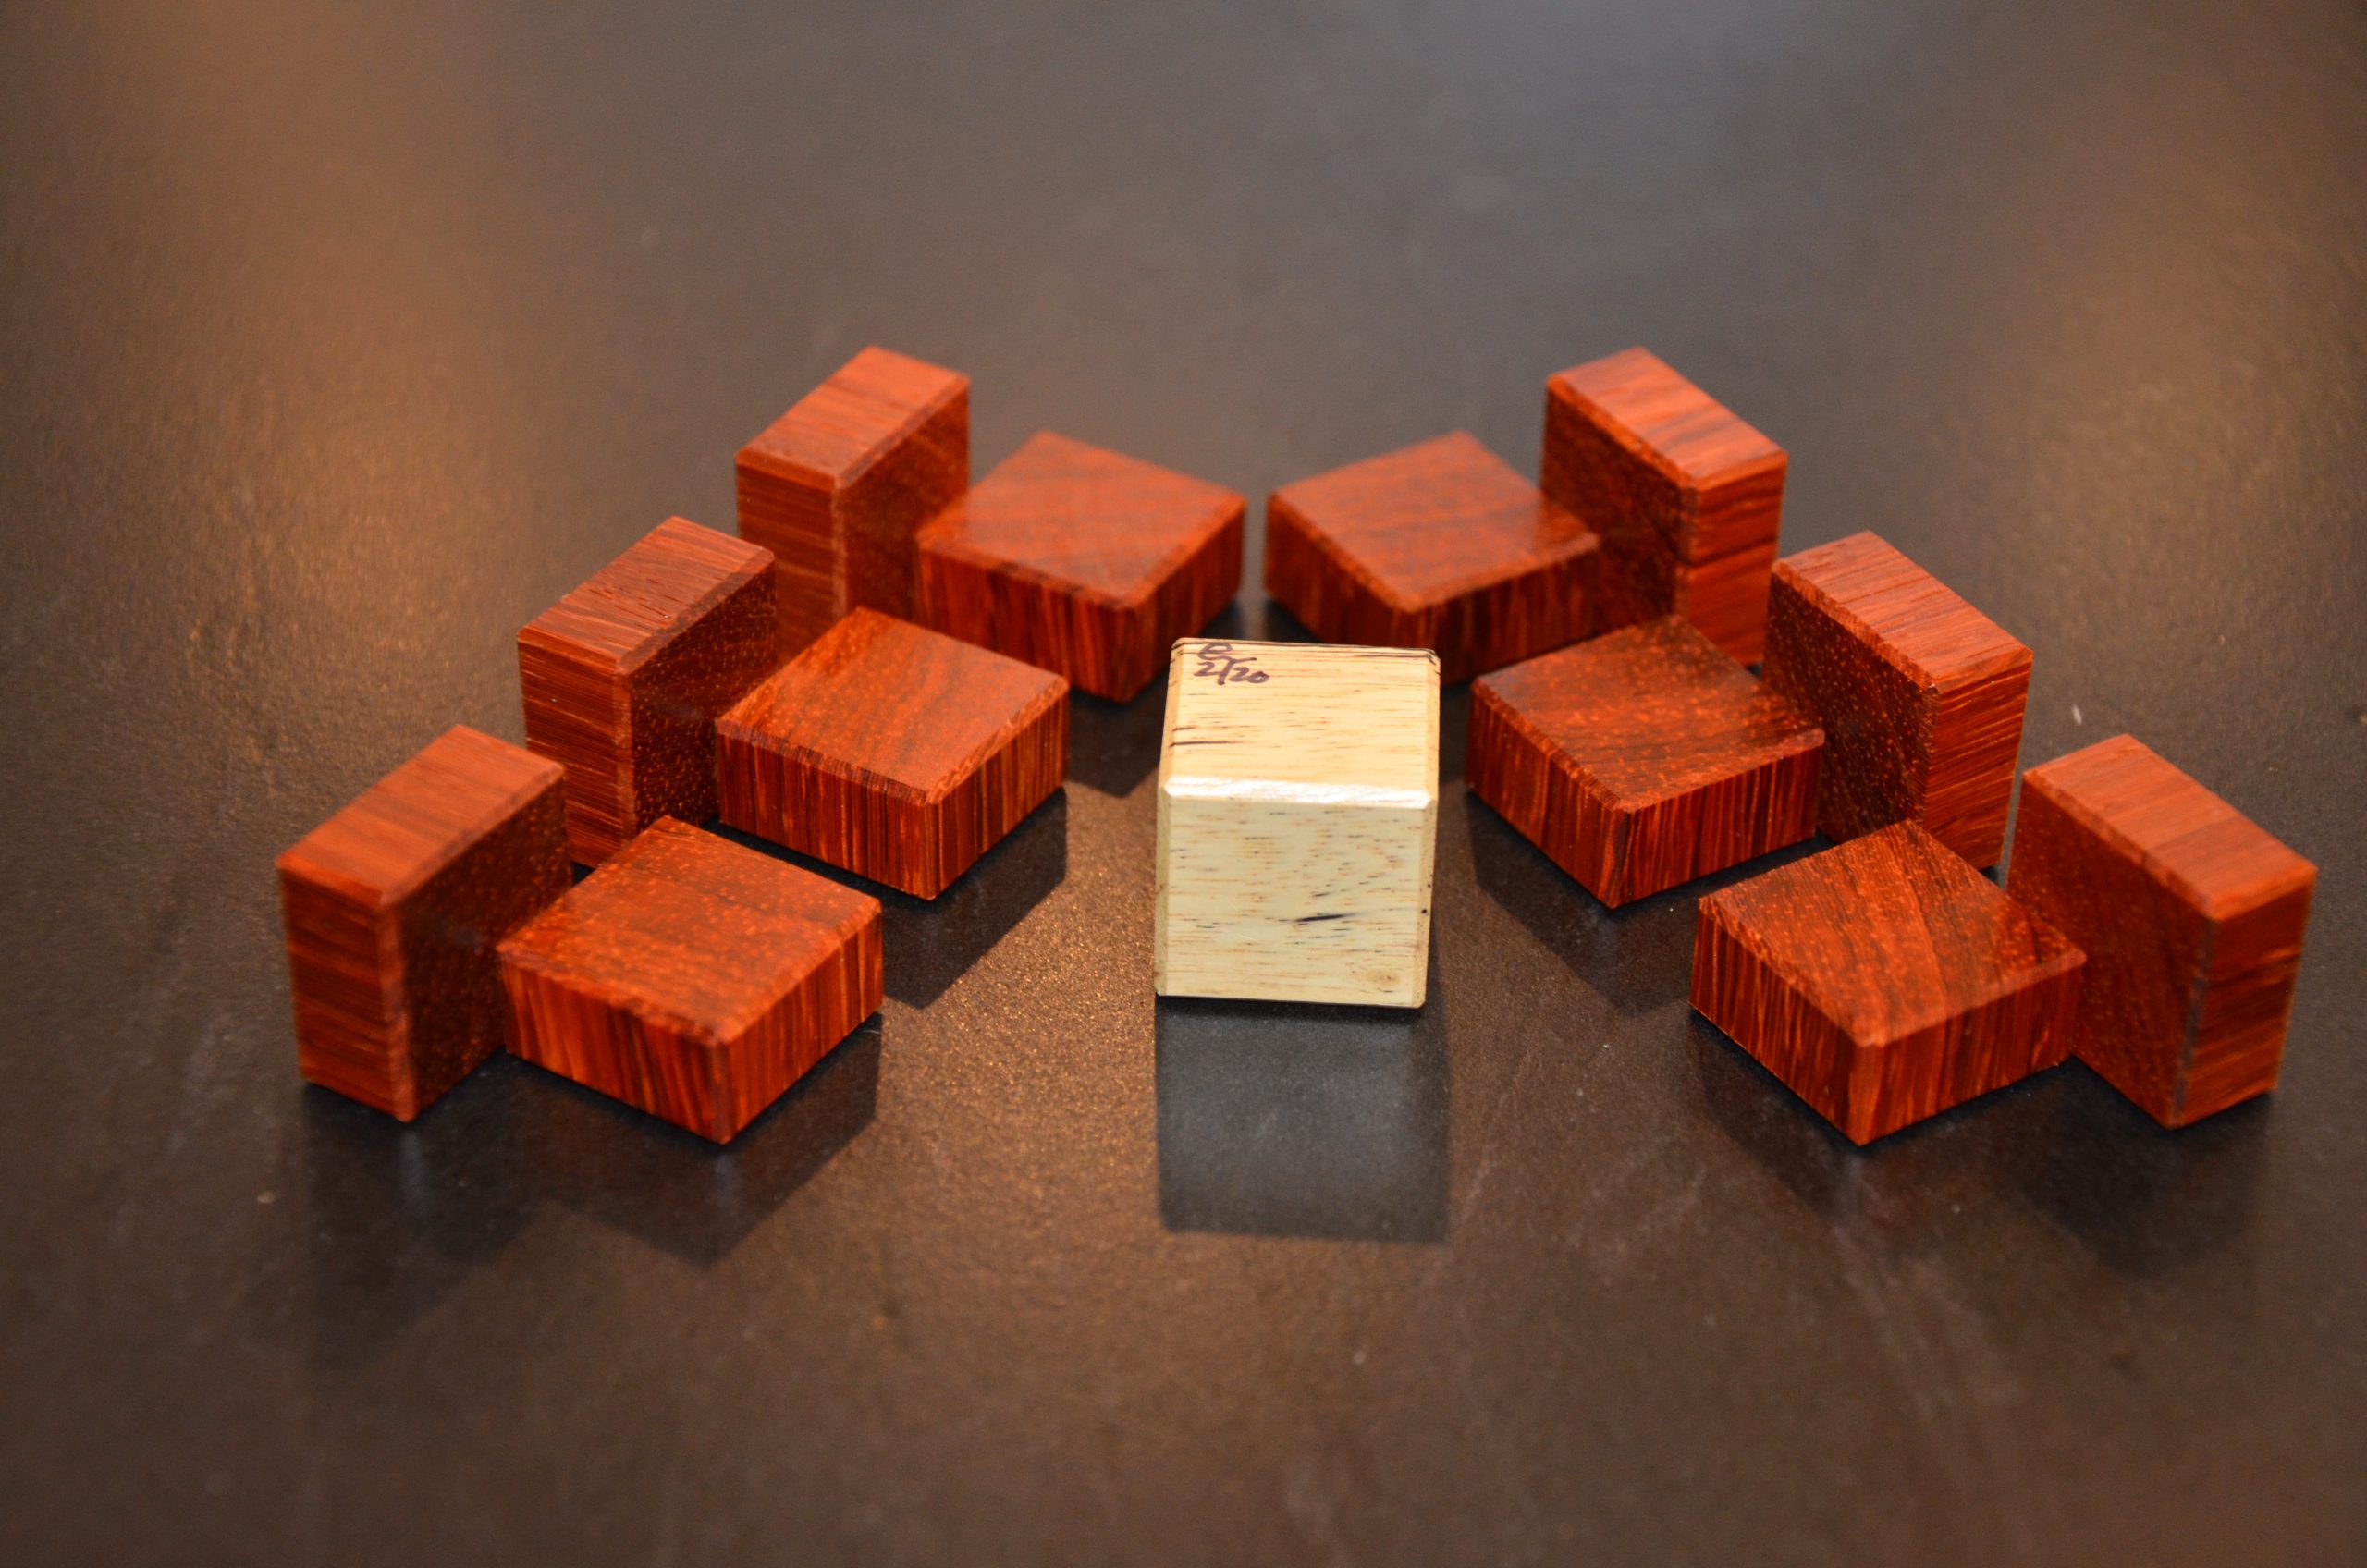
There are 6 pieces and a cube. 3 of the pieces are mirrored which would lead be to believe that this is going to be a symmetrical solution, but I’ve been wrong many times before on things like this, so let’s see what happens.
Ok, well my first attempt was a total failure. I figured, I’d start with the cube and just add the pieces to the perimeter to surround it, but that did not work at all. The magnets didn’t cooperate that the resulting shape certainly did not surround the cube. Ok cool, I didn’t want this to be easy. Let’s give it another 15 minutes and see what’s up.
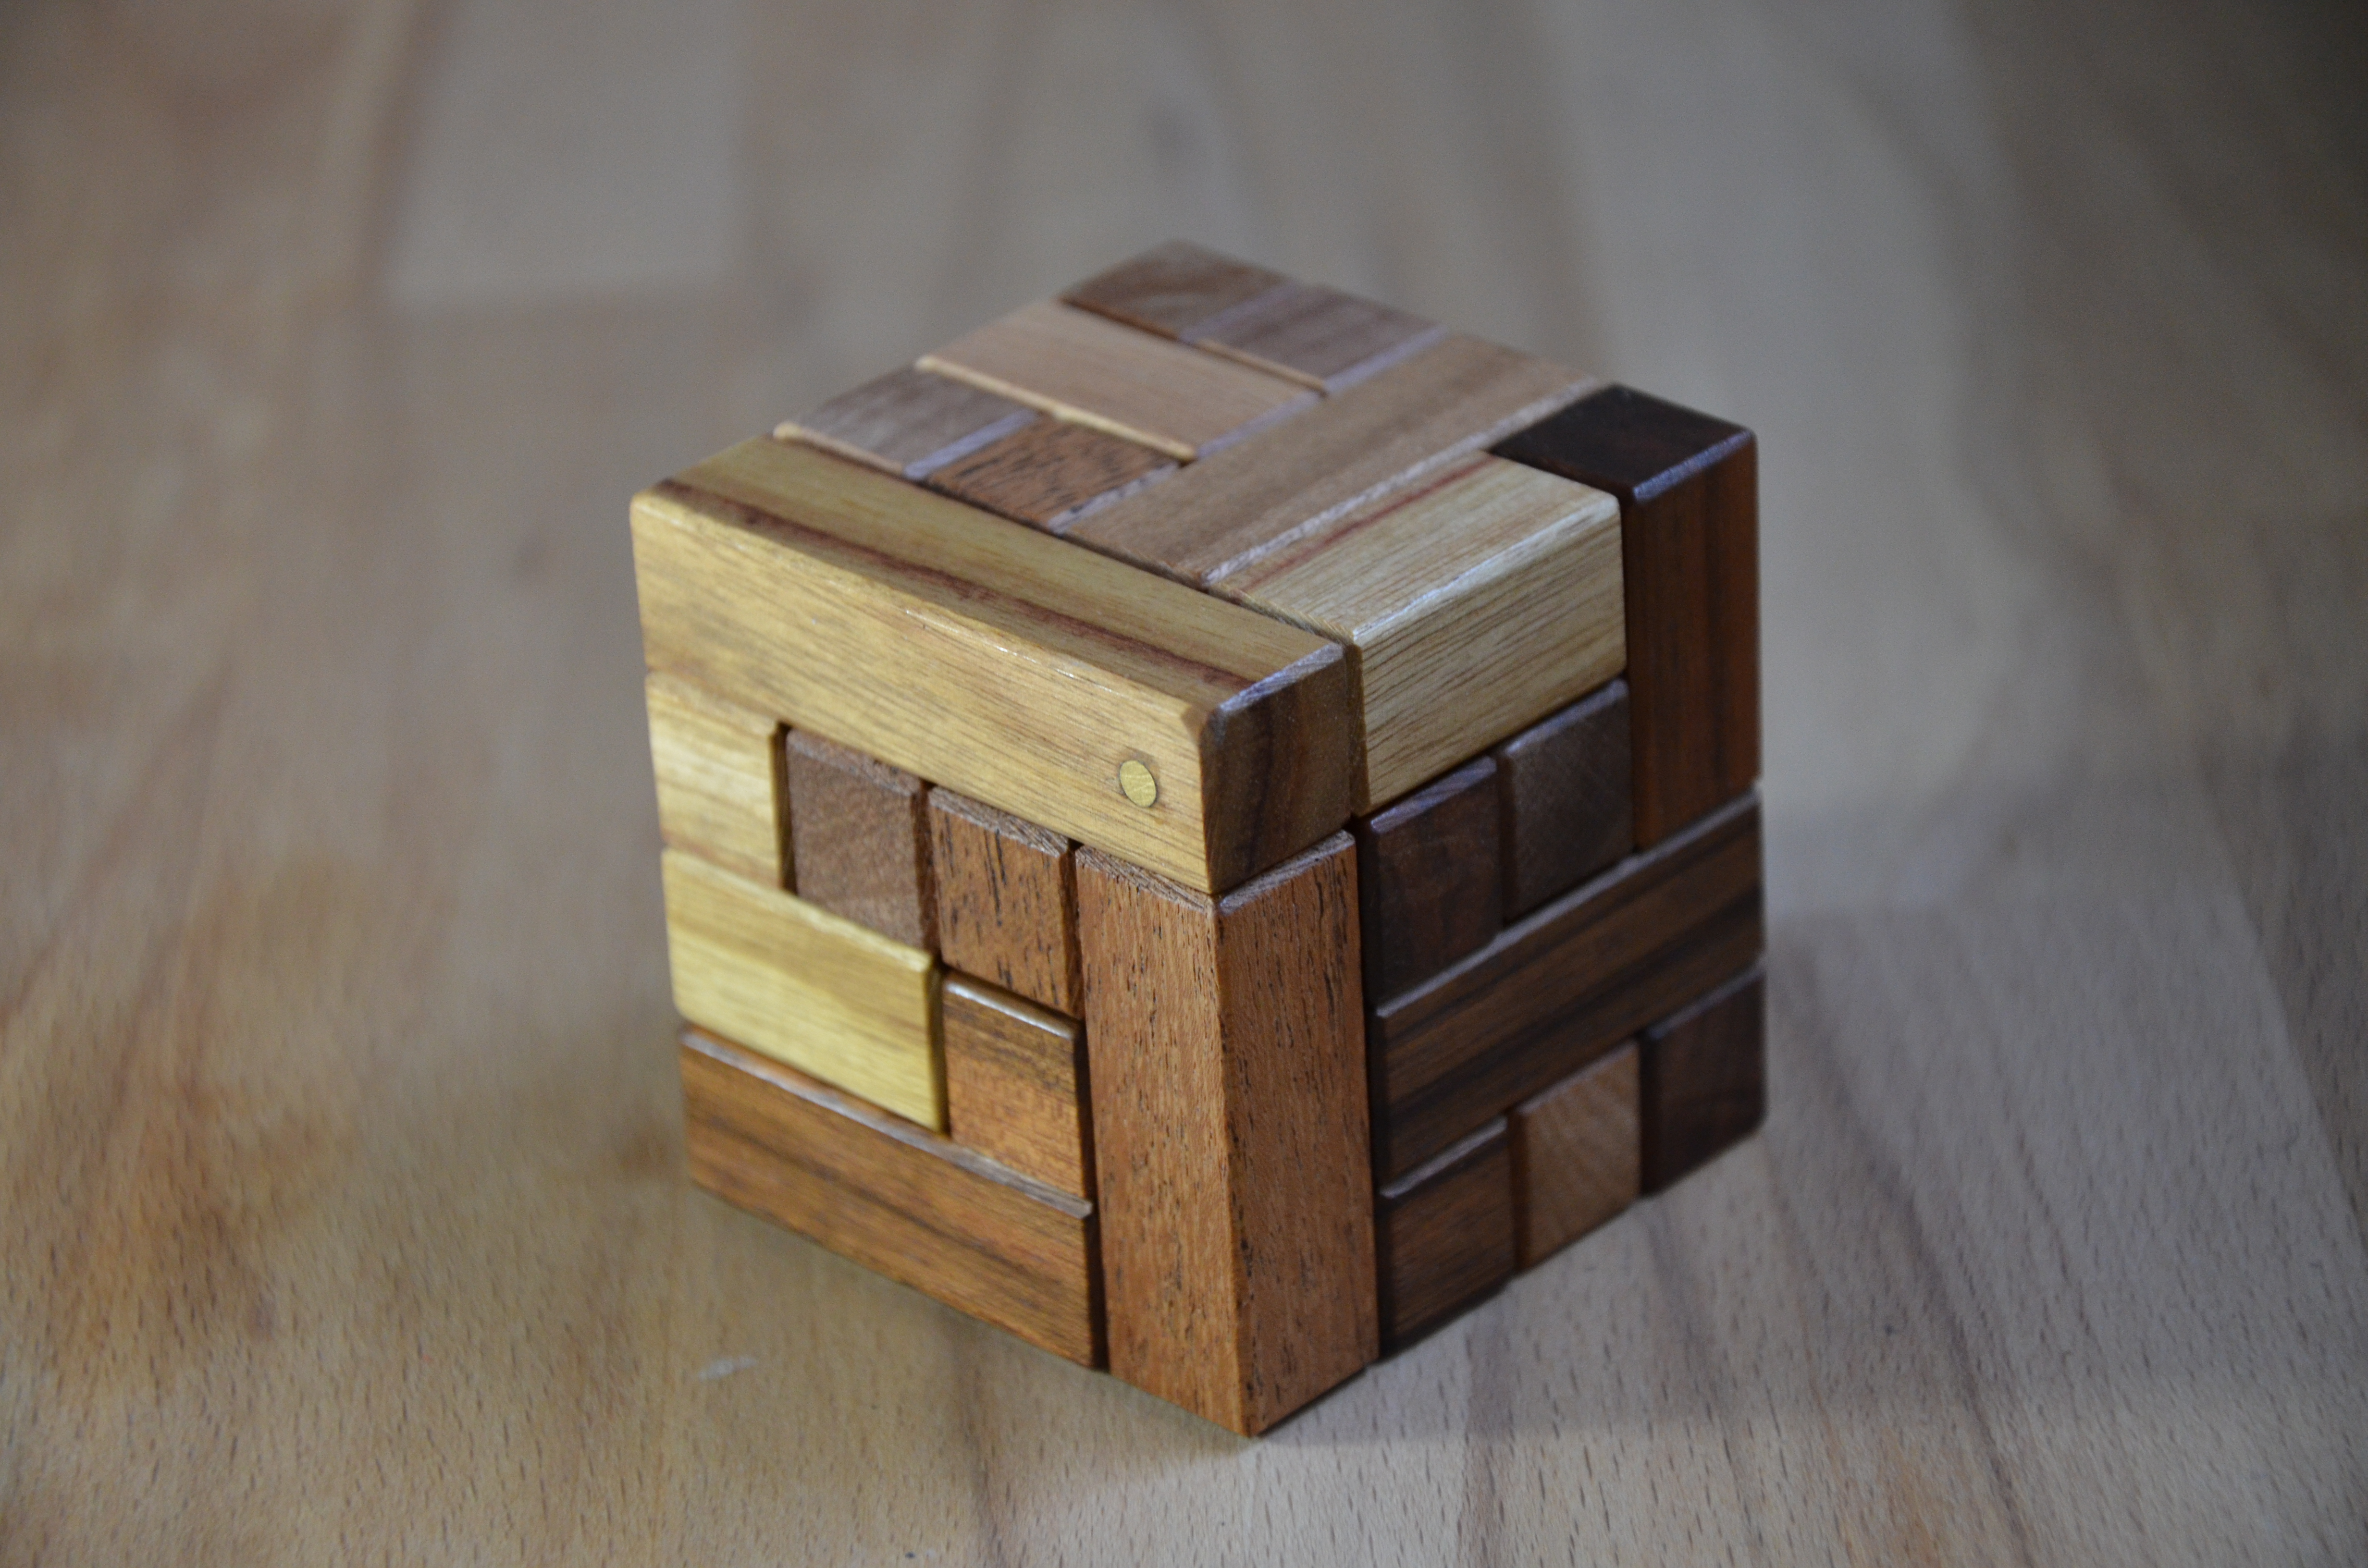
Ok, interesting. I believe that I have found one of the solutions – one that utilizes the magnets. It seems that my initial interpretation of “surrounding” the cube was incorrectly understood as “completely cover” the cube. And thus, I was searching for a solution that didn’t exist. Once I let go of that idea, and simply tried to surround the cube, I found a solution quite quickly. The cube is indeed surrounded and contained and the puzzle is self-supporting. Yay! Solution #1 is in the bank! And it is quite a cool looking construct that has formed. The Padauk and Tamerindo make for a beautiful contrast on the completed piece.
Warning: Spoiler Image Solution #1
Now, onward to see if I can find solution #2.
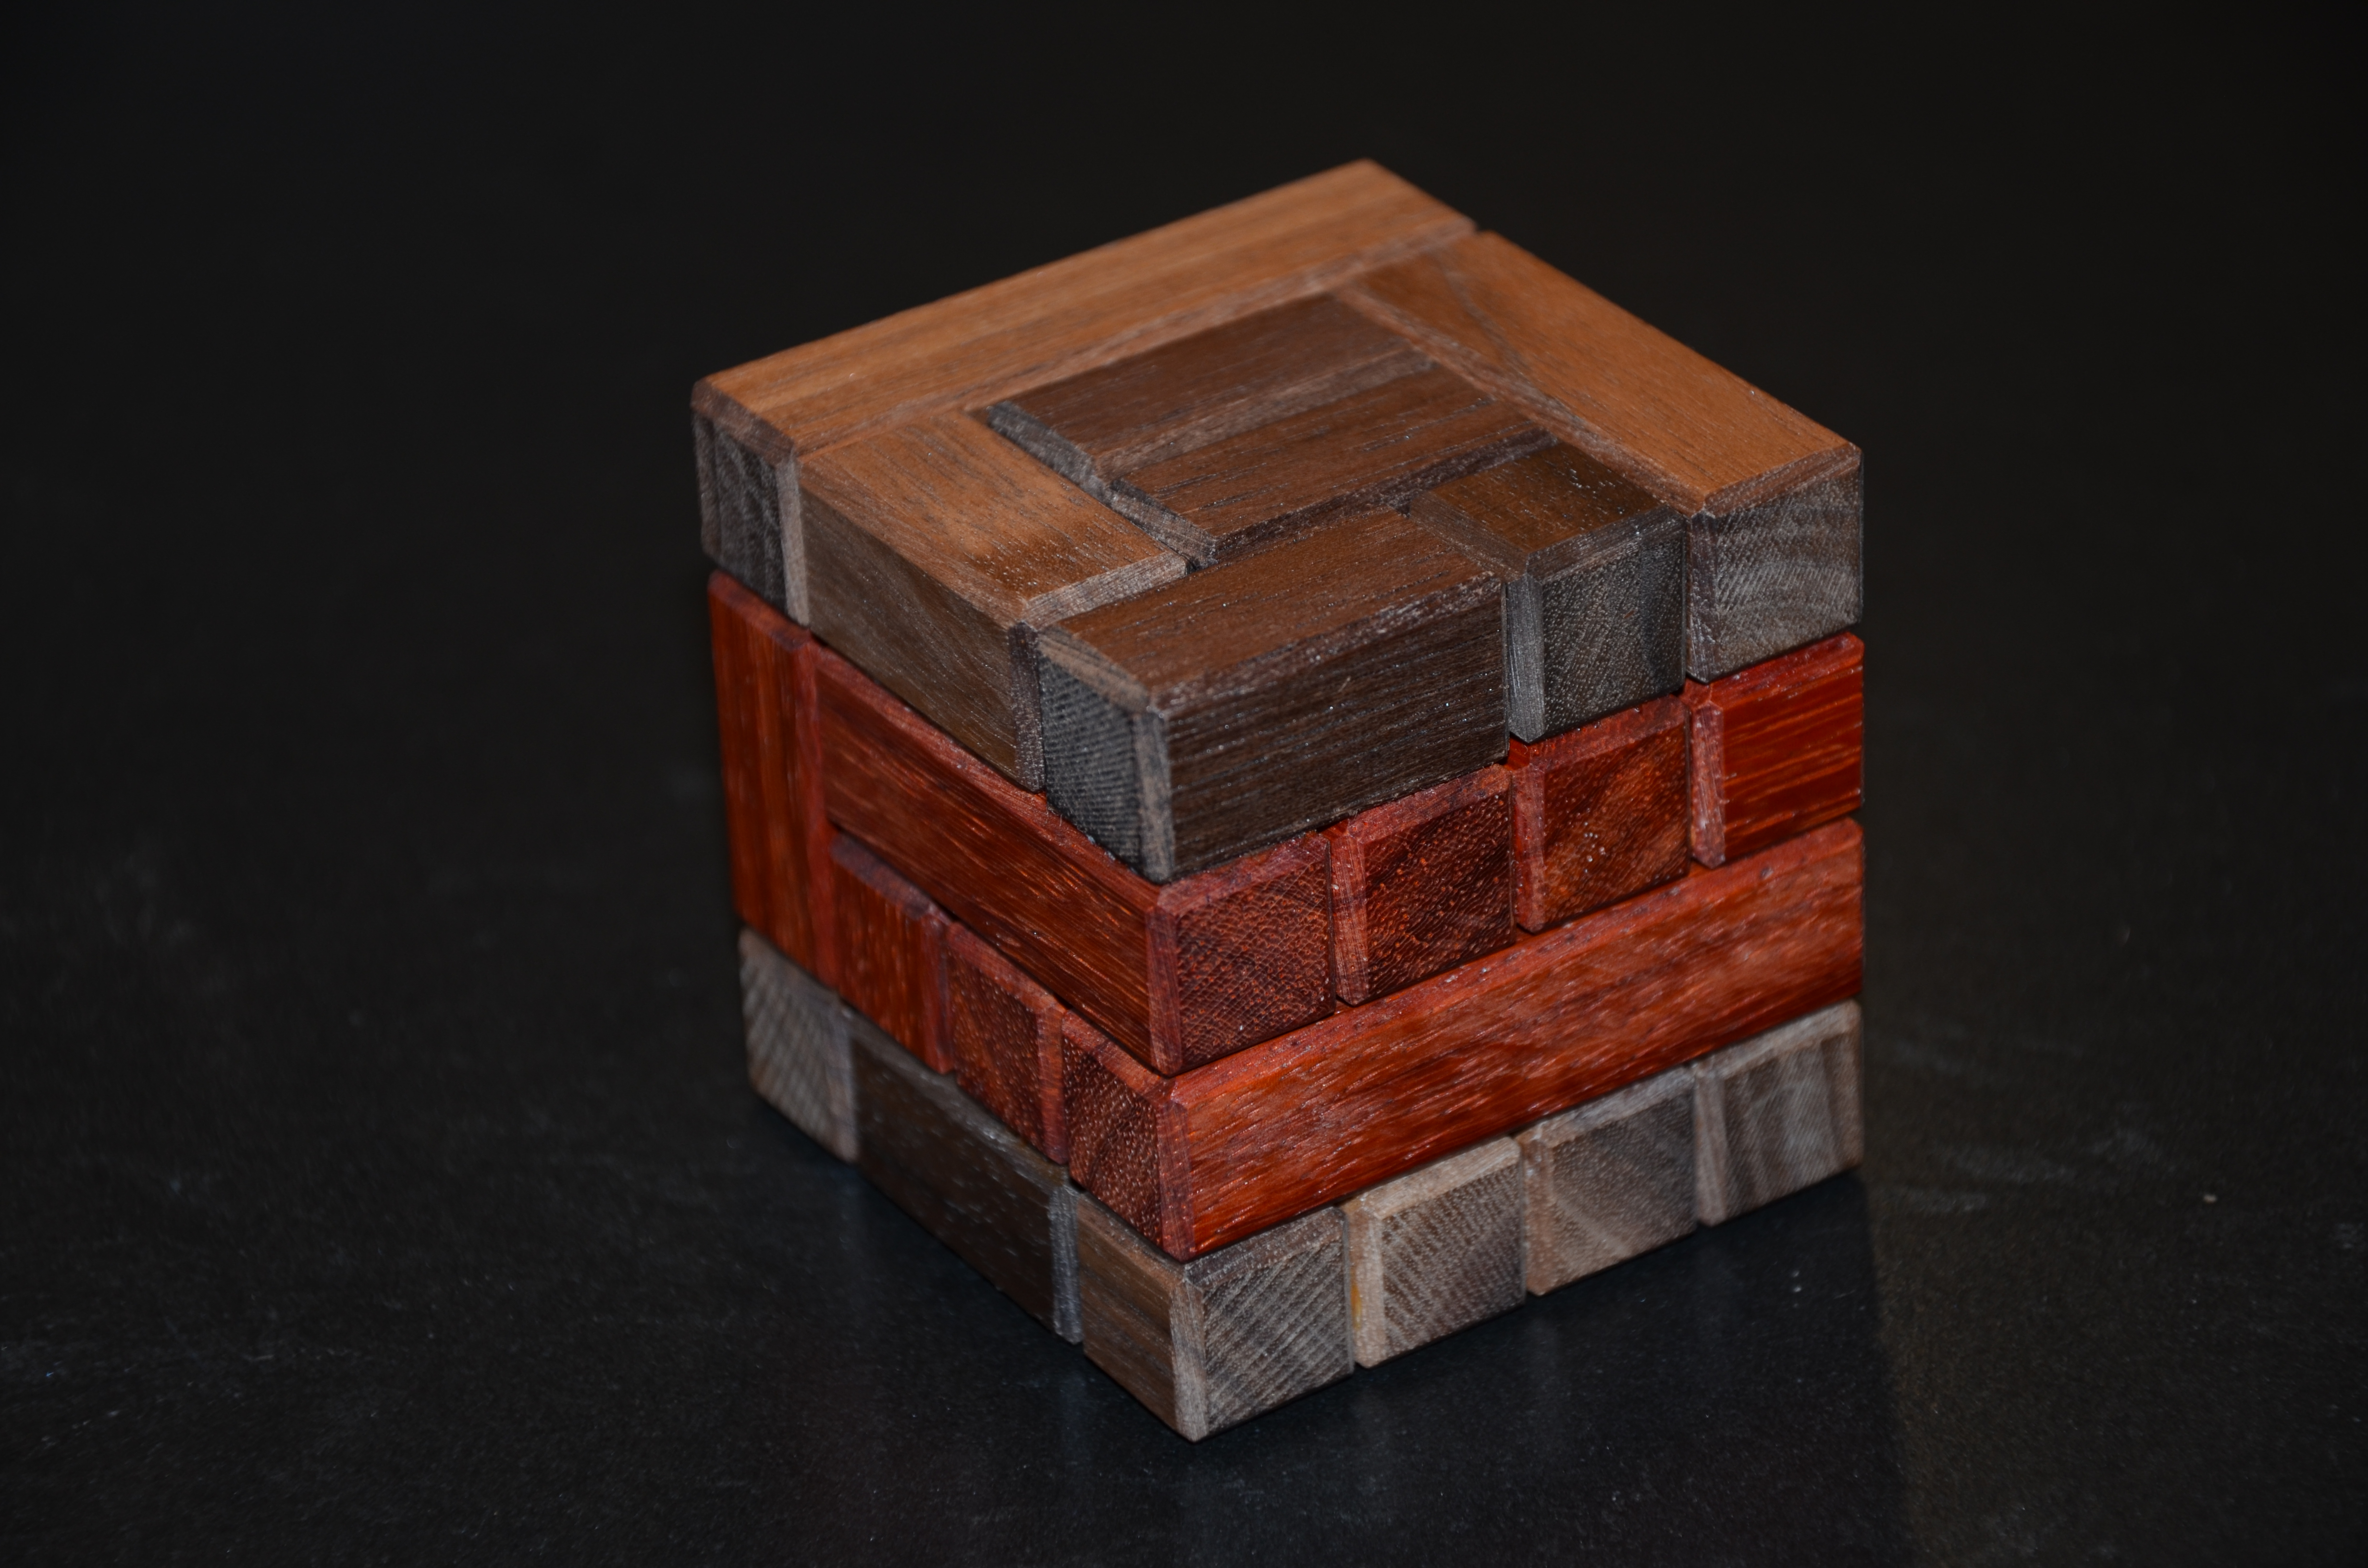
Well, it too me another 30 minutes or so, but I’ve successfully found solution 2. Interestingly, it is very similar to the first solution, if I hadn’t taken a picture of the first solution, I’m not sure that I would have know that the configuration was different. But, sure enough, it is different. The center cube is a little less covered with this solution, but it is still very pleasing to handle and display.
Warning: Spoiler Image Solution #2
Overall, a very fun and pleasing puzzle to work on and solve.
After sitting on this puzzle for another day, I decided to try to find the third solution. This one required covering the cube completely, but didn’t use the magnets. After about 10 minutes of fiddling, I was able to find the solution – it didn’t look pretty, but the cube was entirely covered.
So there you have it. 3 solution to one puzzle. I really enjoyed it and am happy to have it in my collection. The only question that remains is: Will we see another incarnation of this puzzle? A 7 or 8 piece configuration? I’m not sure that there is much left – and in fact, since I own, the 3,4,5 piece and surround, I could play with combining those to see if anything interesting happens.
I try to be inspired before writing a blog post. I find that I write a much better, much more engaging post when I’m really enthralled with a puzzle. And this can lead to an interesting dilemma. I feel like I should write a post at least once every two weeks. And sometimes that deadline approaches and I just don’t feel that inspired to write about any of the puzzle I’ve worked on. And sometimes, I haven’t worked on anything at all for two weeks – I need brain breaks. The whole puzzle blogging thing can be quite a double edged sword. When I’m inspired, it comes easy and takes very little time, when I’m not, it becomes a chore. And as the deadline comes and goes, I start to feel guilty that I haven’t created any content. Which then forces me to work on a puzzle and write it up a lackluster post.
This week, however, I have the Harun Packing puzzle and I’m feeling motivated. As I’m typing this, I haven’t solved it, but I’ve put in a good number of hours over the last few weeks and I’ve thoroughly enjoyed the process. As I’ve gotten to know the puzzle, I’ve grown to appreciate it’s devilish trickery. And I’ve also been completely enamored with the wood, the shapes and it’s construction. For some reason, it reminds me of candy. Perhaps the rectangular pieces are similar in size to those two piece starburst that the kids bring home on halloween. Whatever it is, this thing has me locked in to the point where I kind of don’t want to solve it, because I want it to last.
Tonight, I’m feeling inspired – and hoping that I can figure it out and thus record my thoughts and reactions when that magic moment comes.
Over the past few weeks, I’ve made some important discoveries about this particular puzzle. I don’t want to give anything away, but if one were to count up the voxels of the pieces and the voxels available in the container, I believe there would be a discrepancy of exactly 5 voxels. This is obviously important as the completed puzzle will contain voids. I spent way too long trying to figure out a solution that didn’t contain voids and was pulling my hair out.
Let me gush again about Eric’s work. These puzzles really are special to play with and experience. Part of it is the masterful design, but a very big part is also the exquisite construction – The beautiful wood grains, the absolute precision of the pieces make it pure joy to manipulate. It is clear that these are works of art and a labor of love and I can unequivocally state that I would not get near the enjoyment out of these puzzles were they made by an inferior craftsman. Hats off to Eric and his masterful creations.
You might ask yourself – “Self – how many times can I pack this puzzle incorrectly?” And the answer would be “Infinite!” Yes, I’ve packed this box so many times, my head is spinning. I’ve failed over and over. I’ve tried every clever combination that I can possible think of. I’ve thought out of the box, in the box and around the box. Yet, this puzzle remains stubbornly unsolved. I still feel that I can do it, however. I don’t know why, But I remain confident that the solution lies just around the corner, if only I can persevere..
For 4 more weeks, I struggled with this puzzle. I kept it available and every time I had a few minutes, I’d work on it. My kids would occasionally help with ideas and sometimes, they’d even come up with new things that I hadn’t thought of. I began to get very demoralized, though. I’d read online about other people solving this puzzle, not just with one combination, but Two! And, I’d think to myself, what the heck am I doing wrong?
The puzzle began to mock me – sitting there, oh so pretty and harmless looking. No obstructions, no complex pieces, just a simple box with 12 simple pieces. What was my problem? Why was I struggling so? This felt like the hardest puzzle I’ve ever worked on at times.
And then, this morning, while awaiting the school bus, I had 5 minutes to kill and so I sat down again to work on this very familiar puzzle. This time though, I found a different arrangement of the U-shaped pieces and so explored this new possibility and was incredibly shocked when I slid in the last rectangular piece and IT FIT! My god, I was so used to the last piece extending above the rim, that I didn’t even anticipate solving it, but there it was – solved. I was stunned!
The feeling of relief is tremendous. I can finally have my life back! Yay!
I believe I found the second solution, since the first is described as symmetrical and the one I found is not. Maybe I should feel better about myself for finding the more difficult solution? – Do I dare continue to work on this to find the symmetrical solution?
I can say without a doubt that this one has to be in my top 5 puzzles of all time. Maybe it’s just me and my personal struggles with it, but I’ve been through a war with this puzzle and the scars will forever remain. And although it was torturous at times, I can now transform those memories into fond recollections.
By the way, Pelikan recently released a copy of this puzzle and it’s still available here. It goes without saying that this one is highly recommended.
Ok, today, I have MysTIC – A very interesting 4×4 cube that I am anticipating will be difficult to solve. Here’s what Andrew Crowell says on his Etsy Page:
MysTIC is a puzzle that a computer program I wrote designed. I built a copy, and then got frustrated because I couldn’t assemble it. I finally decided my program must have made a mistake, because the puzzle wouldn’t assemble… So I cheated and looked at the solution… And the puzzle does assemble, it just requires a few rotations, one of which I just couldn’t figure out, and a decent number of moves…
So let’s see if you are smarter than me, or more patient, or just plain lucky. Try to assemble this puzzle. If you fail I can give you the solution.
Well, that’s certainly a bit intimidating to read, but I’m gonna plow ahead and see what happens.
The puzzle comes partially assembled with just one piece left out. It is clear from looking at the cube and the missing piece that the leftover piece will indeed fit in the space provided, I just have to figure out how the heck to get it in there. I’ve got about an hour to kill, so lets see what happens.
Within the first few minutes of handling this puzzle, I’ve learned a few things. First, there are only 5 pieces to this puzzle. And second, the first 4 are fairly trivial to put together. So clearly, the whole challenge to this puzzle is figuring out the sequence to get that final piece in. I suppose this is all clear from the description of the puzzle, but it’s even more clear when manipulating this puzzle.
Well, I am thoroughly defeated. In an hour’s time, I’ve managed to accomplish nothing other than to get myself extremely frustrated. The puzzle really seems quite impossible. I know it can be solved – unless this is a cruel trick, but I just can’t figure out how. I know there are rotations involved, but nothing I try seems to work.
The above was written almost 9 months ago. I originally ordered this puzzle back in November of 2018 – and today – I’ve finally solved it. Talk about getting my money’s worth! This particular puzzle has sat on the shelf unsolved for all that time mocking me. Occasionally I’d pick it up and tinker with it, but I never got close to figuring it out. In the meantime, I’ve solved many other of Andrew’s TICs and it’s always been bothersome that this one remained unsolved.
Just a few days ago and I saw that Brian Menold was offering up MysTIC in his latest batch of puzzles. I briefly considered buying it, but since I already had a copy, I decided to pass. However, It revitalized my efforts to give it another go. I also had some new information to work with. Brian states in his description ” …this has a very challenging multiple piece rotation that is just amazing to me. This rotation can be made without any pressure or odd maneuvers. It must simply be done very precisely!”
Hmm interesting. So now I knew what to look for – a multiple piece rotation. Ok. Great. But still, how the heck does this thing work? I spent another hour or so working on the puzzle trying different procedures and configurations. I tried putting it together with just 4 of the 5 pieces. But I always came back to the same roadblock. There was a particular piece that I just couldn’t get to the other side of another piece.
Frustrated, I put the puzzle down again for the day. This thing was really giving me a hard time. And then, tonight, I had my breakthrough. I’m still not entirely sure how it happened. I felt like the puzzle was falling apart on me, but then I noticed that the troublesome section was now in the correct position! A few manipulations of another tiny piece and I finally had this one together. Wow! I think I’d have to rank this one as the most difficult of the TICs that I’ve completed.
Taking the puzzle back apart reveals the amazing movements required. I’m not sure how I stumbled upon the solution, but I agree with Brian that it is truly an amazing move – one of the coolest of all the TIC rotations I’ve seen. Now I know why it took me 9 months to solve! It’s that hard! I don’t want to give any hints, but suffice is to say that it really is quite remarkable.
Overall, one of the best of Andrew’s TICs that I’ve completed. It’s right up there with LunaTIC in difficulty and it provides a fantastic sense of accomplishment. Bravo!
Wow! I am sure excited for this one. I have FanaTIC designed by Andrew Crowell and crafted by Brian Menold over at wood wonders.
Now, I have to say that acquiring this cube was no easy feat. Brian offered up 7 new puzzles and 4 remakes for his May 5th release and Holy Crap did these things sell out quick! I’m usually pretty good about getting in right at the release and picking up everything I want, but this time, I struck out on a few items that I really wanted. GalacTIC was at the top of my list, but there were only a few copies available for this release, so they went quicker than I could grab one and I foolishly opted not to reserve one for $1 – and then that too sold out! I also missed out on PackTIC #5 which seemed to sell quicker than the others (or there was less stock).
But, it is okay because there will always be more puzzles to buy in the future and in the end I did manage to secure 4/7 New puzzles and 3/4 of the Remakes. RIP my wallet.
FanaTIC. Yes! I can’t wait. Let’s go!
It’s been a little while since I ordered from WoodWonders (I skipped the last release) but I’m always very happy with their packaging. I think packaging for puzzles has to be a bit difficult for the puzzle maker. Some puzzles come assembled, some disassembled. They come in many different shapes and sizes. Should packaging have a name? A Label? Clues on the solution? Should a solution be included? Everyone seems to do it a little different, but I like Brian’s boxes, labels and shrink-wrapping. I like how the shrink-wrap captures the smell of the workshop and I like that the label has a picture. After one’s collection grows into the hundreds, it starts to become difficult to remember every puzzle, every name, every solution. So this gives me a little backup insurance if, down the line, I forget some info. At the same time it also means that I am collecting cardboard boxes (evidence) as well as puzzles.
Ok, lets get started. First off, I really like the size of this puzzle. It’s definitely smaller than the last TICs I bought from Brian and somehow that feels right. The smaller size creates a tighter feel and all the pieces feel really solid.
This puzzle has 5 pieces and comes disassembled so my objective here is to put it together and form a cube. From the description, I know that there are 5 rotations and that it “assembles a little differently than any of the others” whatever that may mean.
I’ve got an hour to work on this so lets see if I can get it done.
Ok, there are actually 6 pieces to this puzzle! Turns out there was a little 5 voxel T-shaped piece hiding out inside another piece. Ok, pretty sure that’s it. Here we go.
I’m about 10 minutes in and I’ve had my first little breakthrough.
See, at first, it felt pretty hopeless. These Crowell designed TICs always seem to be composed of strange shapes, yet there always seems to be a bit of a pattern. There’s usually 1-2 larger “cage” pieces, followed by 3-4 “filler” pieces and lastly there are always 1-2 “keys”. The keys are usually small 5-6 voxels pieces that are called on to rotate into place and lock the structure together. Understanding how to use these keys is fundamental to understanding these TIC puzzles.
Back to my breakthrough – I managed to get 2 filler pieces into a cage piece in what can only be the correct position. That leaves 3 more pieces to fit in. Another thing about these designs. It’s usually not difficult to figure out where the pieces go – what is difficult is figuring out the sequence required to get the pieces into place.
Well, I was wrong about my little breakthrough. I still think that I have a couple of the pieces put together correctly, but that third piece that I was feeling pretty sure about turned out to be false.
After another 15 minutes, I’ve definitely gotten 3 pieces in correctly (for reeeaal this time!) Now there are 3 more to go and then I’m going to have to figure out how the heck to get them all together.
At this point, I know where all the pieces go. But I am still a long way away from solving this. These TICs are terribly difficult to reverse-engineer. There’s always one little cube that prevents the piece from sliding home. I’m not sure how this goes together, but I’m determined to get there and I can’t wait to slowly disassemble this to really get to understand the mechanics.
After about 45 minutes. I took a break, packed the puzzle into my bag and headed home (yes, I do puzzles at work!) Later that evening, I took the puzzle out again and began to work. Within another 30 minutes I was basking in the glow of victory! These puzzles feel so good to complete, and for me, they are at a very pleasant difficulty level. I get to enjoy the process, but not stress out about remembering placements and such.
In the end, it was just a matter of trial and error – well that and one really unique twisting and turning move. Because once you know the position of all the pieces all that is left is figuring out what order they go in and how. I was stumped for a while with figuring out how to get the 1st 3-4 pieces together. It just doesn’t seem possible. Its easy to get 3 out of 4 in place, but that 4th piece is always blocked by the first 3. It was quite maddening for a while – that is until I discovered “The Move” Yes, that 4th piece requires 7 moves and 3 rotations and is super fun to execute. Figuring this all out in reverse (assembly) order made this puzzle 10x more fun than if it had come assembled. Kudos for that decision.
The other great thing about this puzzle? Once I had it completed, it took me 15-20 minutes to figure out the first disassembly move! The craftsmanship is so good and the pieces are so tight that even though I had just done the puzzle, I really had no idea how to open it up again – and the puzzle offered no clues. I eventually go there, of course, but it sure baffled me for a while there.
I’d also like to praise the addition of pins into these TICs. More than other puzzles, I find these TICs to be easy to overly stress the pieces. Rotating pieces can add a ton of unintentional force and I’ve actually snapped off a piece on another puzzle while trying to find the correct rotation. So, I am very happy to see strategically placed pins to offer more structural support for these types of puzzles. Though I have to say that I did factor in the placement of the pin into my solution. It doesn’t make sense to reinforce a piece that is not subjected to rotation, therefore I new from the beginning which piece would be doing the major rotation.
Overall, an awesome puzzle to add to my growing collection of TICs. Speaking of which – does anyone know how many of these there are? Is it possible to collect them all? I don’t know but I’m going to try.
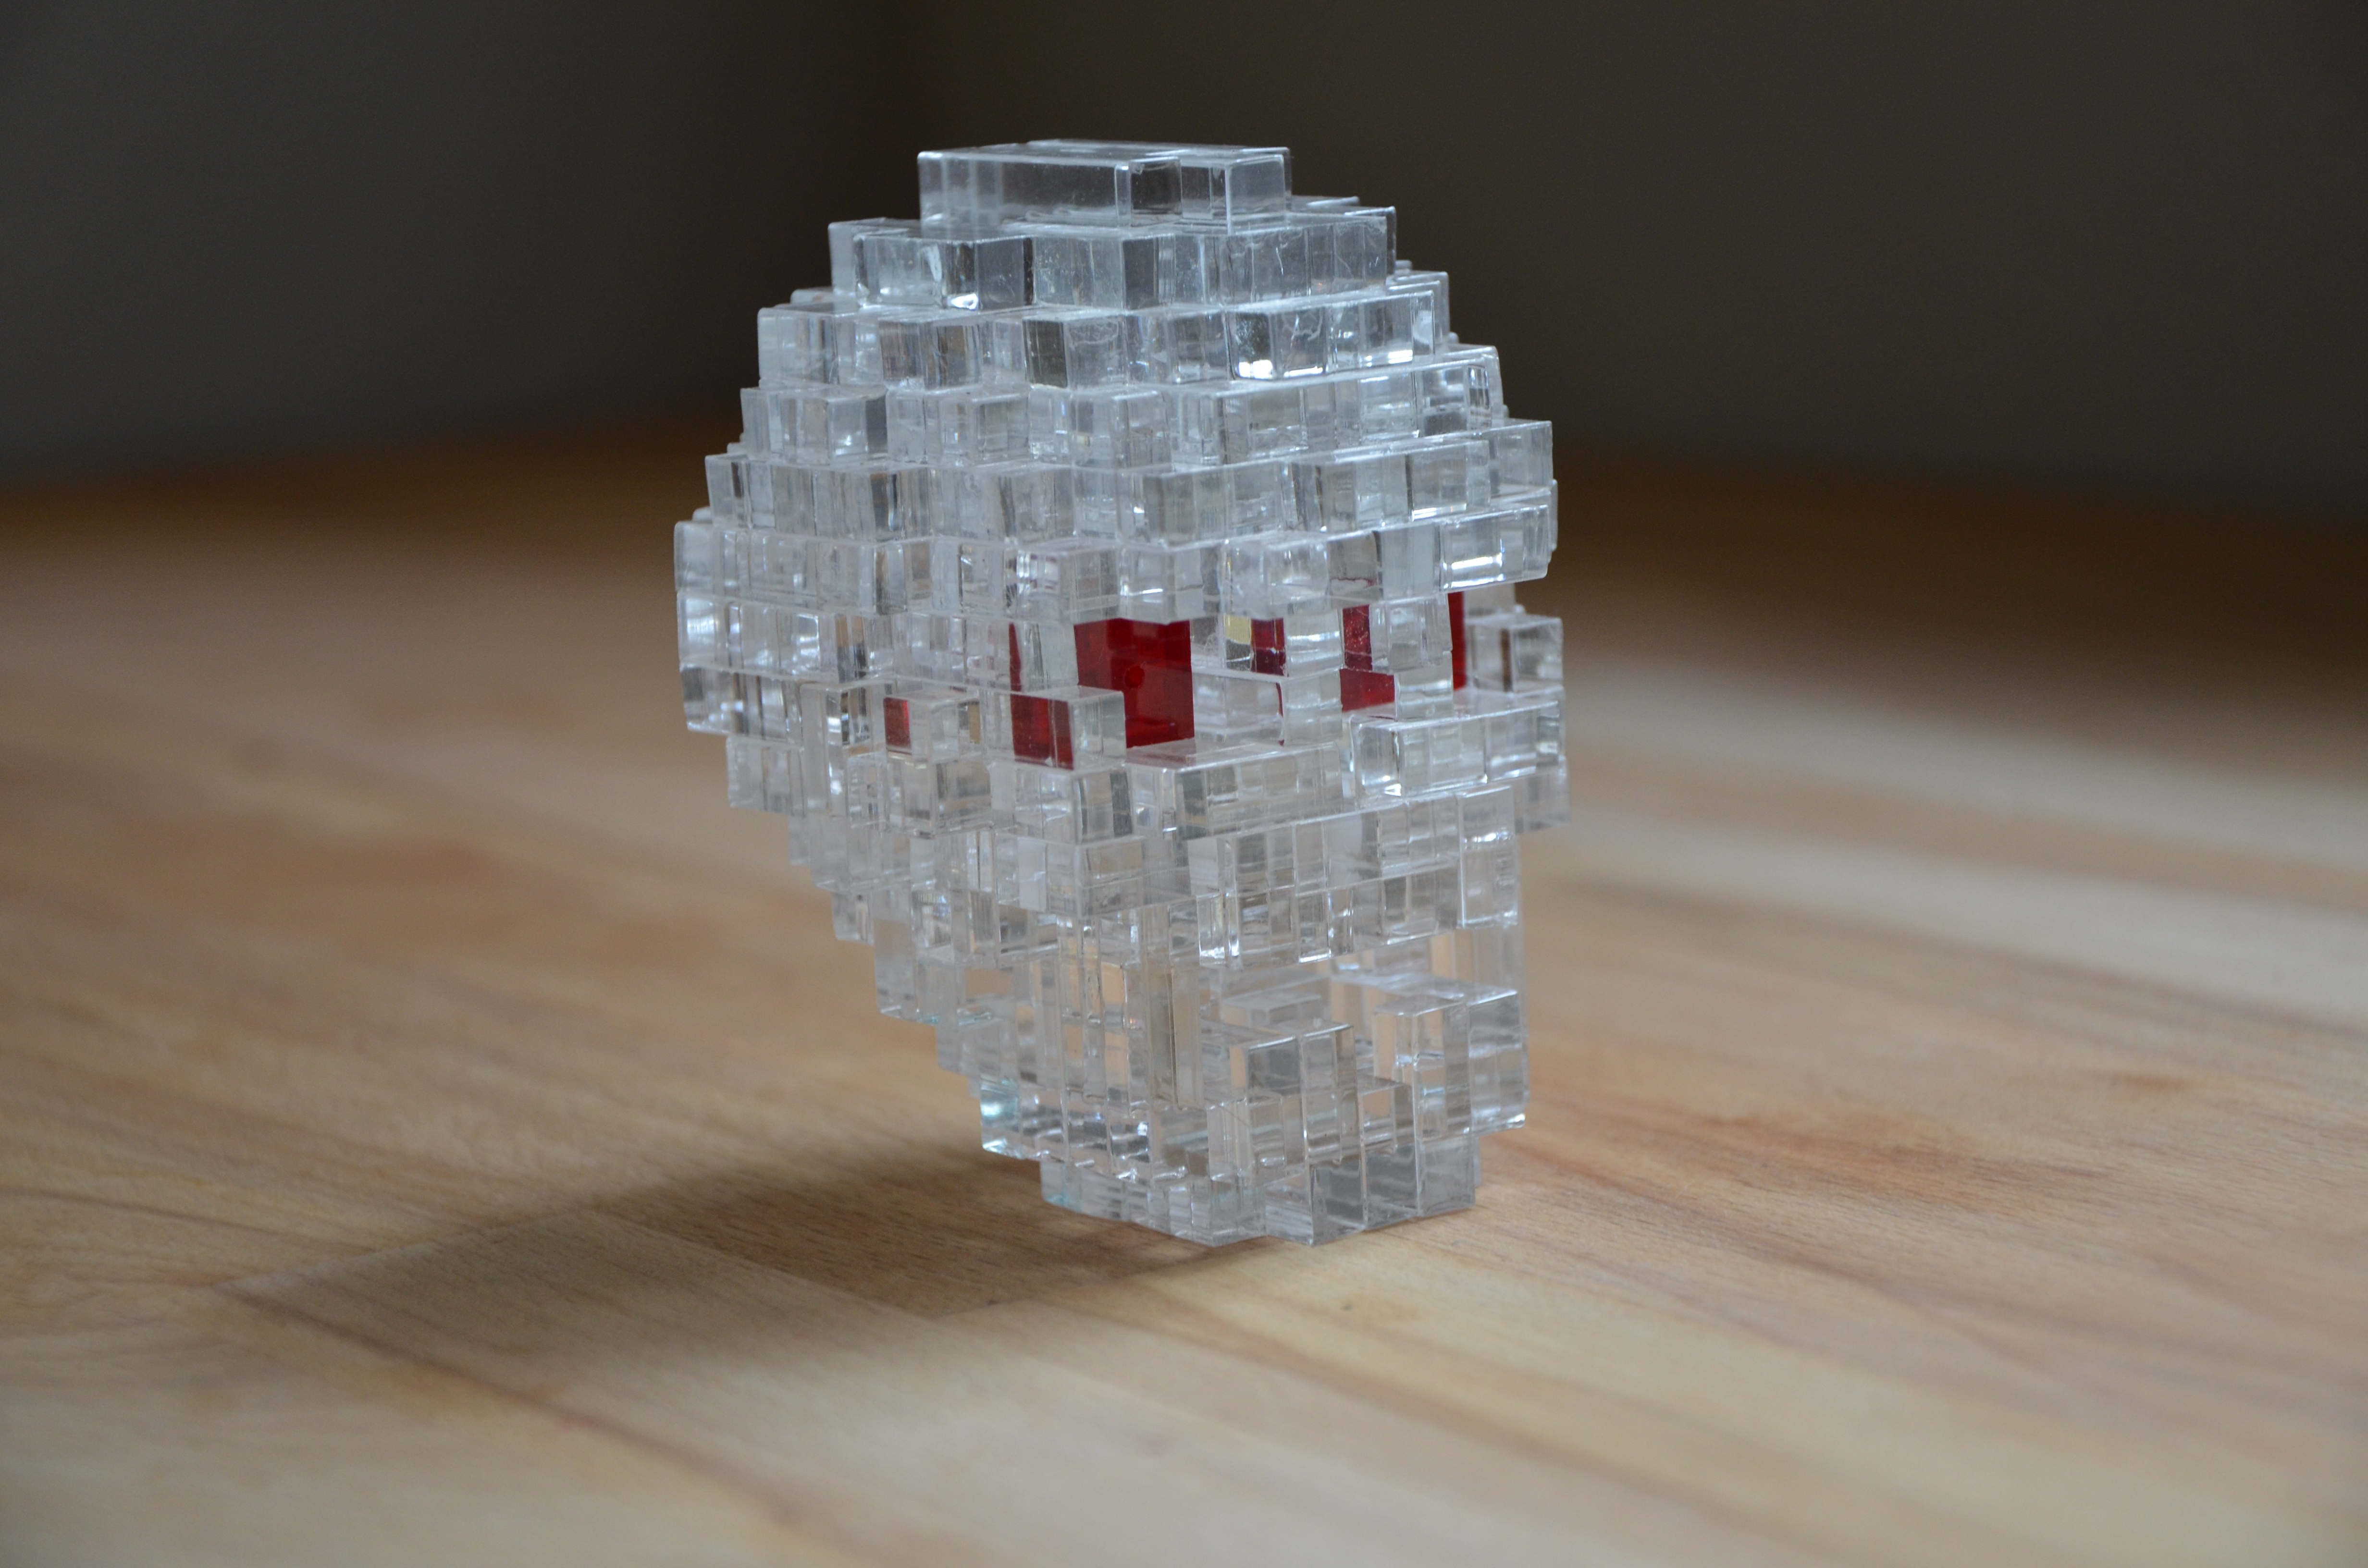
Yes! I was one of the lucky 8 people to get my hands on this puzzle! I really didn’t know what I was buying, but when Eric Fuller releases a limited run puzzle, I have no choice but to pull the trigger and purchase it. It sounds like he is open to making more in the future, so those that missed out may have another chance to pick up this wonderful and unique puzzle.
To start – I’m super intimidated by this puzzle. There are a ton of pieces, limited pictures and no instruction on assembly, so it’s up to me to get the job done. Hopefully there is a logical sequence to things and enough clues for me to get it together. I’ve never worked on a puzzle like this, so I’m very excited to get started and see what I’m in for.
Holy crap there are a lot of pieces! I haven’t even begun to attempt this thing yet and I’m already feeling like there is no way I’ll get it solved. But hopefully my first impression is off and I can make some progress. Is this a solid puzzle? Or are there gaps in the skull? The 3 images on the cubic dissection site seem to suggest that it is a solid form. Also, I’ve noticed that one of the images holds some clues as to what pieces come out of the “face”. Ok. Here goes.
Ok. I’ve spent the last half hour sorting pieces. I had to see what I was working with and there are over 50 pieces here, so step one seemed to be: Sort. And I think its been helpful. This puzzle is comprised of some very interesting pieces! There are large pieces that look like creatures out of the Space Invaders game and there are some tiny “T” shaped pieces. There are over 10 pairs of duplicate pieces and quite a few pieces that are not symmetrical – though a majority are symmetrical. There are no duplicate symmetrical pieces. What does all this mean? I don’t know… but I do have some theories starting to build. I think I’m going to start with the biggest pieces and see if I can’t get some sort of frame built.
Whelp, that failed horrifically and I’m not really sure what to do here. It’s not difficult to put pieces together, but it seems nearly impossible to know if those pieces are correct or not! I’d really like a better picture so that maybe I could identify where one of the bigger pieces goes. I think if I knew how one or two of the big pieces were placed I’d have a fighting chance. As is – I’m not sure how to proceed. But maybe I’m wrong, maybe I should start with a small cube and try to build larger? I’m really not sure how to approach this one..
And thus began my journey to find a better image to work from. I initially did some google searches which brought me to the Puzzle Will be Played site here. But, that didn’t really help, so I continued to search and ended up on Jerry’s Facebook page. And lo and behold I found a video of the Burr Tools file for Cranium. Yes! Awesome. Now I have something to work with! I watched the video, which showed the solution, though with so many pieces, I certainly wasn’t going to memorize the moves. So I went back to work to see watching that video would help me solve this one.
Nope. No help. I had to resign to the fact that I wasn’t going to solve this one by myself and so I decided to watch the video and follow along. The tricky part, though is that it was a video and not actually a burr tools file I was working with, so I was unable to rotate the puzzle and determining what pieces were going in was a matter of pausing the video at the right time. All this was challenging, but not impossible, so I persisted. But the another problem quickly emerged. The pieces in the video didn’t match the pieces in my puzzle! Some were close, so I made “Best guesses” But, I quickly came to a roadblock because the puzzle in my hands had a bunch extra pieces than the puzzle in the video. Gah! I wasn’t sure I’d ever get this thing together.
That’s when I sent a message to Jerry through Facebook and, Yes, he confirmed that the puzzles were different. Jerry offered to send me the burr tools file and I accepted. Well, that should be the end of the story, but the fact is, This puzzle is quite difficult to assemble even with the burr tools file so I was in for a lot more puzzling.
It probably took me another couple of hours, but I eventually did manage to get this thing together. There was one particularly challenging move, that may frustrate folks. It involved putting two halves of the skull together – which I had to attempt a few times to get it right. One of the halves is pretty secure with only a couple of pieces that can fall out, but the other half must be held, clutched with a tenuous grip, while you try to join the halves without any pieces slipping out of your grasp. I eventually resorted to using little bits of scotch tape in strategic areas to hold certain pieces in place. Be careful with this technique though, because later on those little pieces of tape may prevent critical moves and shifts in the puzzle.
But, overall, the puzzle is doable – It’s kind of like assembling a very difficult lego set – where the pieces don’t always stay together. And I have to say, I’m surprised at how much fun I had following along with the burr tools file. It’s really quite ingenious how the pieces all lock together. And the end result is fantastic. The skull is solid, with a nice weight and a quality feel. this one is going to look great on display.
Thus far in my puzzling career, this has been the first puzzle that I’ve utilized Burr Tools to solve. As such, I expected to feel a bit disappointed in myself, but surprisingly, I don’t feel that way at all. In fact, I had a great experience learning more about the Burr Tools program, and still had lots of fun putting this puzzle together. It’s quite a marvel how all these pieces link together into such a solid unit. I can’t wait to put it up on the puzzle shelf as I’m sure it will receive a lot of comments. Overall, great fun, challenging moves and a standout appearance!
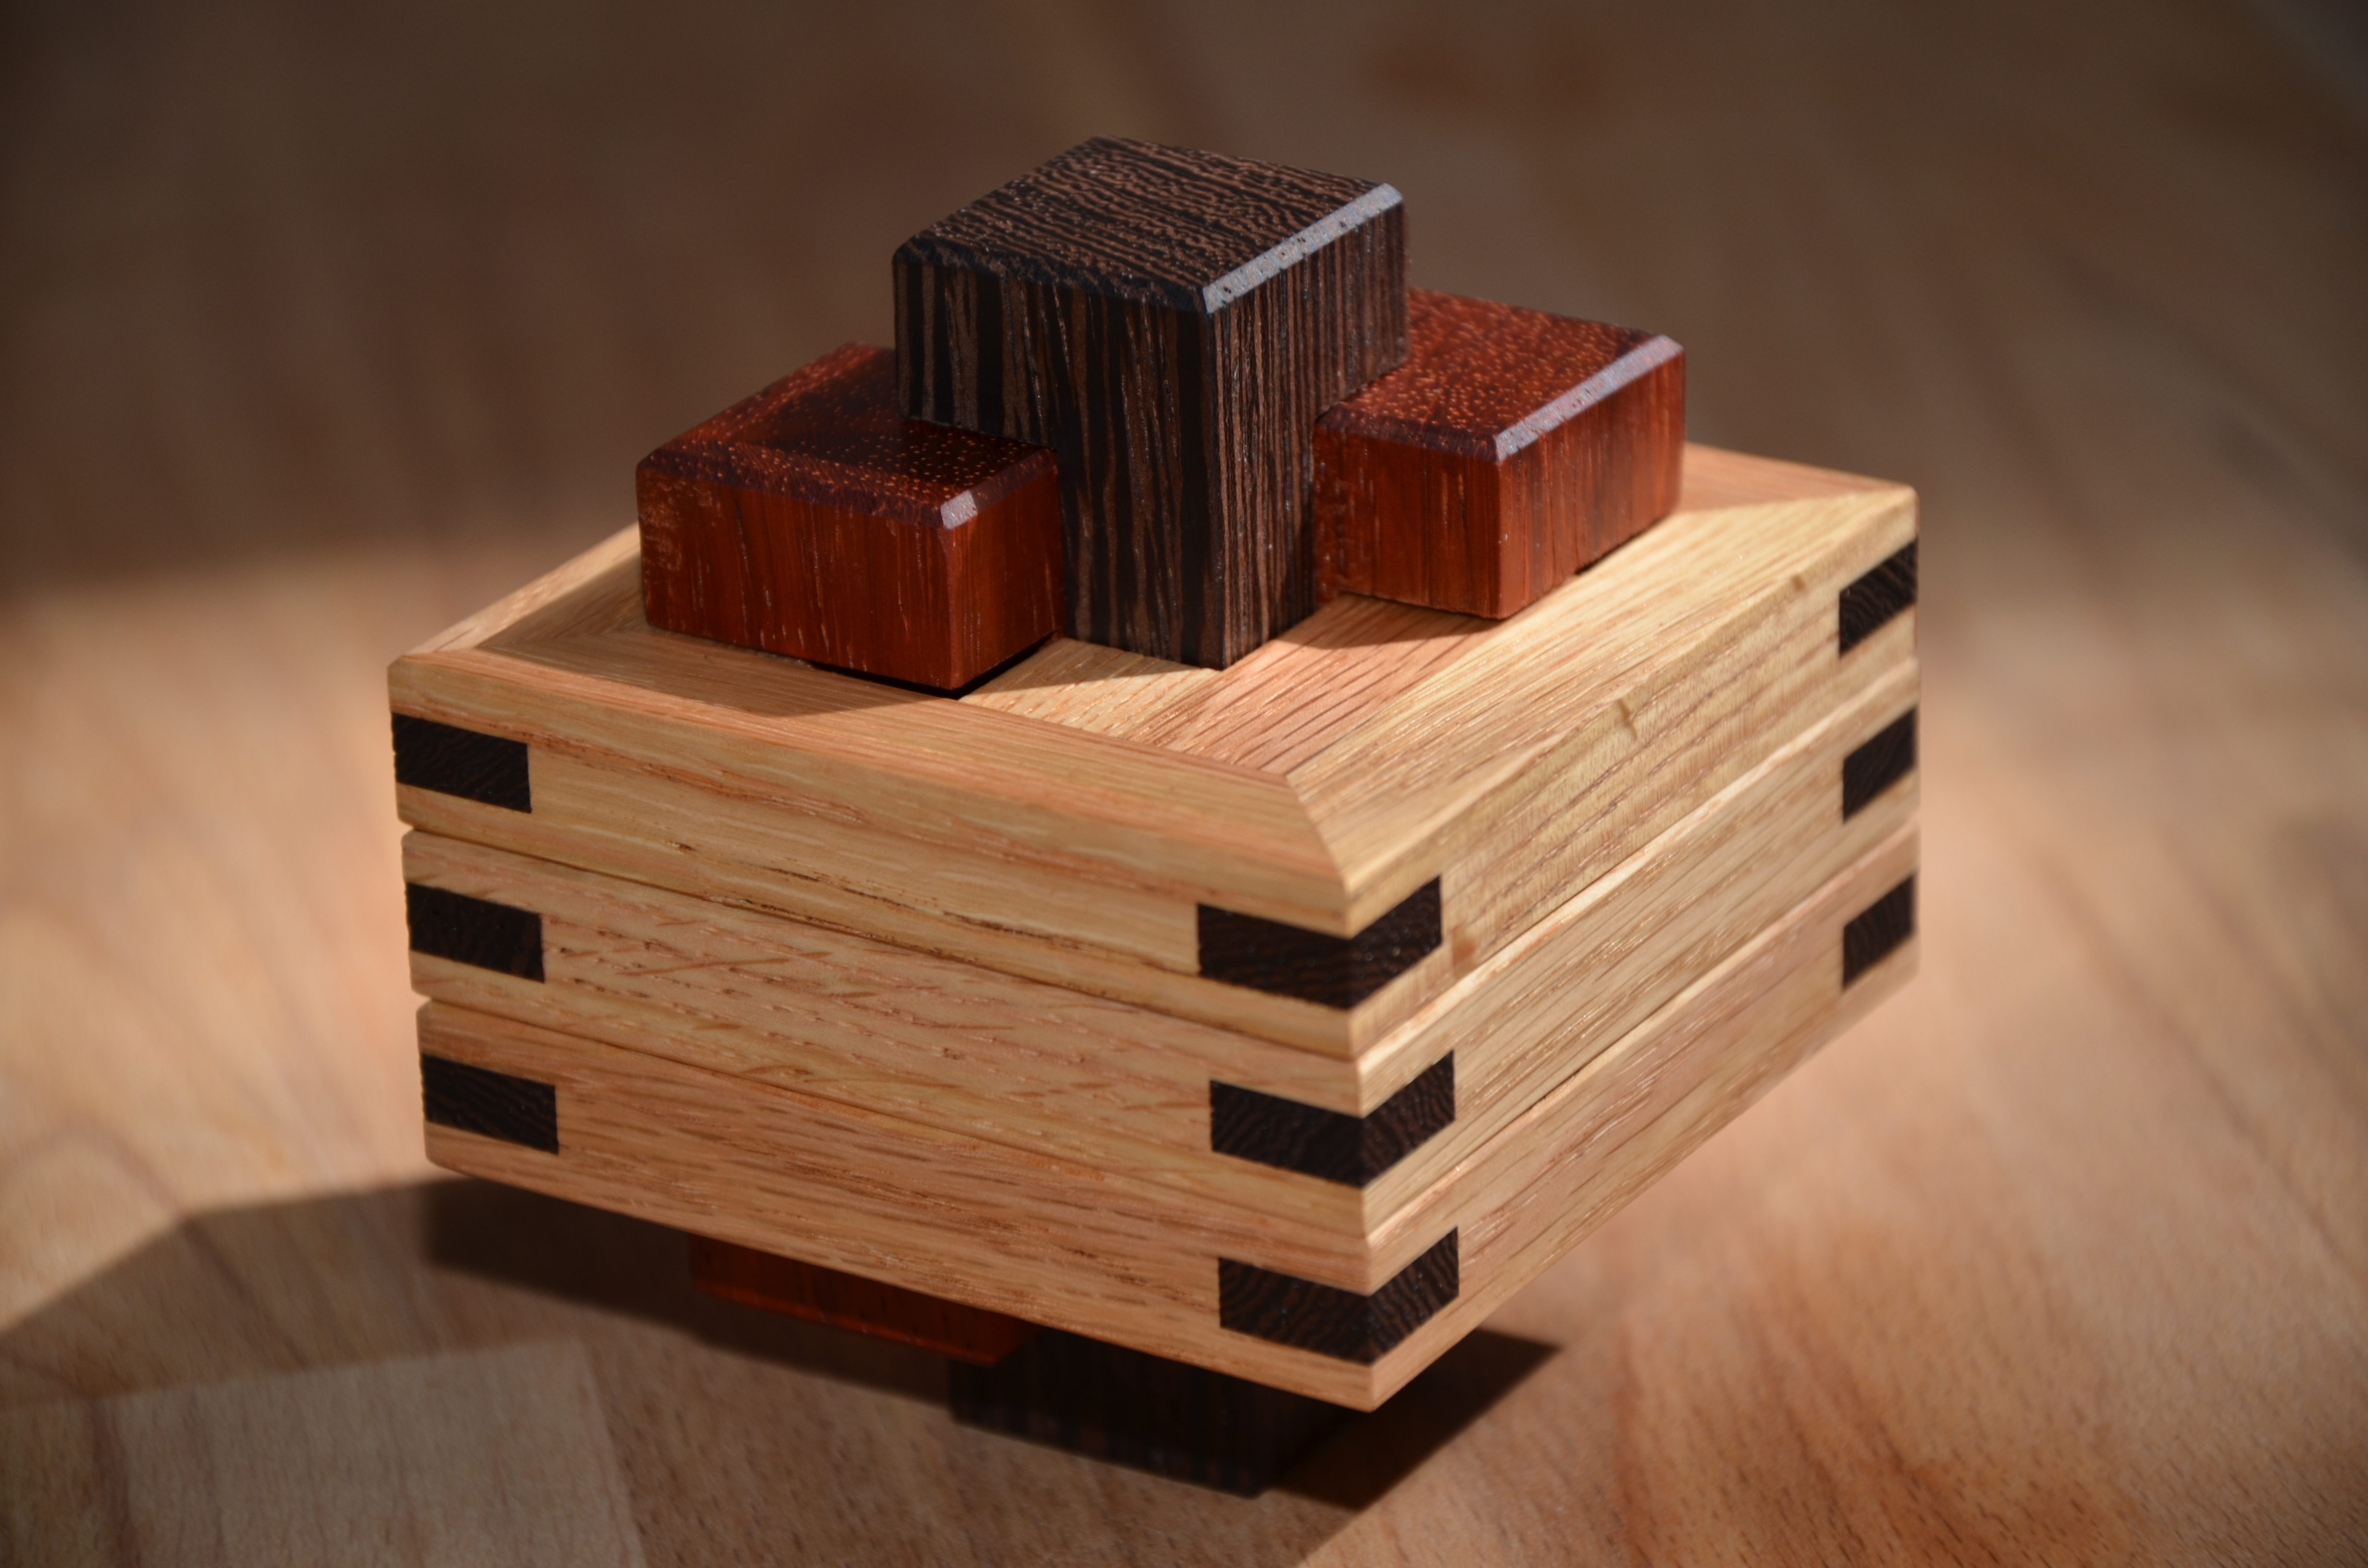
Ok, here we go. We have Teetotum designed Alfons Eyckmans and wonderfully crafted by Pelikan Puzzles. This one has been taunting me from the shelf for several months now and I’ve had enough. This puzzle shall taunt me no longer for I shall step into the ring and conquer it.
Truth be told, I’m a little intimidated by this puzzle. I’ve played with it for a few minutes here and there, but it seemed like there were an enormous amount of moves and possibilities right out of the gate, so I wanted to be sure that I had the time to work on it properly. Now is that time!
But before we begin, I need to comment on the construction of the puzzle. It’s beautiful. The dark splines not only reinforce the corners, but also make a wonderful contrast. And they match the dark wood of the burr sticks. Overall, a very balanced and inviting puzzle that I can’t wait to begin.
Well, It’s now several days later, I haven’t solved the puzzle and I’m way overdue on a blog post. You see, it turns out that this puzzle is rather difficult and in my ignorance, I decided that it would be fun to map out every single possible move available in this puzzle. I thought that I could systematically attack this puzzle, crawl down every path, keep careful notes and alas I would emerge victorious. However, I may have underestimated this undertaking because I’ve now spent many hours on this puzzle and filled many pages of cryptic notes and thus far, I’ve not solved it. But as any man possessed would say “I can’t stop now!”
Oh man. Despite my best efforts, I’ve gotten lost in the puzzle and am currently stuck. I’m not sure whether I’m trying to get back to the beginning or solve the puzzle at this point – I’m just trying to make progress in some direction. But nothing is happening. The pieces are all jumbled up and I can’t seem to find the key move.
And then, an “oh sh!t” moment occurs. I guess I was trying to get back to the start, since when I accidentally released a piece, my reaction wasn’t “yay I did it”, it was “oh sh!t”.
Whew. That was a tense few minutes there, but I did manage to get the puzzle back to the start. I believe that I was getting close to removing the first piece, but I majorly chickened out when I realized that I had no idea how to reverse the position. I have the first 15 or so moves written down and tracked out, but the puzzle gets a little weird at that point. It doesn’t fall apart, but it gets looser so its really easy to make unintentional moves and thus loose track of what’s happening.
I’m anticipating that this one will come apart in a similar manner as “Wourie” did – and that is, a single piece is not release, rather the puzzle gets to a point where it can be separated into two parts. We shall see.
Well, I’ve fiddled and I’ve floundered. I’m no closer to the solution than I was before – and that makes me happy. I need a good challenge and this appears to be it. I had one of those great puzzling moments where I was deep into the sequence, I was focused, I was nearing the finish line – and suddenly a move opened up and as I was preparing for my A-Ha moment – and then – my bubble was burst and I realized that I was right back at the start. Dammit!
Ok, After the last paragraph, I spent another 30-40 minutes and have gotten back to what I think is “close to the end”. It’s quite amazing how many different configurations these 6 pieces can move through. I’ve got the puzzle to a point where one of the burr sticks is almost completely removed, it is only entangled in one remaining plate. I believe that I am close to the end and I’m excited to finally get this puzzle done!
Bah!!! Once again, in an effort to solve this beast, I unintentionally circled back around to the start! This is one tough puzzle!
Ok. It’s now a couple of days later and I’ve FINALLY solved this puzzle. It is definitely not easy and took a determined effort, but I’ve done it. For the longest time, I was stuck in one particular spot where one of the burr pieces had cleared 2 of the plates. This configuration felt like it was close to the end, but no matter how I manipulated the pieces, I just couldn’t find a path forward. I was pretty certain that I was on the right path, but was filled with self-doubt since nothing was working. I contemplated starting over as I wondered if this was just an elaborate dead-end, but sure enough, there was a way forward. I’m not sure if this is the intended solution, but my solution required rotating the plates to a different orientation. I was trying to solve this without rotating the plates, but in the end this was the only way I could solve it.
Now, let’s see if I can get it back together – hopefully some of the 8,000 pictures I took will reveal enough clues for me to put it back together. Here goes….
And done. It took about 15 minutes to get this back together WITH the aid of pictures – I can’t even imagine putting this thing together blind – It’s certainly beyond my ability to do so. I’m just happy that I got it apart and back together!
Whelp. That concludes this puzzle write-up. Teetotum was quite difficult, but what an amazing journey! I’m fairly certain that those plate rotation are required, but would be interested to know if others had the same experience as me. I didn’t have quite the desired A-ha moment, it was more like a “Finally!” moment after all those hours of searching, but in the end, this one feels good. I can now proudly place this back on the shelf and check off yet another one of my unsolved puzzles. Until next time – Puzzle On!
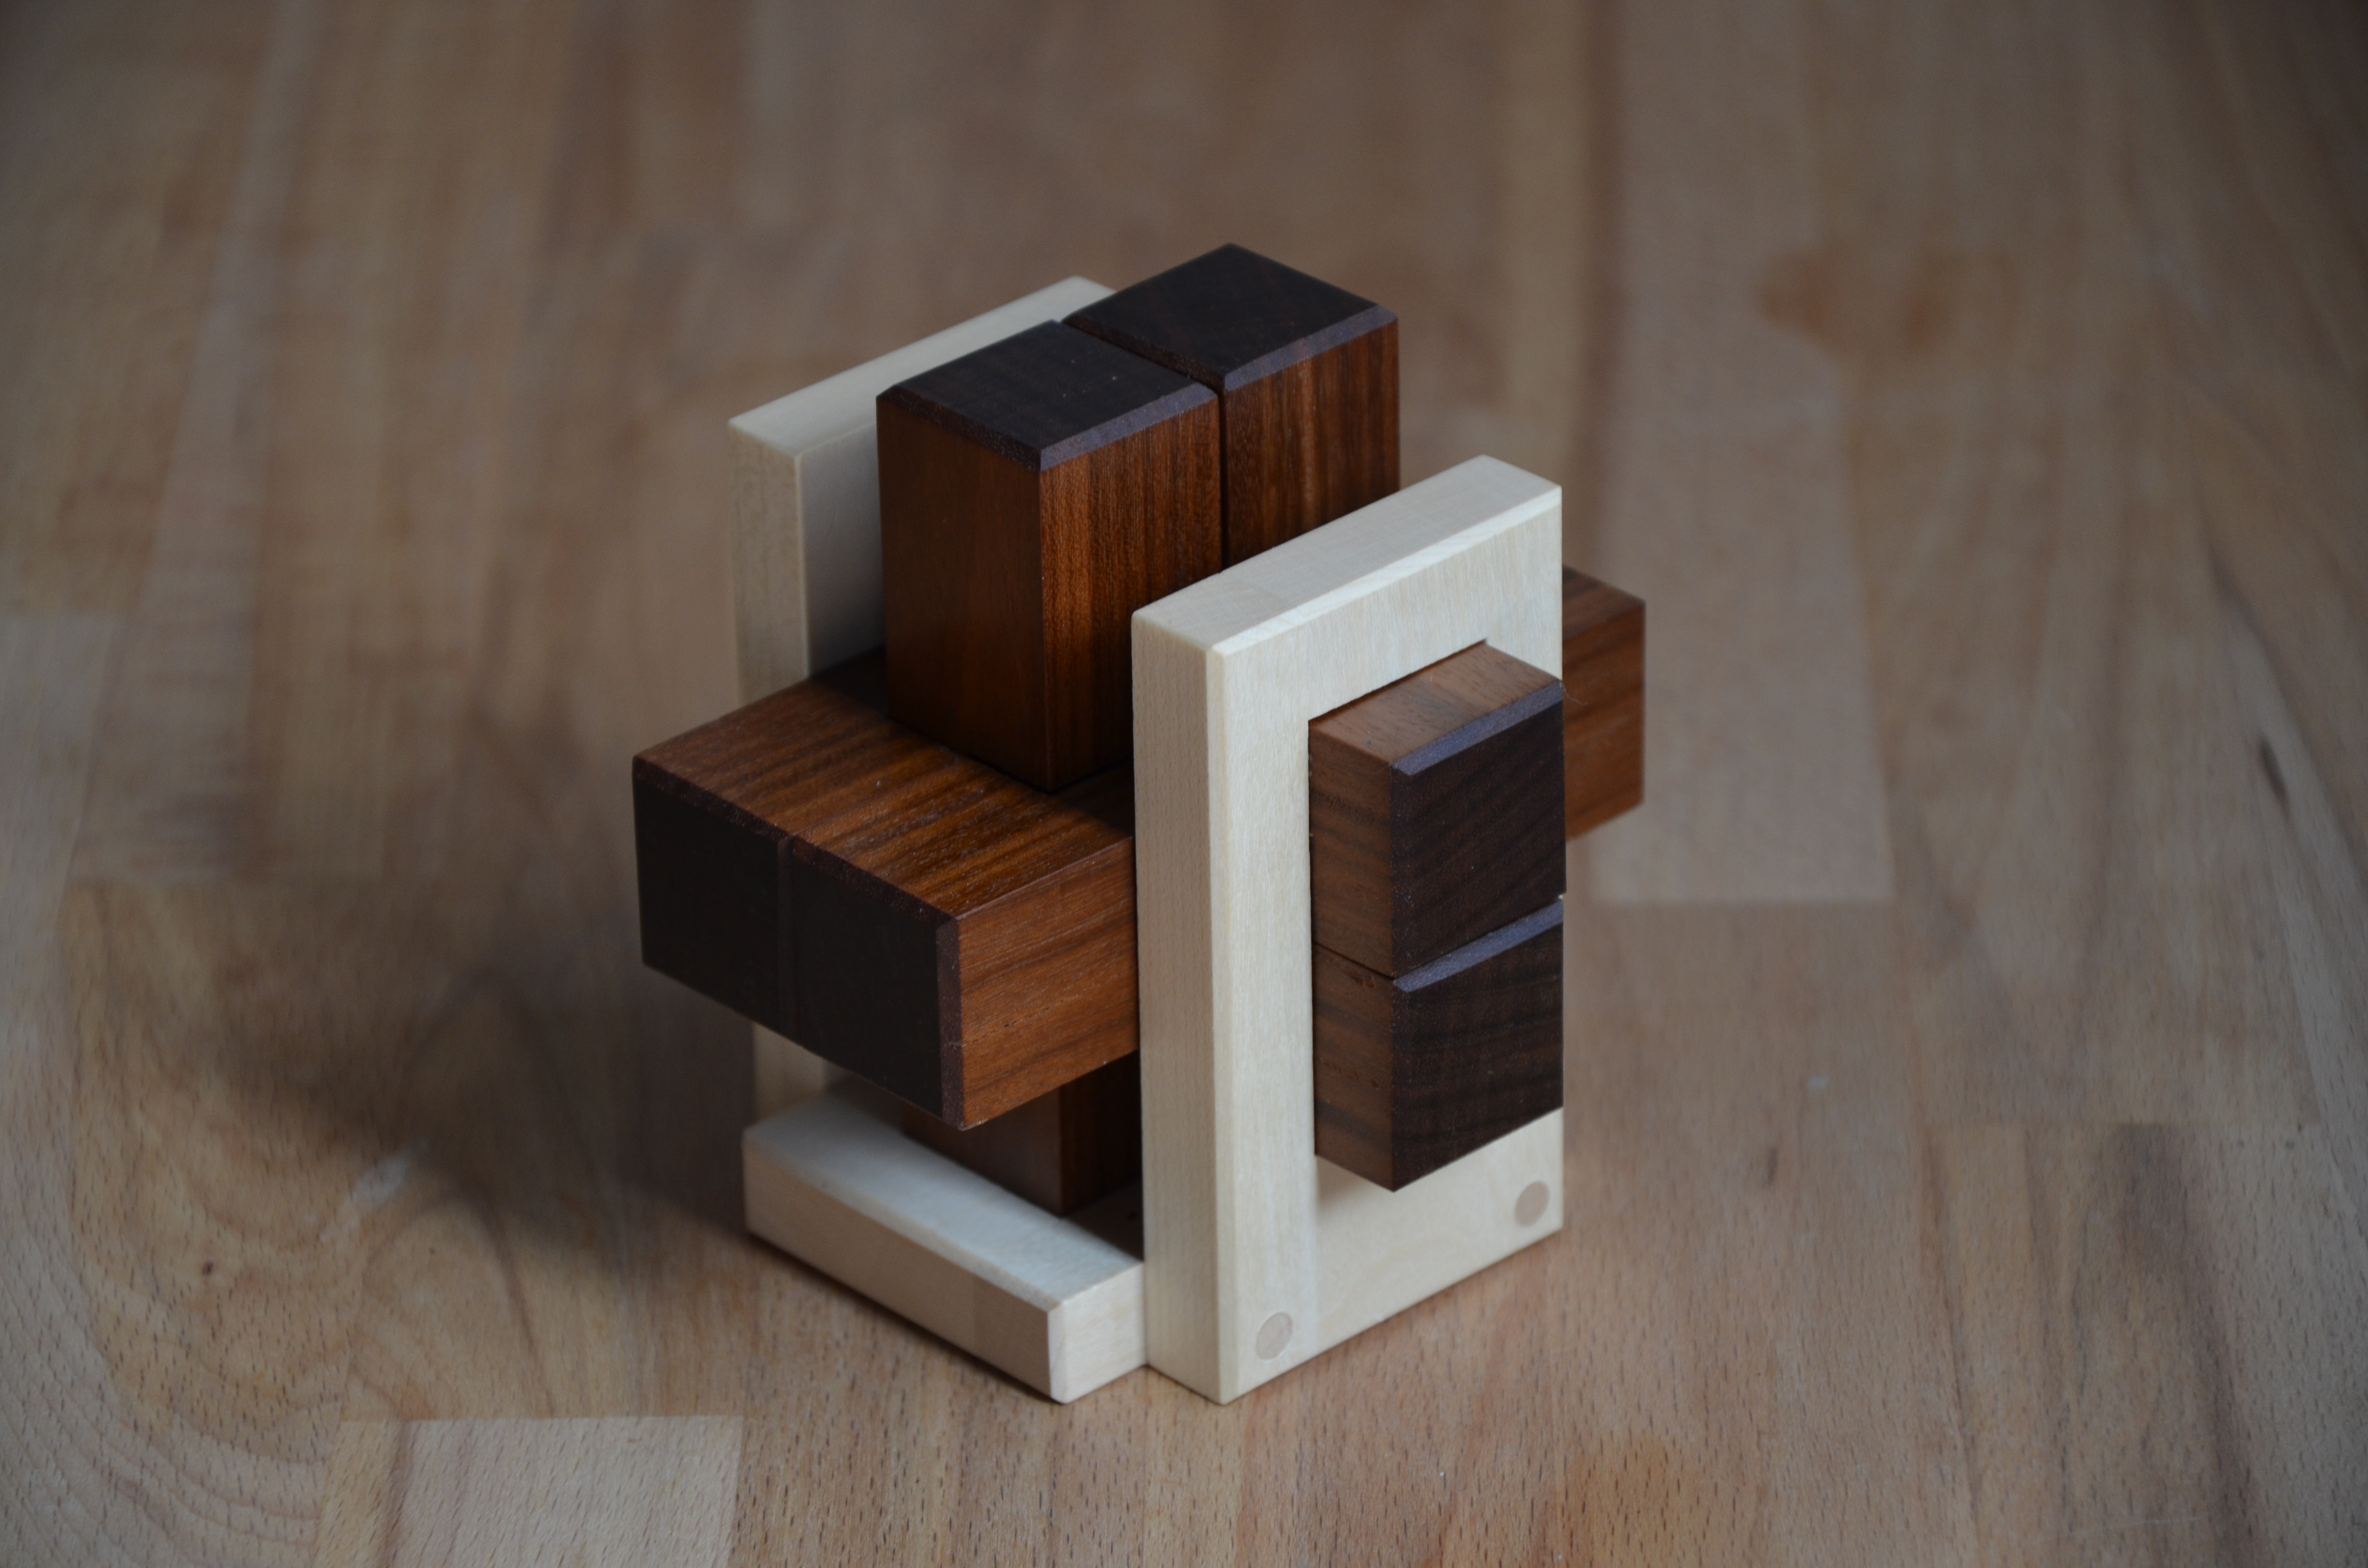
Wooo yeah. I’m still buzzing from having just completed Blocage, design by Stephane Chomine and handmade by Pelikan Puzzles. This is one super fun puzzle! Oh my!
First off, this puzzle is beautifully crafted. I chose the Ipe/Maple variation and I’m very pleased with it. Ipe is a a very heavy and strong Brazilian Walnut that makes for perfect burr sticks. The Ipe pieces feel heavy and they slide in and out of place with an audible ‘thunk’ which is very pleasing when manipulating this puzzle. The dark color also contrasts very nicely with the maple frame. This is a striking puzzle that stands out on my shelf.
This one really connected with me. The process of solving this type of puzzle seems to click with my brain. It’s quite simple really, you just try all the combinations available at every step and explore every path to the end. But despite being simple in concept, it’s somehow delightful when you finally discover an overlooked move (which is inevitable). Is it the flawed human brain that makes these puzzles fun ? Perhaps.
The opening moves are great. There are a few different paths to go down, but you know you are on the right track when you hear the audible ‘thunk’ of a particular burr piece succumbing to gravity. The next sequence of moves yields a second audible ‘thunk’ as a second piece falls into position. The end is not too far away from this point, but there are a few clever moves one has to navigate in order to reach the solution.
There are really just a ton of clever moves packed into this puzzle – down to the final two pieces which need to perform a bit of a dance to be released. Once all the pieces have been removed, it is time to put them back.
Re-assembly is simple – it’s just the reverse of dis-assembly. That is, assuming you memorized the moves or wrote them down. However, if you want to squeeze the most life out of this puzzle, it is recommended to assemble from scratch with no help. I’ve yet to take on this challenge, but have added this puzzle to the “to be continued” pile.
Overall, this puzzle is super solid and very fun. It feels sturdy, like a piece of furniture, and the craftsmanship is, as always, top notch. It has enough clever moves to feel challenging, but it doesn’t stump for long (at least with dis-assembly). With some perseverance, I think just about anyone could solve this one eventually and experience the rush of hard fought success.
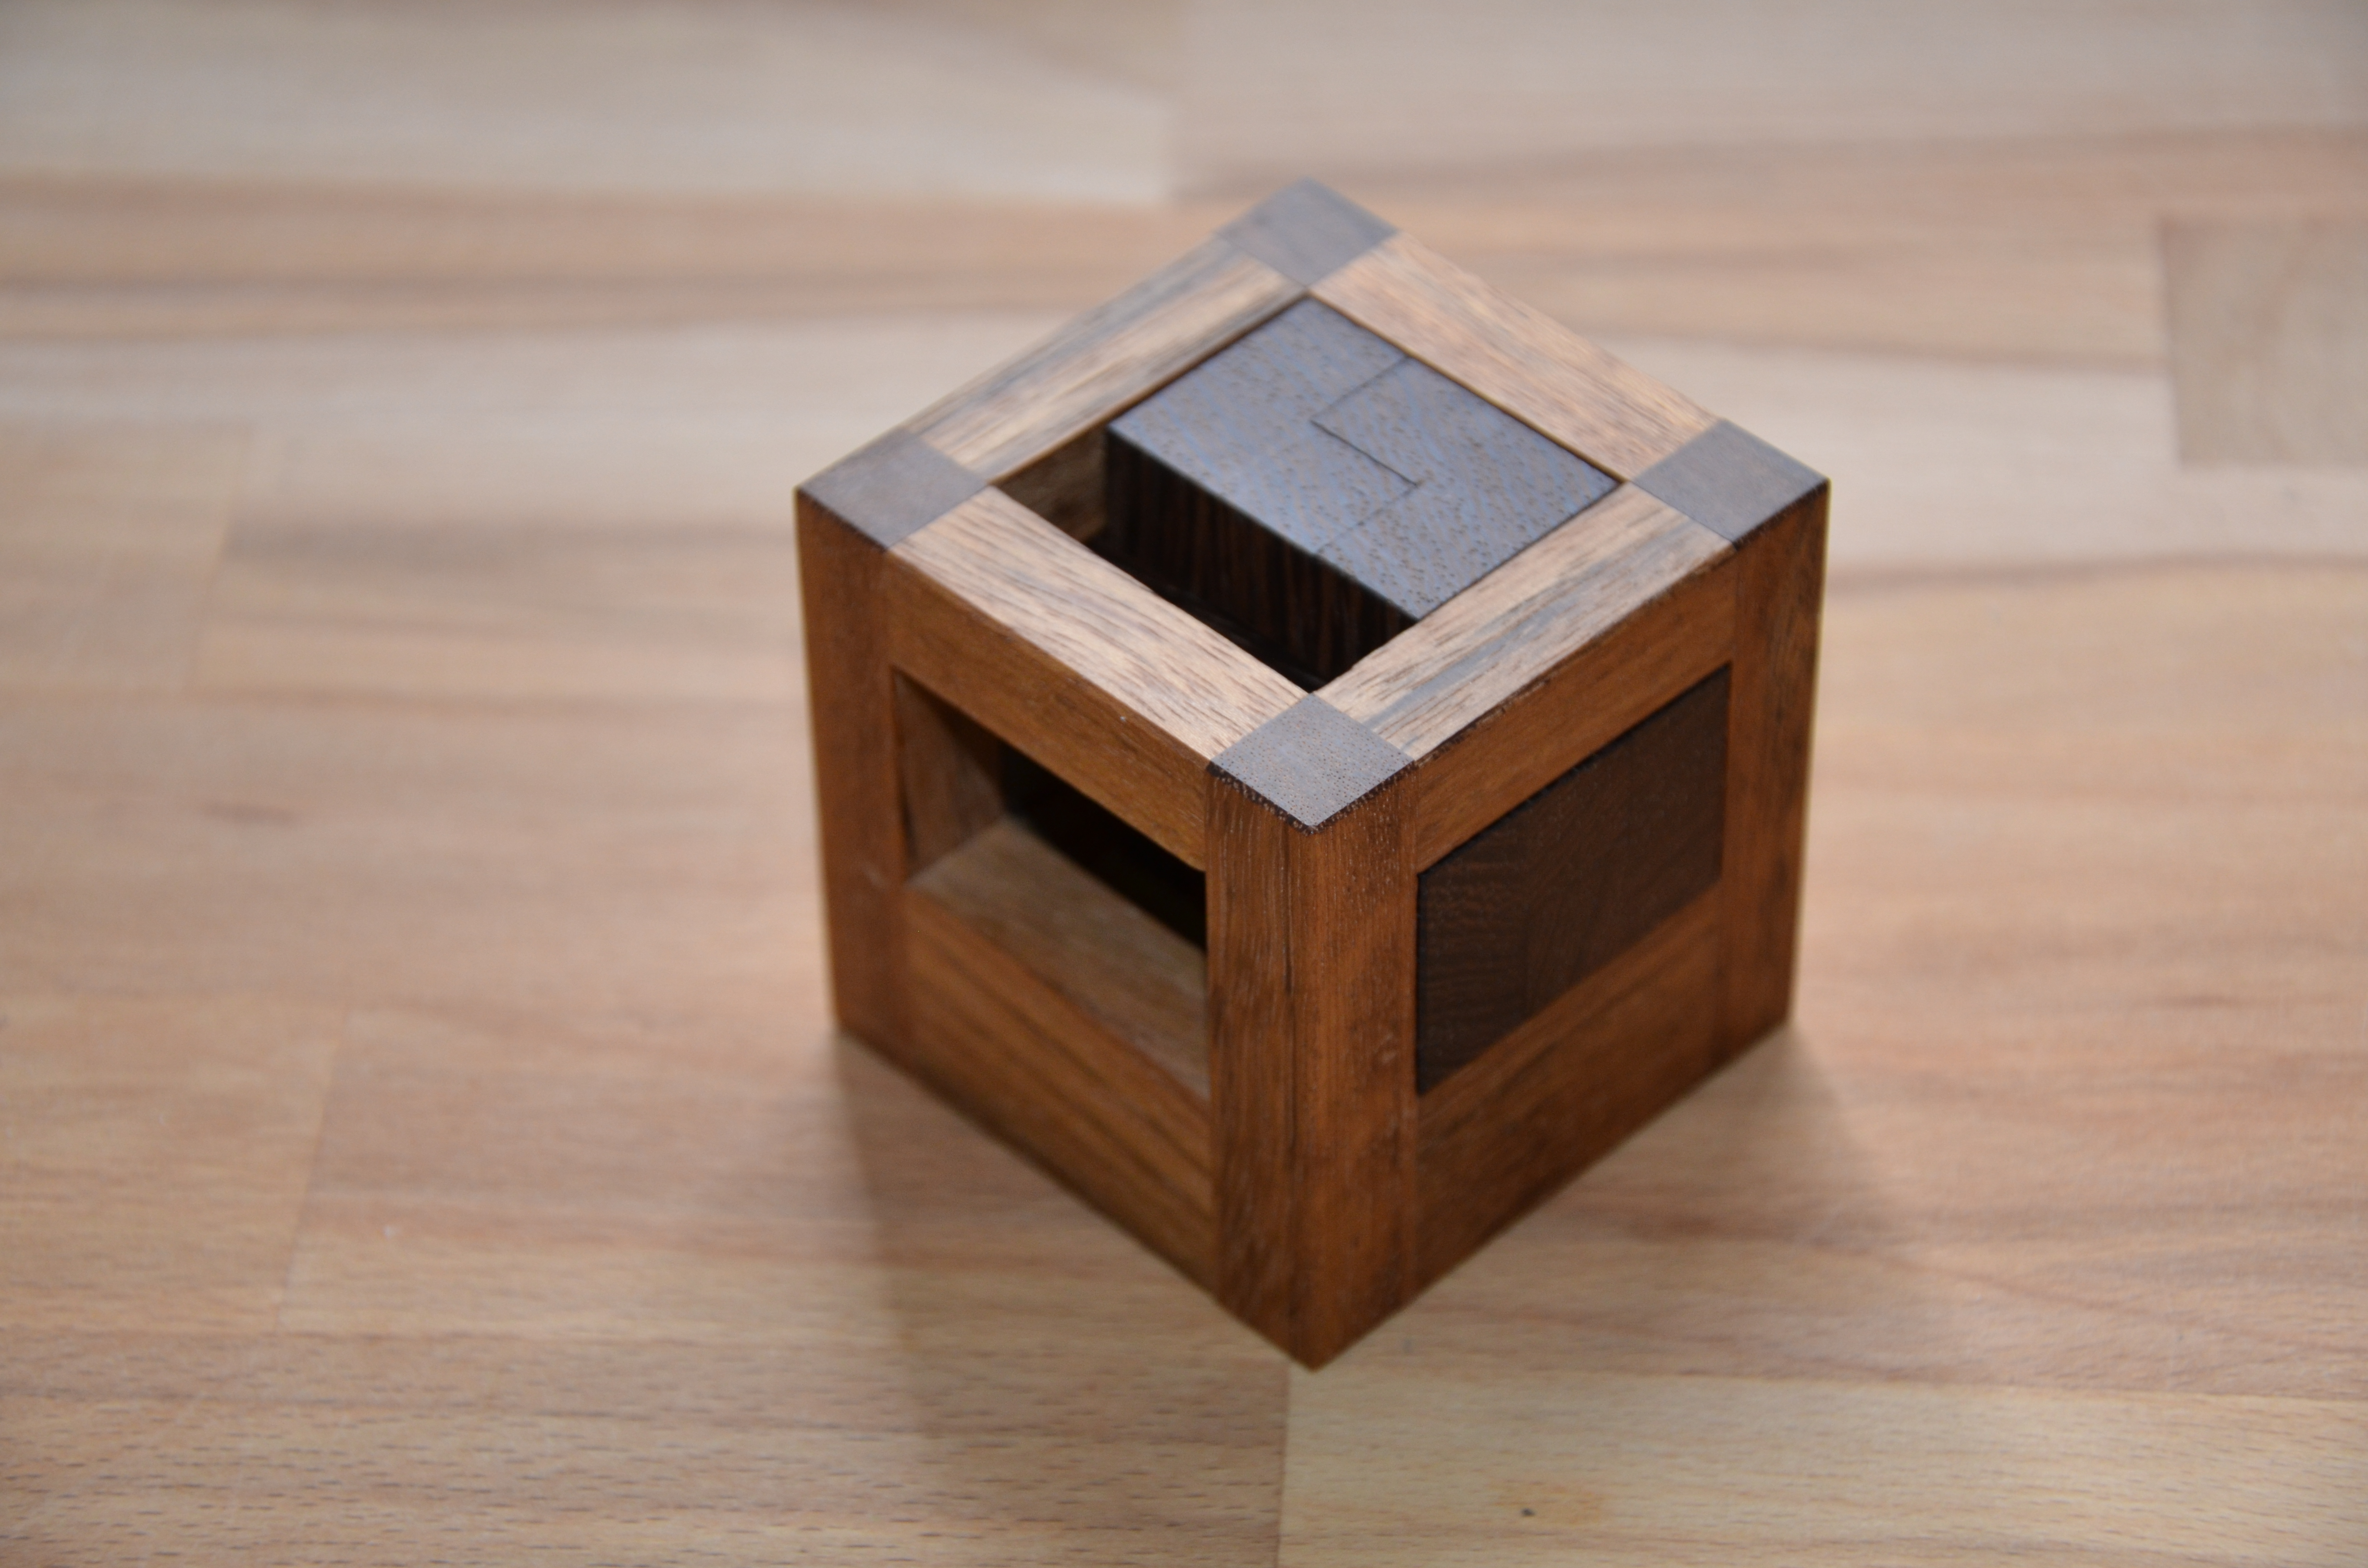
YyYy – All right. Here we go. Time to go on a journey with YyYy designed by Osanori Yamamoto and brilliantly crafted by Jakub at Pelikan Puzzles. This one has me intrigued. I haven’t played with it hardly at all. I’ve spent maybe 2 minutes playing with this thing and in that 2 minutes, I was able to get the cube more scrambled than anticipated. The first little move took a few seconds, but then everything started moving and, oh my god, it was getting all mixed up and , holy crap, I have to pay attention and get it back to the start..
Well the time is right and I’m ready to focus my energy and really see what this here puzzle has got going for it. I’ve got some nice tunes on the turntable and a drink in my glass, the kids are asleep and I’ve got the evening ahead of me. I’m ready to get lost in this thing.
Oh man. 5 minutes in and i’m so confused and intrigued. I can’t quite figure out what the pieces are shaped like. They seem to hook on each other, but also slide into each other when positioned correctly. I’d also like to state for the record – this puzzle is gorgeous. It really is. Its got a good weight to it and somehow Pelikan puzzles are always so smooth. They are not only beautiful, but the pieces glide against each other and within the frame, and there is never a hint of binding. Ok, it’s calling me, so I gotta go back for more.
Well Damn. color me stumped. What seemed like a dangerous never-ending pit turned out to be only about 4 moves deep in 2 directions. Neither direction yielded any further development. What was initially scary unknown terrain soon became very familiar ruts from one dead end to another. There has to be another path hidden in the movements. I don’t know if I’ll find it tonight.
And I didn’t. I was stumped and set the puzzle back on the shelf to try again another day. Several days went by and occasionally I’d pick the puzzle up and tinker with it, but I never got any further than the original dead end. I was practically carving grooves in the wood from tracing the same path over and over. There just didn’t seem to be any other options available.
Finally, one day, I had the puzzle in my lap and of course, like any other puzzle solving story, I tried a move that I hadn’t tried before(duh). And what do ya know? It worked. With just one additional little move that I hadn’t seen, I was now able to make a second move, and a third, and a forth and just like that, a piece was free. Wow, that was pretty cool. That hidden move was staring me in the face the whole time and I never tried it.
After the first piece is removed, the rest come out easily and the puzzle is solved. And I have to say, I’m amazed. I’m amazed because the puzzle is so simple. Holding the pieces in my hand reveals all the shapes and I really appreciate this puzzle because of its simplicity. The cage is completely straightforward, there are no hidden cubes or protrusions, its a simple, basic cage (albeit totally gorgeous). The pieces are also very straightforward, they do fit nicely together, but I’m just amazed that something made of such simple components can harbor such interesting moves.
Overall, this puzzle is great. Its hard enough to call challenging and its pretty enough to call beautiful. I choose the Wenge/Ovangkol variant, and I absolutely love the tone and grain of the Ovangkol. I think it really pairs nicely with the Wenge burr pieces. As always, the craftsmanship is perfect. Everything sits perfectly flush and it is a delight to handle.
Well that wraps up another blog post and another completed puzzle. I’ve got a shelf full of unsolved puzzles and more arriving in the mail this week. Upcoming are new puzzles from Rombol, Pelikan and Pluredro, so please stay tuned and check back in. I’m working on adding a subscribe button to the blog, but in the meantime, you can stay up to date by following this page on facebook!
2 Rings is a puzzle that was made by Eric Fuller and was sold back in October. The October batch of puzzles at cubicdissection was especially strong and it seems to me that this puzzle didn’t receive the attention it deserved. I wanted to make sure I got this writeup in before it got lost in the never-ending wave of new puzzles.
Straight out of the gate, this puzzle is stunning. The wood choices are spot on and the craftsmanship is truly impressive. Eric spliced in these strengthening corner pieces (sorry don’t know the technical term) that add great accents, but also create an extremely strong and rigid frame. This is important with this puzzle because it is very easy to accidentally generate a lot of leverage and force while manipulating the two pieces. I can imagine that this exact puzzle built with lesser standards might snap or break if someone torqued on it enough.
Outside of the beautiful aesthetics, this is also a very fun puzzle to play with. I didn’t find it too difficult, but I really enjoyed that it stretched my thinking. There was something exciting about rotating the pieces in a 3 dimensional space and navigating this 3 dimensional maze. I also really like the fact that the puzzle has open sight lines. So many puzzles hide their movements inside a box, but here you can see everything and freely rotate the puzzle to view from all angles.
The puzzle arrived in a “incorrectly” completed state – that is, the two rings were together, but they were incorrectly oriented and the magnets were resisting each other. The first step was then to separate the rings. This was not too difficult of a challenge, but I wasn’t done yet. I still had to correctly assemble the rings. I made several attempts and several times found myself back at the beginning.
There is an obvious spot where the two rings can connect and disconnect. I found myself connecting them together, manipulating the rings through several moves and rotations to the point where I felt I was going to solve it – and then, suddenly, I’d be back at the connect/disconnect spot. Hmm. How frustrating!
After a few more attempts, I finally found my way to the end of the puzzle and that satisfying “snap” as the magnets came together. I would guess that there are a few separate solutions for this puzzle, and I’m not sure of the exact moves I used. I just kept moving forward and eventually found the solution.
As a kid, I always loved mazes and this puzzle brought me back to those roots. The two pieces have to be manipulated correctly through a sort of 3d maze. Since the magnets are visible, it is fairly obvious what the completed state will look like, so the difficulty lies in the journey to the completed state, which, in my mind, was very similar to solving a maze. Manipulate the pieces until a dead end is reached – backtrack to the previous junction, try the other path and continue on and on until the end.
Solving this puzzle is great – the two rings really “snap” together as the high strength magnets find each other. The magnets also make the first move very tricky to find when disassembling the puzzle. I’ve had this one sitting on the shelf for a few weeks and each time I pick it up, it takes me a few minutes to find the first move. It takes some real force in one specific direction to break them free.
To me this puzzle acts as a proof of concept. I think it is a clever idea with unique manipulations, but I also think that the idea could evolve into something even better. I’d love to see what “3 rings” would look like, or what if the voxels were smaller, or what if the faces were curved to invite unique rotations? I really think there could be many future possibilities using this same concept of open, interlocked rings.
Today, I have the Inelegant Cube designed by Haym Hirsh and beautifully crafted by Brian Menold at Woodwondersonline. This particular version of the puzzle was crafted using Red Louro, Yellowheart and Wenge pieces. It was $5 more than the other version, but I thought the extra pop from the yellowheart was really worth it. Once assembled, this puzzle displays beautifully on the shelf thanks to the included stand. The stand was also very helpful in the assembly process.
The puzzle is comprised of 9 “L shaped” pieces which are each made from 3 identically shaped blocks. However, those 3 blocks are glued together in many different configurations so each of the 9 pieces is unique.
This was a very challenging puzzle for me. I haven’t worked on a puzzle like this before, so I didn’t have much strategy going into it. A typical session would involve me randomly placing pieces onto the stand in hopes that I would magically arrive at the solution. This strategy didn’t work well and I would often give up after only a few minutes of effort. I didn’t seem to be making any progress and furthermore, I wasn’t eliminating any possibilities either.
At one point, while I was working on a solution, I put two pieces together and they just seemed correct. Finally, I had something to work with and had a tiny bit of hope. This hope soon fizzled out when I fumbled the puzzle and lost track of those two pieces that seemed to fit together so well. Once again, I gave up and shelved the puzzle.
I then decided to bring the puzzle to work and in between work tasks, I was able to spend a bit of time working on things. After what seemed like an eternity, I slowly started to work out a strategy.
There were a few key factors that started to help me push towards a solution. The first was that all the sides had to be level. This seems obvious now, but for some reason it took me a while to realize this. Accordingly, if the sides had to be level, then any configuration where sides aren’t level can be thrown out. The second factor is that the wood types do not have to alternate. For a long time I assumed that two pieces of the same wood type couldn’t sit next to each other, but eventually I determined that this was false. The third factor was using the base as a guide to how much overhang the pieces required. The puzzle doesn’t fit perfectly on the base, rather it has a slight overhang, thus if any configurations produced a larger or smaller overhang, I knew they were not correct.
Armed with these realizations, I began a more methodical process of trial and error. I soon had one side of the cube completed in what I thought was the correct configuration. With one side complete, it was just a matter of time to correctly place the remaining blocks. However, as it turns out, I did not have the first side correct and so my trial and error process eventually ended with no solution and no remaining combinations to try. Failure again!
Back to the drawing board I went. I re-examined my “correct side” and discovered that there were a couple of pieces that I could swap out which then led to additional combinations to attempt.
Finally, after many days of work, I slid that last piece in and the puzzle was correctly assembled. Wow. What a fun puzzle to complete!
This puzzle was a major challenge for me. I didn’t have much experience to draw from and thus didn’t have much of a strategy to start. I felt rather helpless in my first handful of attempts and it wasn’t until those first 2 pieces fit together that I felt a glimmer of hope. In the end, it was the process of elimination that allowed me to find the solution.
I really enjoyed this puzzle and despite its’ name, I found it to be quite elegant.