Solved
-
Read More: Blocage – Stéphane ChomineWooo yeah. I’m still buzzing from having just completed Blocage, design by Stephane Chomine and…
-

Read More: Doable 12 – Junichi YananoseWooooo boy. This week, I have Doable 12 created by Juno over at Pluredro. This…
-
Read More: YyYy – Osanori YamamotoYyYy – All right. Here we go. Time to go on a journey with YyYy…
-
Read More: 2 Rings – Chi-Ren Chen2 Rings is a puzzle that was made by Eric Fuller and was sold back…
-

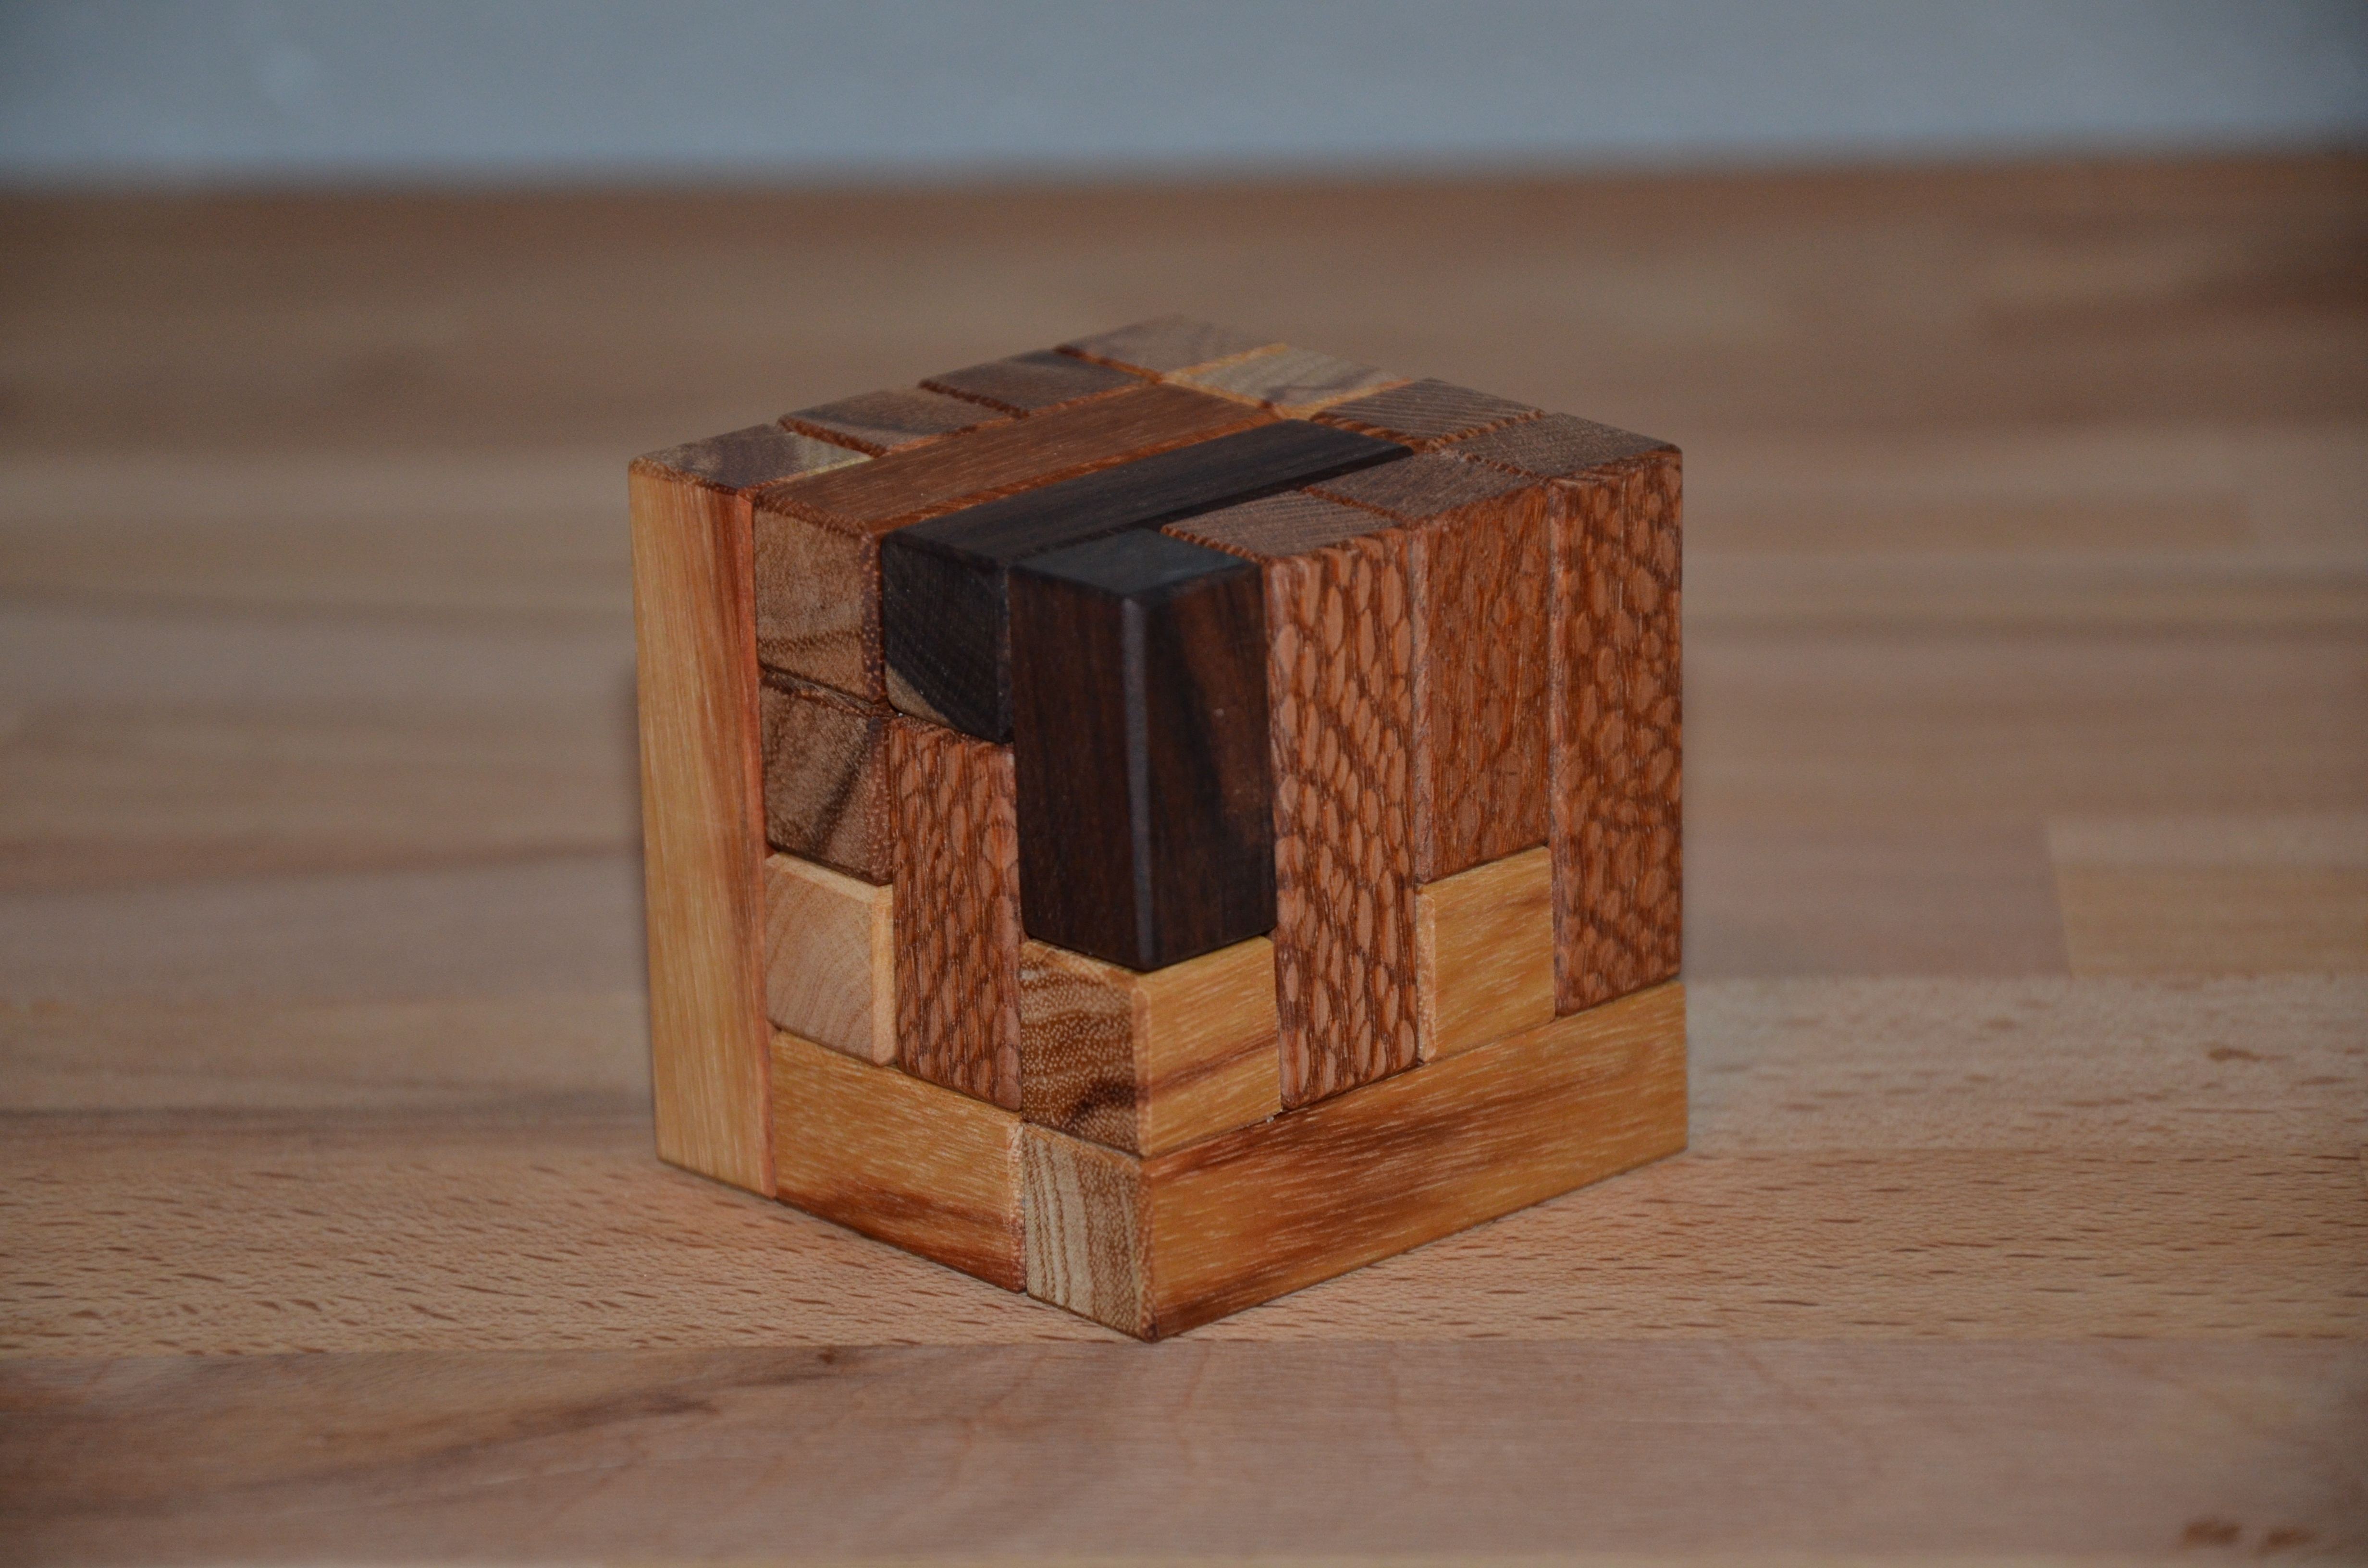
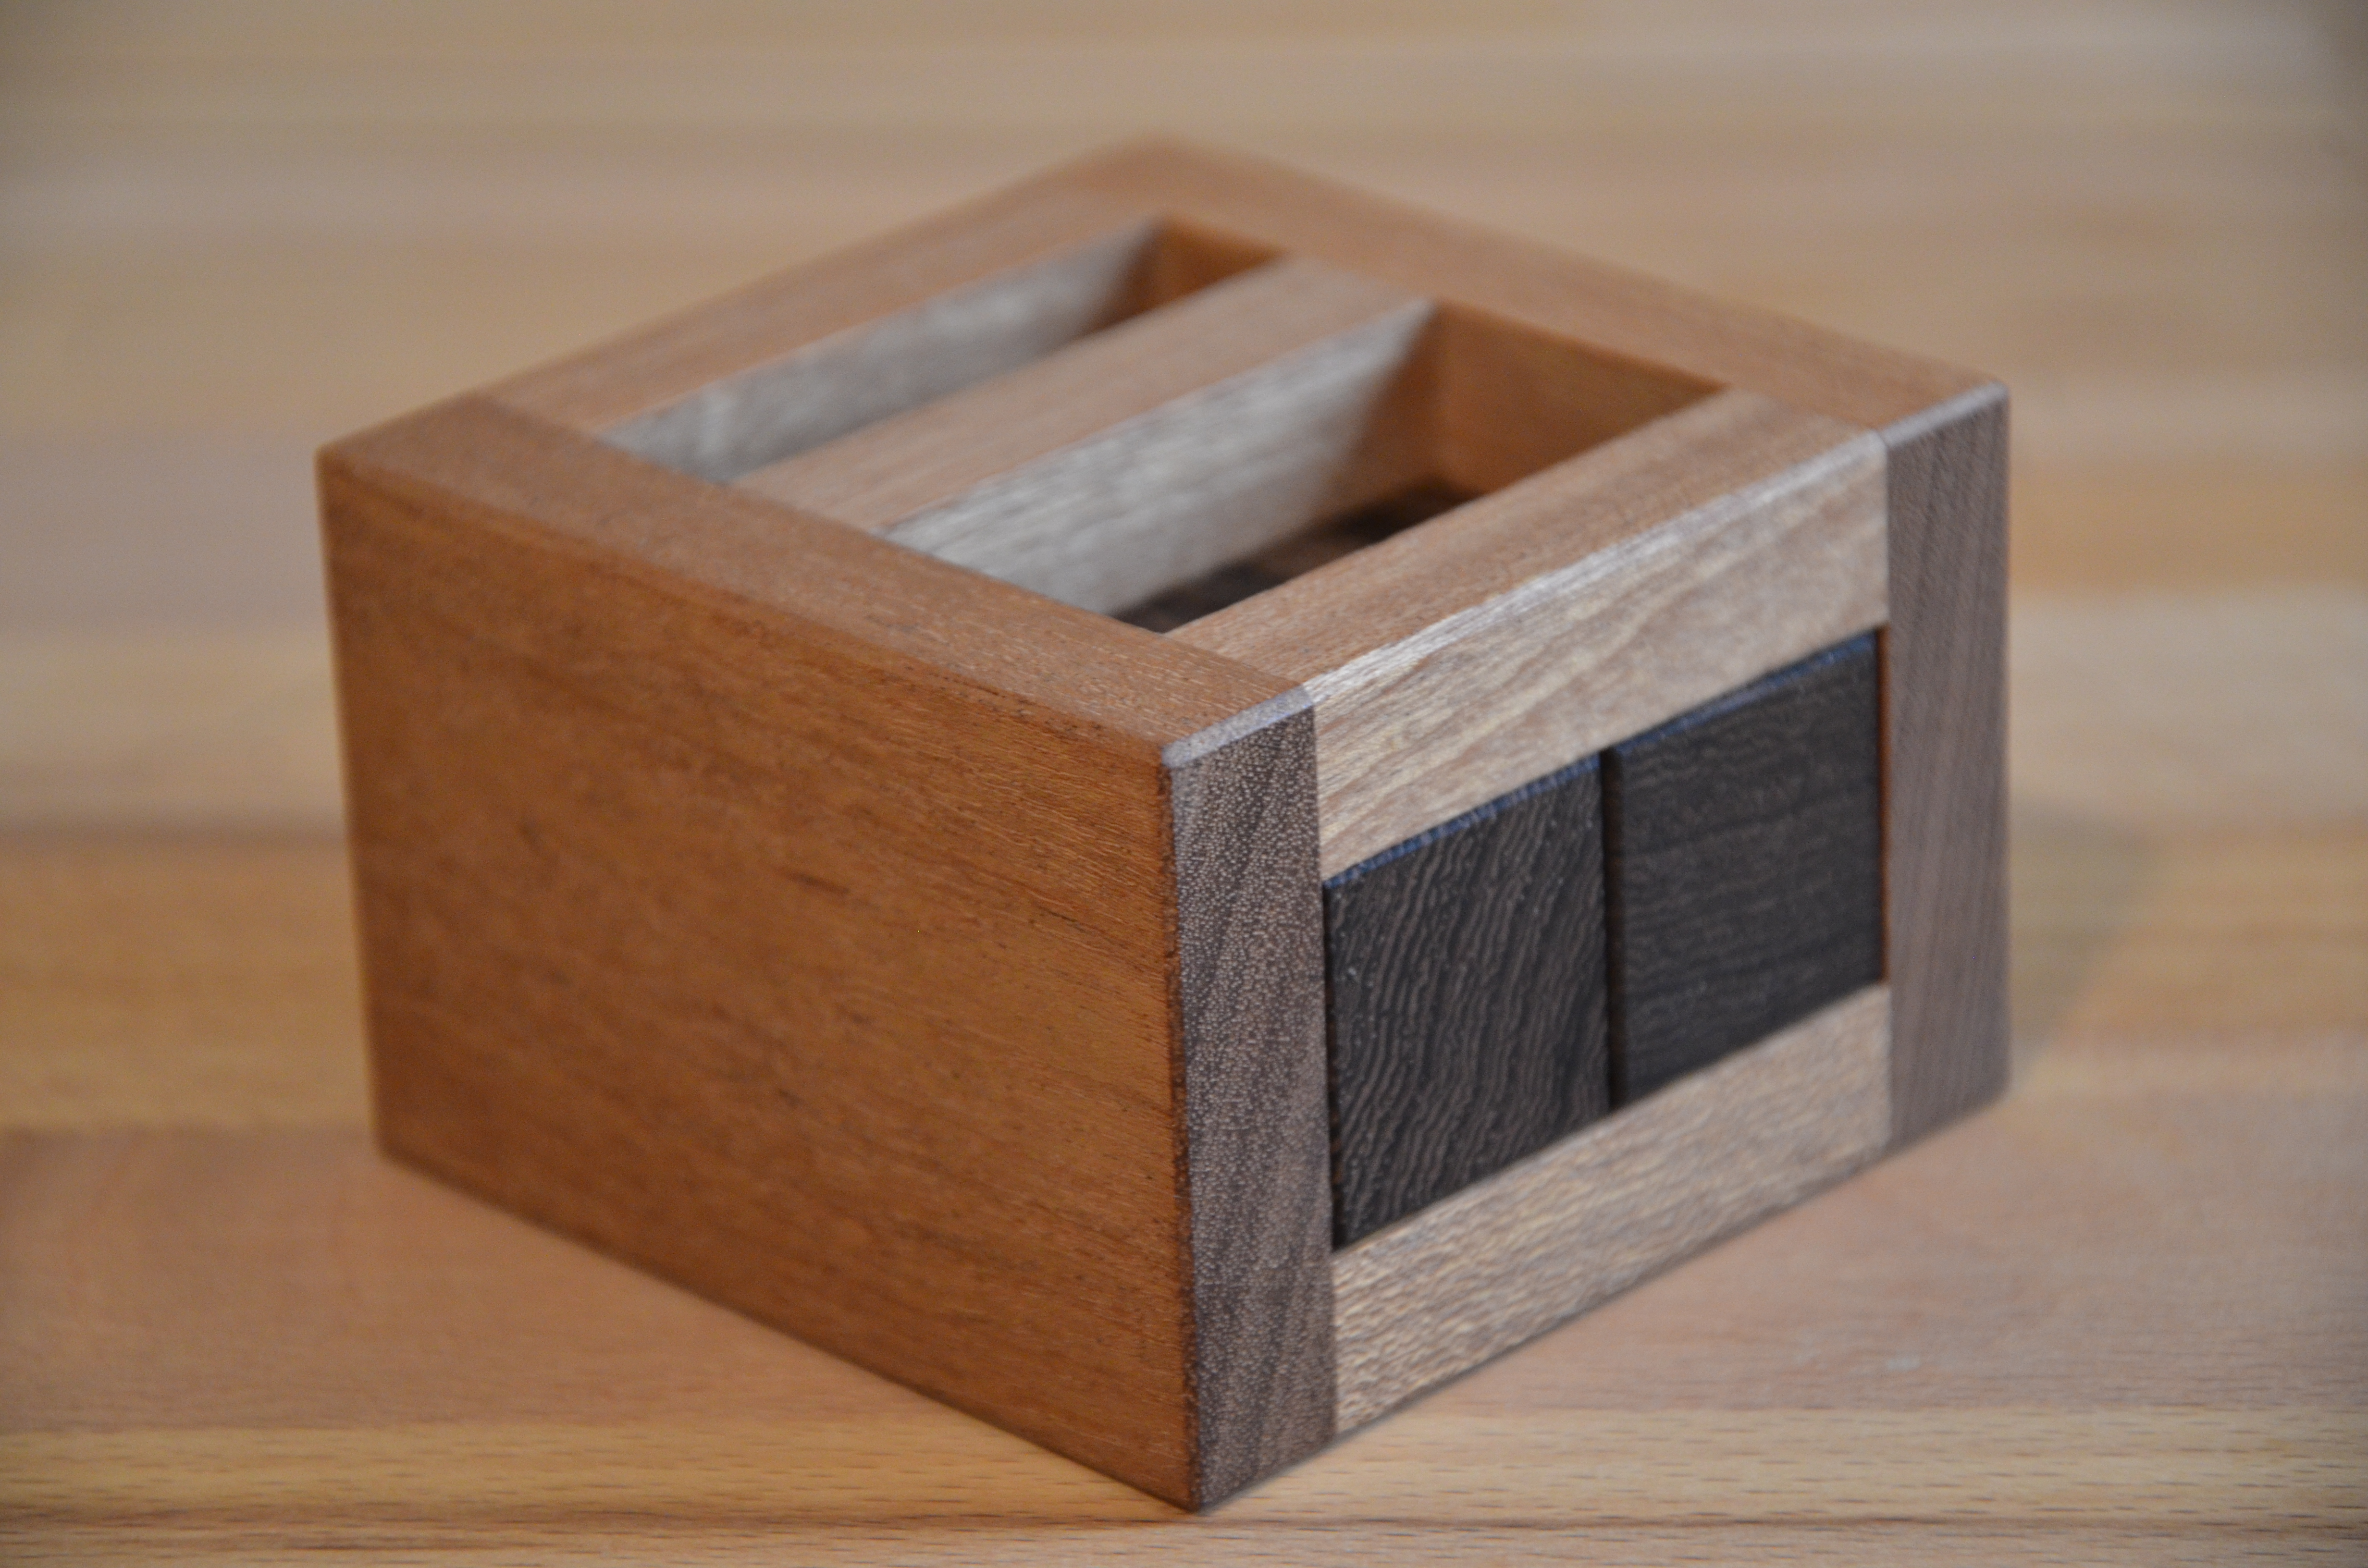
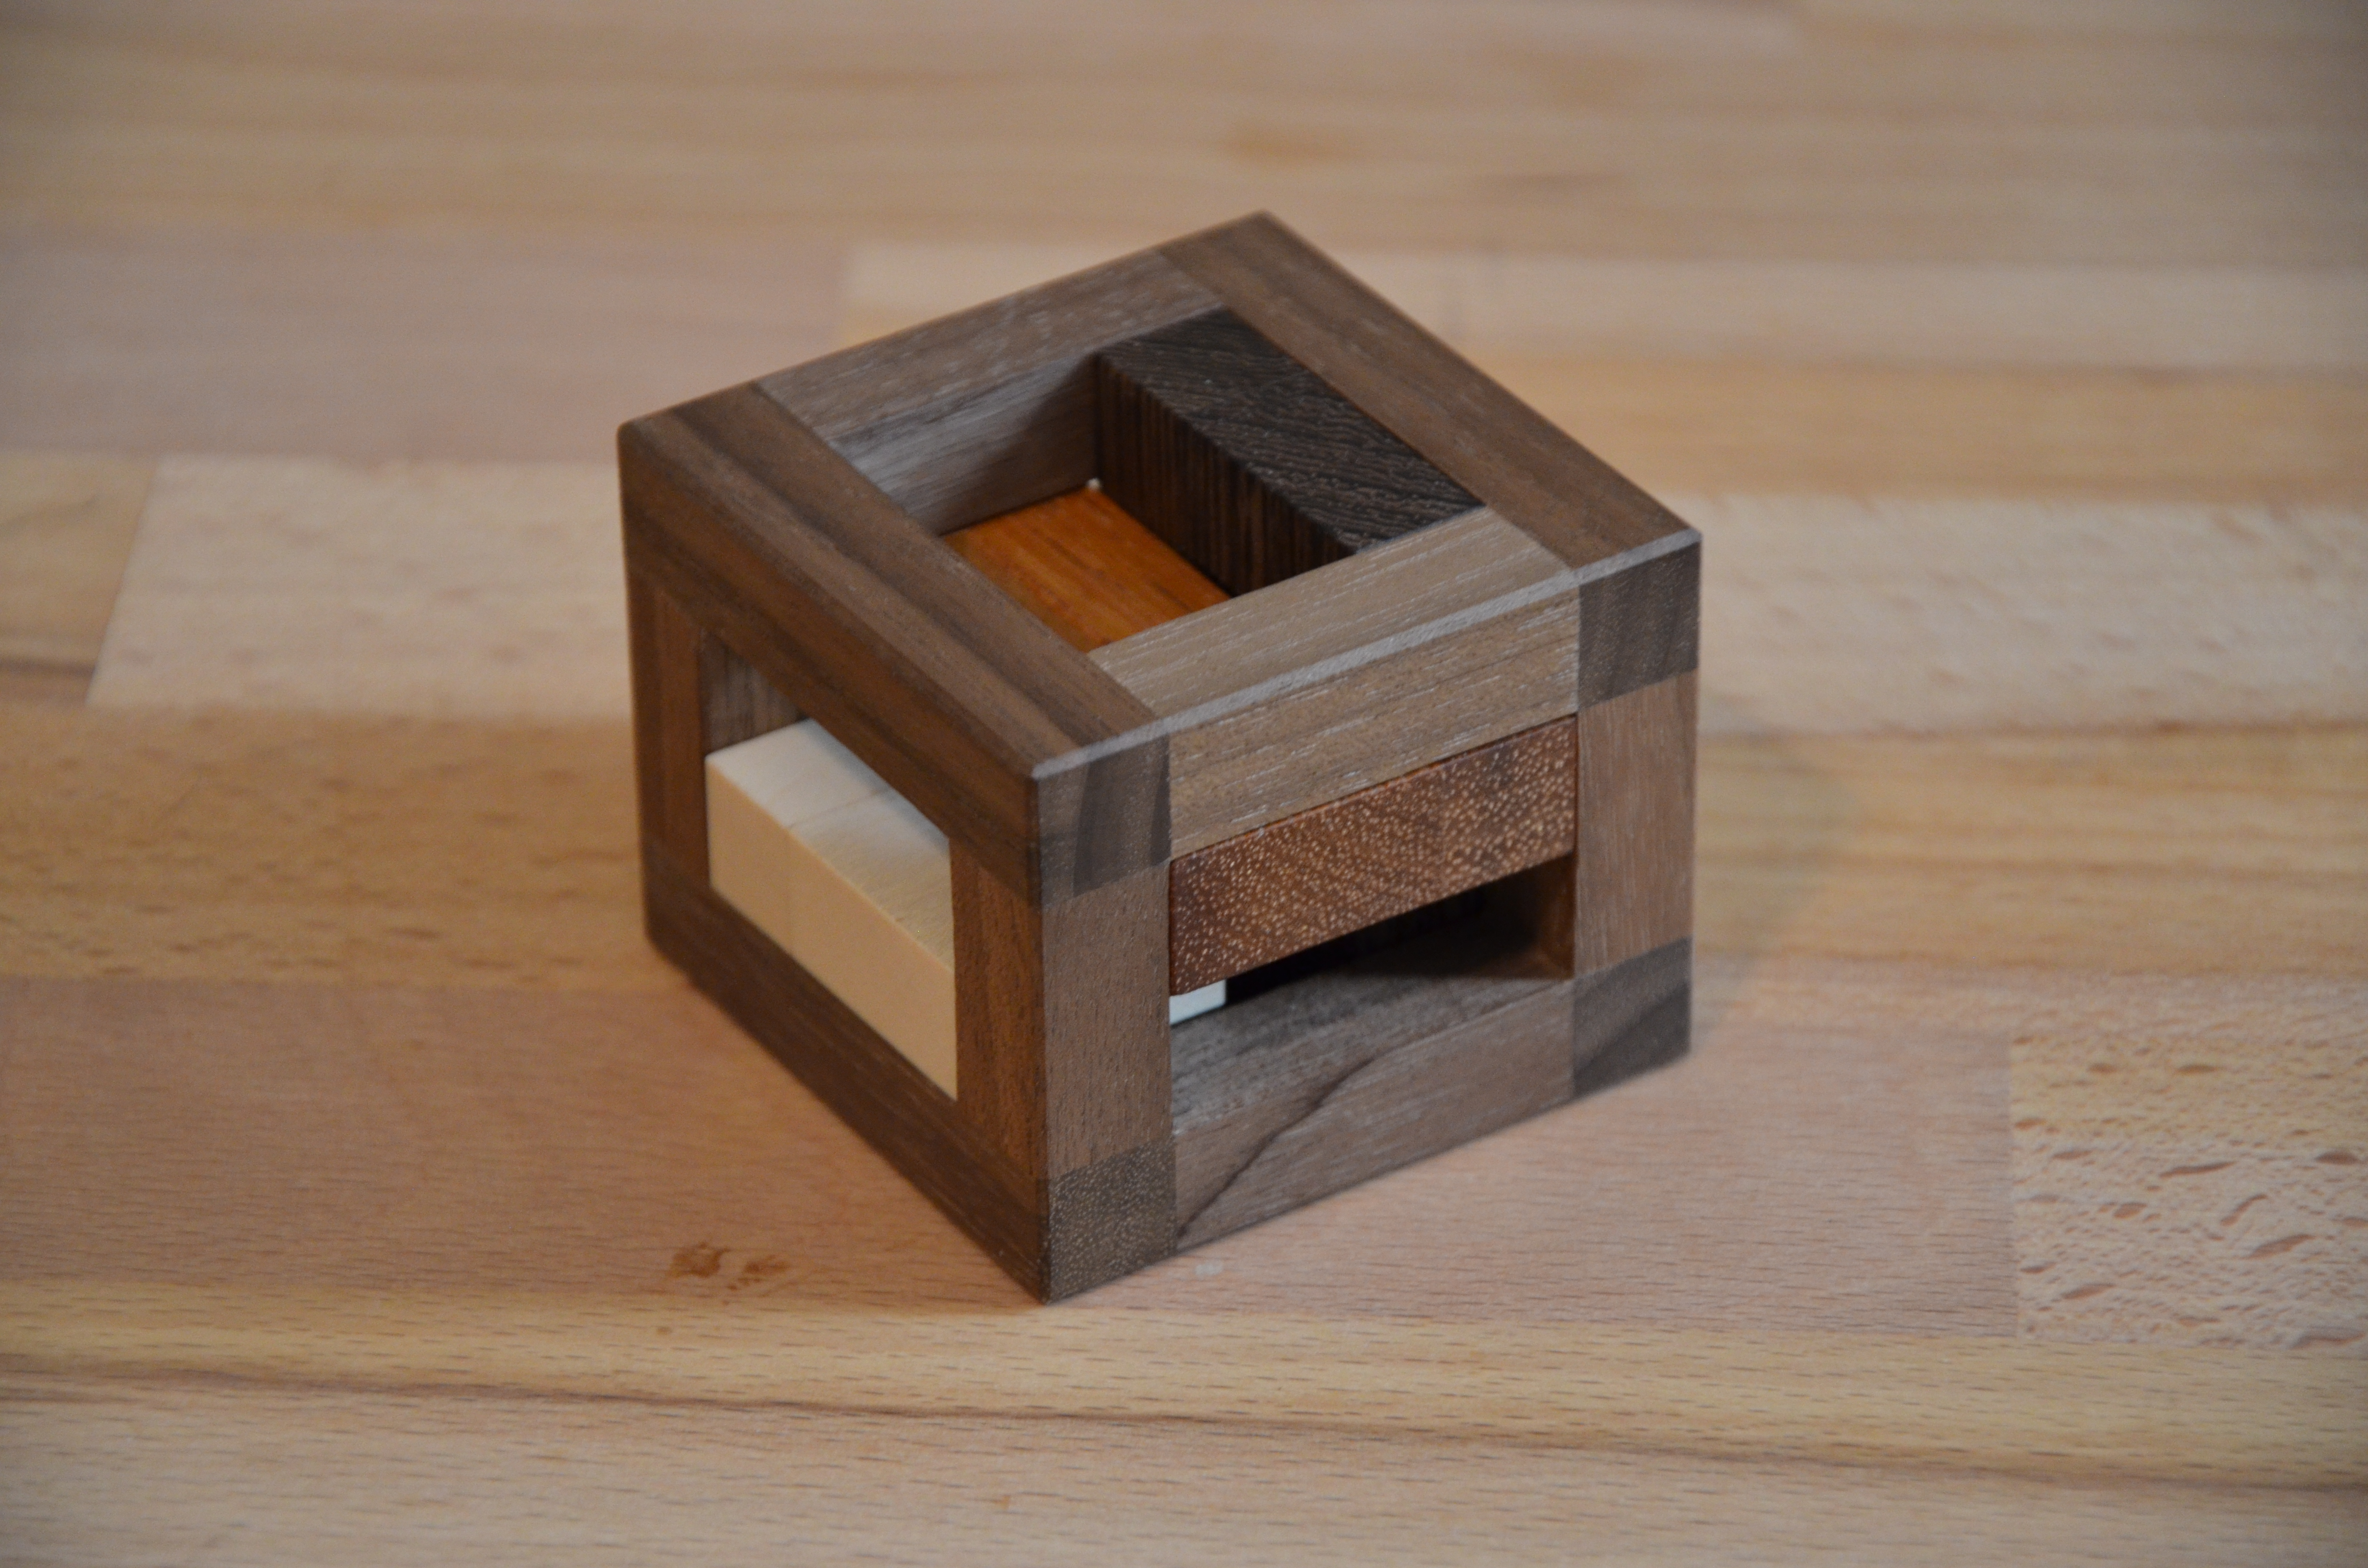
Read More: Inelegant Cube – Haym HirshToday, I have the Inelegant Cube designed by Haym Hirsh and beautifully crafted by Brian…
-
Read More: Six Face – Andrew CrowellThis week, I have Six Face – designed by Andrew Crowell and crafted by Brian…
-
Read More: giganTIC – Andrew CrowellToday, I visit giganTIC designed by Andrew Crowell and wonderfully crafted by Brian Manold over…
-
Read More: Wing Hangar – Osanori YamamotoToday, I have the fabulous “Wing Hangar” from Osanori Yamamoto. This is another piece produced…
-
Read More: TRIAD – Osanori YamamotoThis week, I have Triad, designed by Osanori Yamamoto and built by Jakub Dvorak of…
-
Read More: Sequential Discovery Burred Box – Junichi YananoseOh man, I’m so excited. I just received a package in the mail from Pluredro.com…